soups » Wonderland Kitchen
Browsing Category

soups

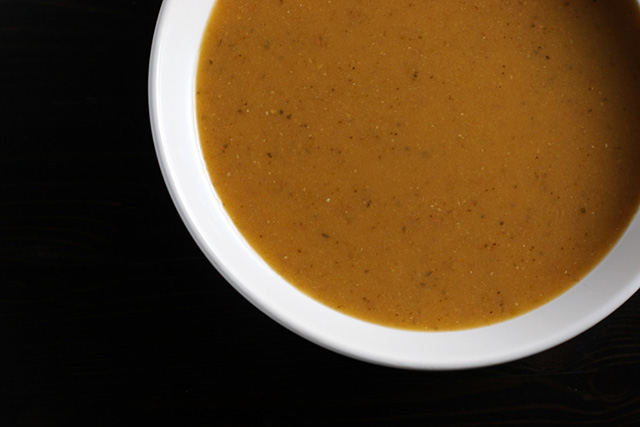
Pamphlet Cooking: “Armenian” Soup

“Armenian” Soup

Last week’s Tomato Soup Cake recipe reminded me that, in addition to my stacks of proper cookbooks, I have also amassed quite an impressive pile of pamphlets, brochures, and small spiral-bound recipe collections. Most of these I acquired thanks to The Book Thing, an awesome organization here in Baltimore that redistributes books to the community free of charge. A few times a year I donate all the books I don’t need anymore and browse the cookbook shelf to see what new treats might catch my eye. And it’s these slim paper volumes—often old advertising gimmicks for baking soda or similar—that are my favorite scores.

My stash includes quite a few tempting offerings such as “The Little Book of Excellent Recipes” by The Mystery Chef (future post, promise!), but in flipping through a few of them I landed on a soup recipe in the less exotic sounding “CSA Pantry Collection #4” that I decided to test drive. As it turned out, CSA in this case stood not for community supported agriculture, as I had assumed, but rather the Celiac Spruce Association. Their recipe for Armenian Soup included dried apricots and a single potato swimming in a full 2 quarts of water. Currently challenged by yet another snow storm and freezing temperatures required some creative pantry thinking on my part if I was going to execute, so I used the pitted dates and sweet potatoes I had on hand and ended up using half the amount of stock called for. Which is to say I wouldn’t blame “CSA Pantry Collection #4” for this bastardized recipe, but between its inspiration and the bitter, bitter cold, I ended up with a soup that was appreciated thoroughly without having to slide down the street to the grocery store.

That all said, I’m not sure what the Armenians would have to say about it.

 “Armenian” Soup

“Armenian” Soup

1/3 cup red lentils
6 dates, chopped
1 large sweet potato, cubed (no need to peel)
1 quart vegetable broth
2 tablespoons lemon juice
1 teaspoon toasted and ground cumin
4 tablespoons parsley, chopped

The real joy of this recipe: its simplicity. Place all ingredients in a 4 quart sauce pan. Bring to a boil, then cover and reduce heat to simmer for 30 minutes. Puree until smooth. Season with salt and pepper as desired.

That’s it. You’re done. Let’s eat.

Bon Attempt*: Dishes to Try (and Try Again)

Pickled Turnips

So, things have been going in Wonderland Kitchen, they just haven’t been going “OMG, I totally have to tell you about this ah-maze-ing cookie recipe I just invented” great. That, or they’ve been going “this other person’s recipe is awesome and I posted about it last year” (so repeat as needed).

I’ve also been doing a good bit of cooking for real people beyond my husband (or unintentionally for my cat, when my back is turned, the little sneak!). It seemed rude to stick a lens in a guest’s face during an 8 a.m. breakfast, but in hindsight I’m feeling less shy, so beware future visitors!

Anyway, this being Sunday, I thought perhaps a little confession time was in order–air the laundry and wipe off the counters for the week ahead–and so in no particular order, some recipe takeaways for when the CSA first slams back into the rotation and houseguests make last minute visits. What have you been cooking as we slide into summer?

A Reminder that You Can Pickle For Tomorrow What You Can’t Consume Today
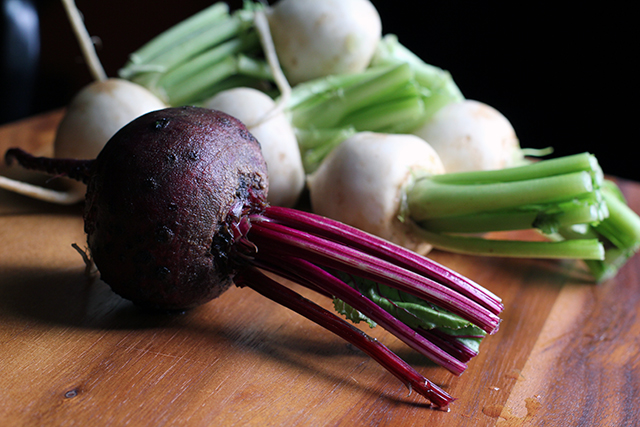
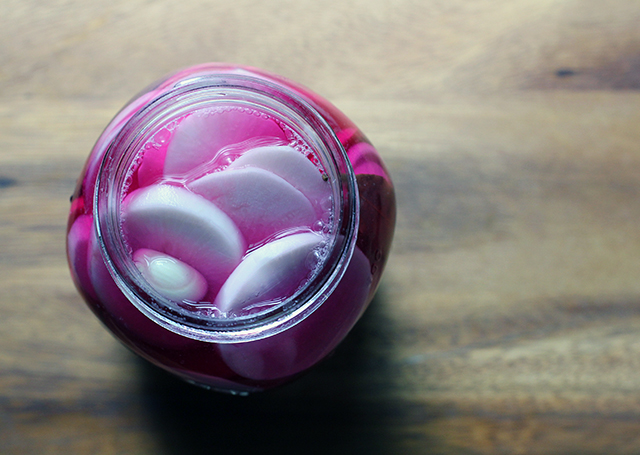
Turnips with Beet

Since the crisper drawer was already bursting with greens, I picked up a couple bunches of these white turnips and pickled them according to David Lebovitz’s recipe. Here I thought I was innovating, but hardly! I did however get distracted and ended up with an overly salted and garlic-y finished product. Will have to try this one again, because the beet slices resulted in an amazing brine. And I do have a soft spot for pink food.

A Reminder to Prep Guest Breakfasts Ahead of Time
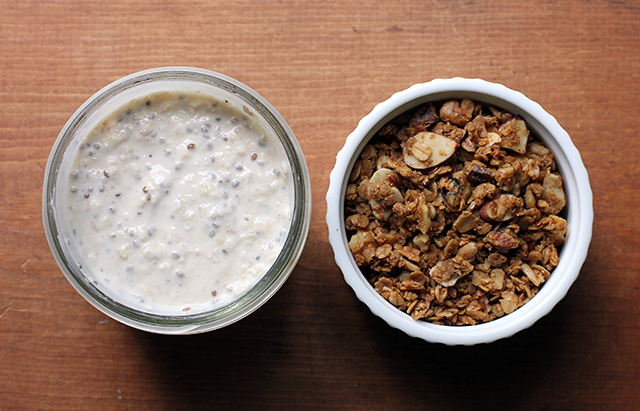
Granola and Refrigerator Oats

I’ve posted about this Little Blue Hen granola before, which I like especially because it includes an abundance of nuts and seeds with nary a spec of dried fruit in sight (though I’ll cop to offering the guests a handful of DIY raisins at their discretion, because come on). I also like to make little cups of refrigerator oats before heading to bed (I substitute kefir for the milk and yogurt) and then just pass out the jars and spoons in the a.m. Haven’t had an unfinished portion yet.

A Reminder to be Brave with Your Summer Soups
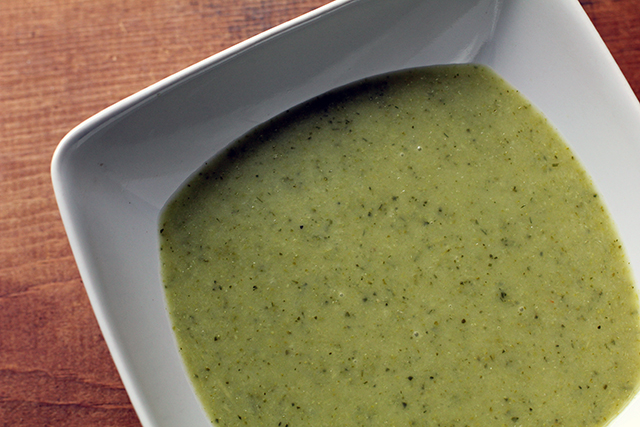
Spring Asparagus and Broccoli Soup

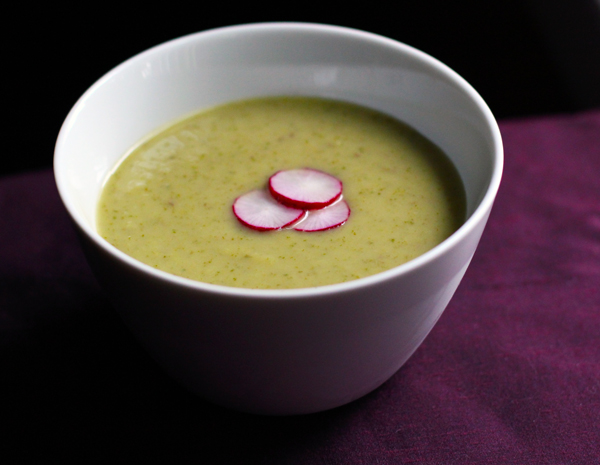
I have been having a lot of luck lately with those “use up five things from the in-house stock” on the fly dinners, and this has been especially helpful now that there’s a lot more produce around. As we crawl towards the end of the week and another pick-up looms, sometimes the stuff just needs to be used up. That’s how I ended up with asparagus, broccoli, and spring onions in a soup pot, simmered with just enough veggie broth to cover, and then pureed with the last of the dill and the remaining 1/4 cup of cream in the bottle. A light spring soup, tasty both hot and cold.

A Reminder to Double the Doctor Kracker Knock-Offs
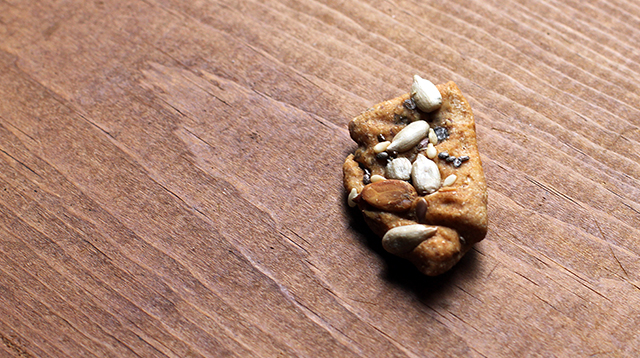
DIY Seeded Crispbread

Fair warning that these are very crisp crackers, but they are just like the ones that come eight to a box in the grocery. If your family is as addicted to them as mine, you have come to the right place for the knock-off recipe. But be sure to hide a few for your own eating: this was the lone piece of cracker left in the bag when I went back to take a picture and have a snack.

A Reminder to Not Burn Your Hand When Baking Life-Changing Bread
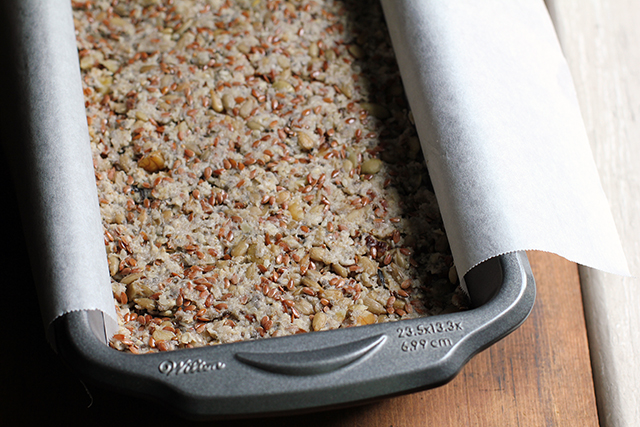
My New Roots: Life Changing Bread

This is the pre-baked look of My New Roots’ much-discussed Life-Changing Bread. The first loaf I made with really beautiful Bob’s Red Mill oats and specially purchased hazelnuts and thought it was a neat breakfast item but not necessarily life changing. The second time I was way more chill about it, just used the walnuts and the somewhat crappier instant oats I dug out of the pantry, and also tossed in all the seeds left behind in the bag of the above-mentioned seeded crackers. Aside from the accidental seering of the back of my hand on the oven while flipping the bread over, I’m enjoying the second batch even more. I keep it sliced and frozen and simply defrost a piece each morning in the toaster.

A Reminder That Not All Baking Need Exhaust Your Patience
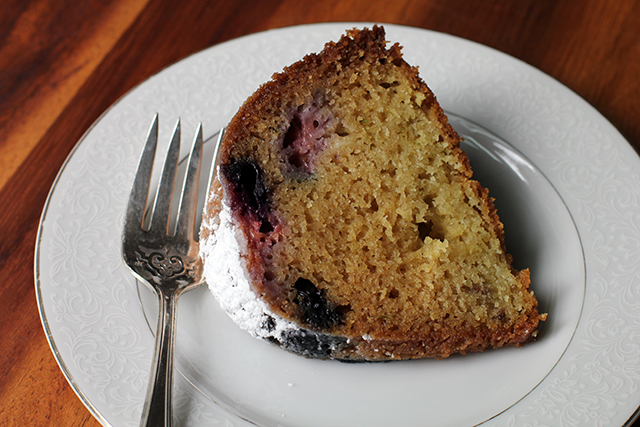
Joy the Baker: Sweet Berry Lime Cake

Short version: I needed a cake for company, and I had about an hour to make it happen. Joy the Baker to the rescue!

A Reminder That Sometimes the “Failures” Are Still Pretty Tasty
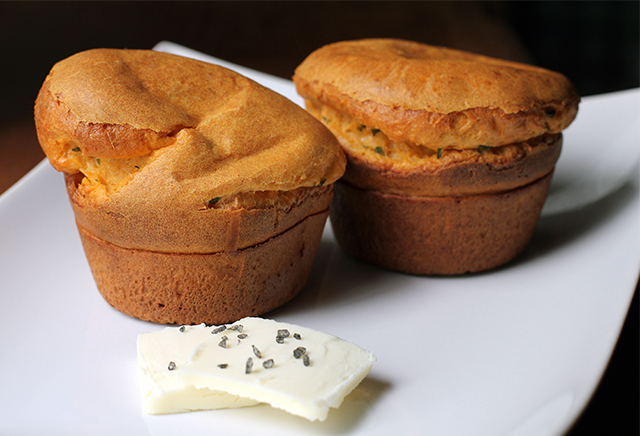
Tomato Basil Popovers

I always have excellent results with this King Arthur popover recipe, so I used that as the base when–for some reason–I started dreaming of breakfast treats flavored with tomato. My first effort included 1 tablespoon tomato powder, 1 teaspoon onion powder, a handful of chopped basil, and about 1/4 cup Parmesan cheese. They were good, but not quite what I’m looking for just yet and I lost most of my usual pop (I’m guessing the weight of the cheese didn’t help). A work in progress.

A Reminder That Not All Failures are Failures If You Adjust the Frame
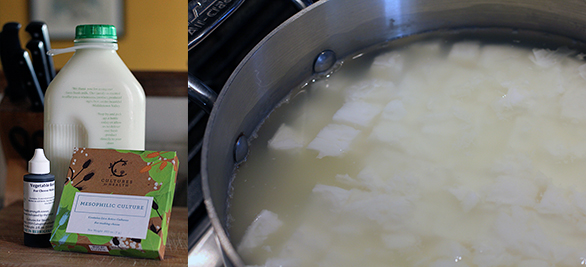
Cottage Cheese Fail

I got it into my head after the cream cheese making that DIY cottage cheese would be no. big. deal. I researched a few available recipes and thought things were going pretty well, but my curds didn’t survive the straining process. I’m guessing I didn’t cook my curds long enough. Proper looking curds or no, the cheese still tasted fantastic and I used it like a rich ricotta on toast and pizzas with much success. The curd skills will come another day. There were also fresh peas at the market, which meant it was time again for smoky tahini peas!
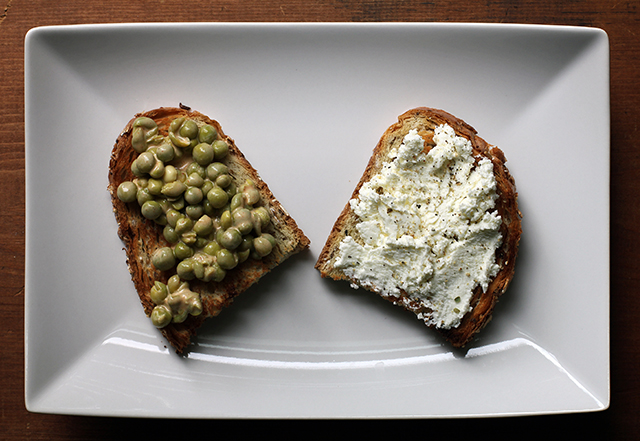
Peas and Cheese Crostini

*With apologies to Bon Appétempt, whose kitchen antics are funny and whose dishes look awesome. However, as I have never eaten at her house, it’s her blog name that I’m particularly enamored with–so much so that I felt only minor guilt in kinda stealing it for the title of this post! That acknowledged and confessed, onward into the kitchen…

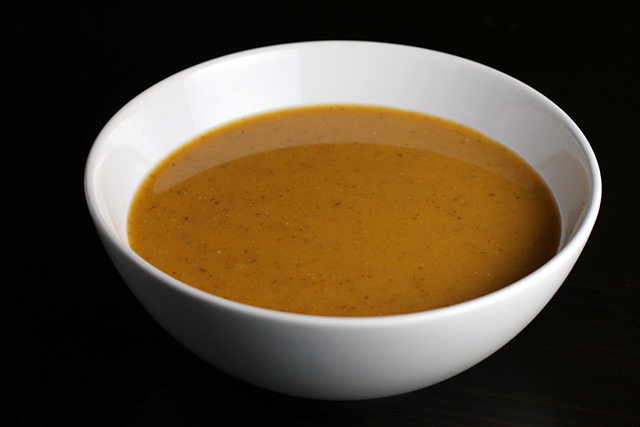
DIY Tomato Powder/Paste/Instant Soup

DIY Tomato Powder/Paste

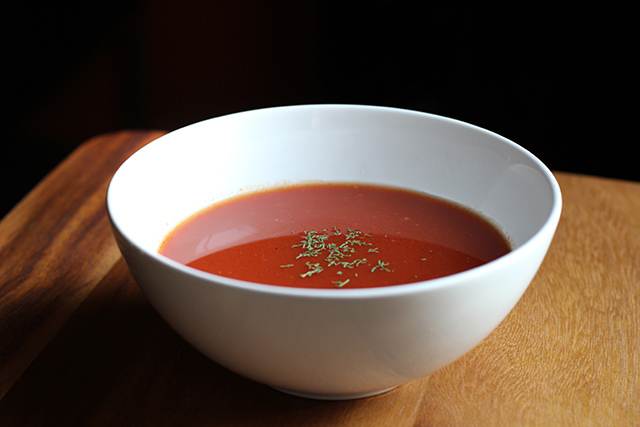
Admittedly, February is probably the least sensible time for a Mid-Atlantic resident to deal with tomatoes. Still, with pretty much everyone I know battling some form of cold/flu/sinus travesty and I myself popping cough drops and drinking mugs of broth for the past couple weeks, I started daydreaming about DIY instant soups free of questionable additives and shocking sodium content. Being a vegetarian, these thoughts leaned towards vegetable-based options rather than chicken and noodles, and the dehydrator I was gifted over the holidays this year suggested all kind of possibilities.

The best course, it seemed to me at the time, would be to start with dehydrated tomato powder to which I could add other seasonings. The local grocery’s produce section offered a depressingly unripe and waxy selection of the fruit, so I settled on some decent-looking plum tomatoes, figuring I’d at least get the most flesh for my dollar that way. I swallowed the $2.29/lbs. price tag; it would have been $3.99/lbs. if I had selected organic fruit.

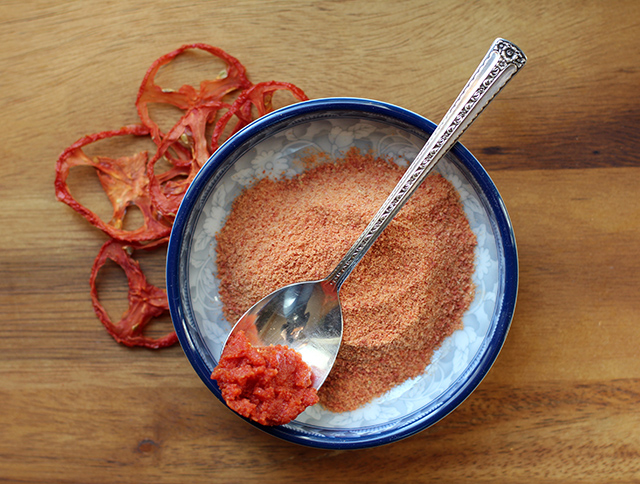
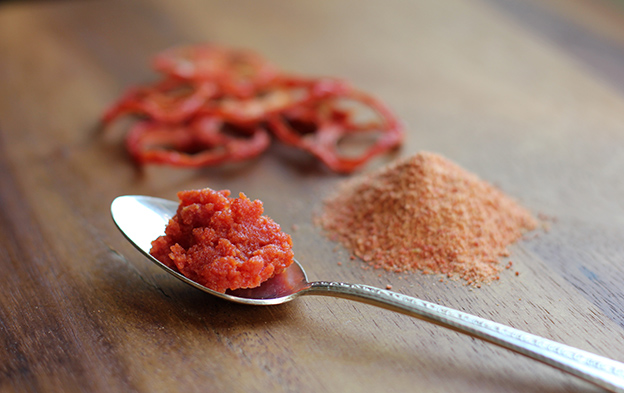
I cored and de-seeded (but did not peel) two pounds of tomatoes, slicing them in 1/4-inch rings and fitting about a pound per tray in my dehydrator. Unlike the garlic drying, the smell that filled the kitchen was much less overwhelming. Ten hours later, I had a lovely looking pile of perfectly crisp tomato slices, and after popping most of them in the blender I had…1/4 cup of tomato powder. In my heart I had known all along this was an August project, when tomatoes are available by the bushel for under $20. Clearly the math on this DIY project was not really going to work out at this winter rate. I would be much better off buying it.

However, the concentrated flavor of the powder was amazing and not to be wasted. I can see adding this to all kinds of soups, sauces, dips, and dressings, kneading it into bread dough, or sprinkling it on top of pizza along with some garlic powder. And for those concerned about acidic tomatoes and BPA in packaging, it’s a great way to store a large quantity of the former within a small pantry footprint and have “just add water” access to everything from tomato paste to tomato sauce and juice.

Do you use tomato powder? What are your favorite applications?

DIY Tomato Powder/Paste

Tomato Powder: The Method

Wash, core, slice, and de-seed plum tomatoes. Spray dehydrator racks lightly with oil and evenly spread out slices. They can touch but should not overlap. Dehydrate at 135°F for five hours and flip slices. Continue dehydrating until completely crisp, about five hours more.

Allow slices to cool completely and check again to make sure they are completely crisp. Then, using a blender or coffee grinder, reduce the slices to a powder. If grind is uneven, sift powder though a mesh sieve and regrind larger chunks. Store in an airtight glass container in a cool, dark place. Rehydrate portions of the powder to desired consistencies as needed.

The Verdict

I loved the tomato powder itself: versatile, storage-efficient, and delicious. However, it doesn’t make sense to DIY this project in any quantity without access to fresh local tomatoes in bulk. Until then, I will either wait or purchase powder online, where even organic options are available for about $20 per pound.

DIY Instant Tomato Bell Pepper Soup

DIY Instant Tomato Bell Pepper Soup

Note: I experimented with both instant nonfat dry milk and dry whole milk and–when powders were pre-mixed–couldn’t prevent either milk type from curdling upon heating. Non-dairy powdered coffee creamer did work, but a read through the ingredient list pretty much negates the DIY effort if keeping hydrogenated oils and artificial additives out of the soup is a motivator. However, using only the vegetable powders made for such a rich and tasty broth, I didn’t find myself missing the cream.

All of the vegetable powders and dried herbs can be made using a dehydrator at home. Diced onion and rings of de-seeded red bell pepper can be dehydrated and powdered in a similar fashion to the tomato powder above.

2 tablespoons tomato powder
1 teaspoon red bell pepper powder
1/4 teaspoon onion powder (or more to taste)
salt and pepper to taste
pinch of dried dill, parsley, or basil (optional)
1 1/4 cups boiling water

To make single-serving portions, measure vegetable powders and spices in proportions above into sealable plastic bags. When ready to serve, add 1 1/4 cups boiling water and stir until all powder is dissolved.

*

This recipe and post were created for my “DIY vs. Buy” column on Serious Eats.

DIY Oyster Crackers In Your Soup

crackers_top

When I was a kid, the retired couple next door took on the role of surrogate grandparents/babysitters. Their kitchen was where I learned to make a pie crust, their garden was where I saw my first swiss chard in the wild, and their family room was where I caught up on every Matlock and Murder She Wrote episode ever produced. In my memories, there were always great snacks on offer at their house, but even more than the just-baked elderberry pie and sugar cookies, I remember the evenings we spent with a big bag of oyster crackers and a tub of butter. Yes, buttered crackers were what most impressed my seven-year-old self, and I still think back to those cozy, murder-mystery evenings whenever I see a bag.

Whenever I actually taste the crackers in those bags these days, however, I wonder if it’s my palette or their production values that have shifted. I don’t remember them giving off the impression of…tissue paper quite so much, dissolving on the tongue like a communion wafer. So this version of the iconic cracker is just a little bit more solid, a little richer, a little butterier–it will stand up to but not overpower your soup.

Now, I know what I said about DIY projects and getting the perfect shape, but I think those sesame sticks taught me an important lesson. While there may be cooks out there who can produce a bag’s worth of perfectly shaped and smiling goldfish crackers, I now know that I am not one of them. So while I understand that oyster crackers are often hexagon-shaped, after considering how to produce so many small bites with some degree of efficiency, I decided that rectangles were cute enough. (Approximate) uniformity would be the key to my cracker geometry. Once they poofed up in the oven, I didn’t miss those stop signs of carbohydrate one bit.

DIY Oyster Crackers: The comparison

This is a no-stress side project that could easily be done while your soup is simmering. That said, it gets flour all over the counter and you have to cut dough into small pieces, possibly negating the laid-back, one-pot cooking that is often what makes soup so attractive (to me, at least). As far as economic comparison, I bought a 12-ounce bag for a dollar, so I’m not even going to try and talk cost savings. Ingredient-wise, this homemade version swaps in butter for the palm, canola, and soybean oils in my grocery’s house brand. Beyond that, however, rather than coat the surface of the crackers with an envelope of salad dressing mix, this is an excellent opportunity to make your own signature flavor with seasonings such as dried herbs or black pepper mixed right into the dough. Being a Baltimorean now, I added a teaspoon of Old Bay, and the spike of flavor and heat it brought to crackers seemed to be an especially appropriate pairing with the falling temperatures.

DIY Oyster Crackers
makes about 2 cups

5 ounces (1 cup) AP flour
1 teaspoon kosher salt
1 teaspoon sugar
1 teaspoon baking powder
1 teaspoon (or to taste) Old Bay or seasoning of your choice (optional)
2 tablespoons cold unsalted butter, cubed
1/3 cup cold water, additional as needed

Measure dry ingredients into a mixing bowl and whisk to combine. Next, using a pastry cutter, work butter into the dry ingredients. Finally, add the water and lightly knead the dough just until all ingredients are incorporated. Add additional water by the tablespoon, if needed.

Form dough into a ball, set it on a lightly floured rolling surface, and cover with the overturned mixing bowl. Allow to rest for 15 minutes. Heat oven to 375°F.

When rest is complete, roll dough out on a well floured surface until about 1/8-inch thick. Cut dough into squares or rectangles (or circles, if you’re really willing to put some time into it) that are about 1/2-inch wide. Transfer to a parchment-lined baking sheet and space the shapes out as much as possible.

Bake for about 15 minutes, until crackers are showing color around the bottom edges. Turn oven off and crack the door open about eight inches. Leave crackers inside to cool and continue to crisp, about 30 minutes.

*

This recipe was created for my “DIY vs. Buy” column on Serious Eats.

When Providence Provides: Cantaloup Soup

cantaloupsoup_top

This is one of those dishes that begins not with a recipe but a magical mystery tour through my refrigerator during which I play a quick game of matchmaker and the winner is dinner. It may sound contrived, but I actually find that it’s kind of entertaining and, by starting from leftovers, some of the cooking is already done before I even start. Bonus points: fresh meals are made without wasting food I’ve already invested energy into preparing.

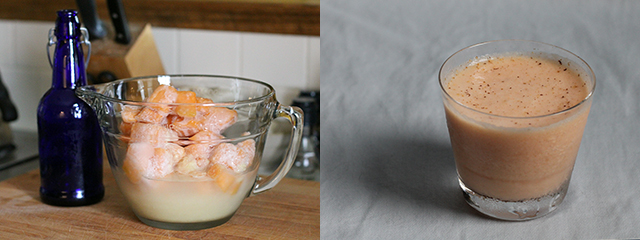
Which bring us up to my inventory. A cold soup sounded like a grand idea on this muggy weekend, and I had a bag of frozen cantaloup I wanted to evict from my freezer. My Google research turned up one or two melon soup recipes that used ginger and lemon juice as ingredients. I had neither of these on hand, but providence provides! What I did have was a flat batch of homemade ginger beer (yeast fail!) that I refused to toss on principle, certain I could find a way to incorporate it into something at some point. And what is ginger beer but a sweetened broth of already juiced lemons and grated ginger?

It was an idea I decided to run with, and this tasty soup was ours for dinner. Done any matchmaking of your own lately?

Cantaloup Soup

Cantaloup Soup

5 cups cantaloup, fresh or frozen
1 1/2 cups strong ginger beer
1/2 cup Greek yogurt
1 tsp. salt
fresh grated nutmeg to garnish to taste

Place cantaloup in a bowl and pour over the ginger beer. Let sit at room temperature for one hour, allowing fruit to thaw (if using frozen) and beer to lose its carbonation. Add yogurt and salt and puree using an immersion blender. Chill soup completely (if you’ve used frozen fruit, soup will already be nicely chilled and can be served immediately).

Dish soup into small bowls or glasses, garnish with a few scratches of fresh nutmeg.

Tangled In Garlic Scapes

garlicscape_top

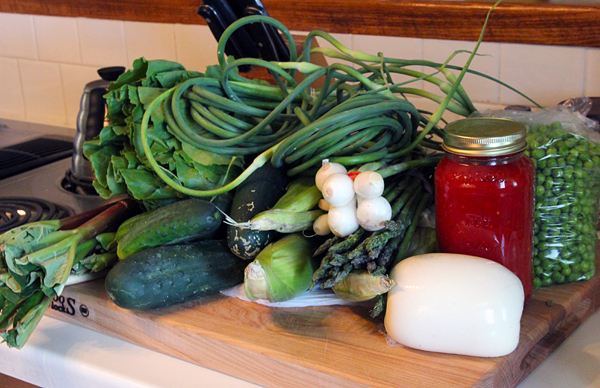
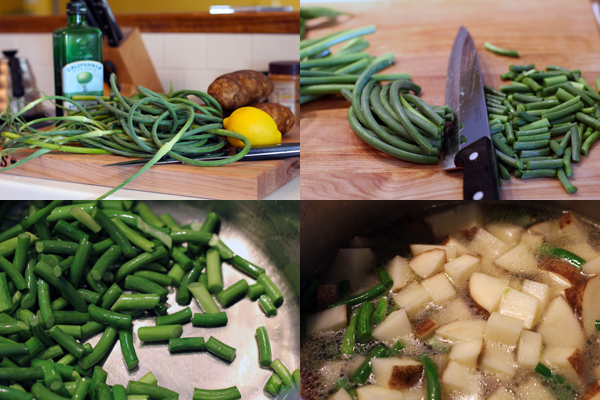
What happened was this: I had been emailed a heads-up that as part of the summer farmers’ market opening weekend, my CSA (a.k.a. One Straw Farm) would have garlic scapes on the table. As my own garden garlics seems to have mysteriously keeled over and quit where they lay (victims of wild urban animals or overly strong rain storms, I’m not sure which) I was excited to still have a chance at this seasonal treat. Paging through my pickling books, I got excited for the brined version, so I brought home two hefty bunches and prepared to stuff them in jars. I also picked up a few other things.

First market haul of the summer 2012 season.

First market haul of the summer 2012 season.

On reflection, I realized that I was already somewhat overstocked in the pickle department (especially after making a few jars of dill pickle spears and a second batch of that rhubarb chutney I’m infatuated with). Plus honestly, I really didn’t want to wait to eat them. Still, in my enthusiastic preparation for what I thought was to be a canning project, I had acquired 24 of them and I shuddered to think that they’d now turn yellow and quietly rot away at the bottom of my produce-packed crisper drawer. There was the garlic scape pesto option, but I already had a batch of kale pesto taking care of that culinary need (esp. when it came to egg sandwiches–highly recommend!).

And so, as I often do, I turned to Google, and Heidi Swanson’s recipe for Garlic Scape Soup–calling for a perfectly portioned two dozen scapes–came to the rescue.

Garlic Scape Soup

Garlic Scape Soup
Only slightly proportionally adapted from Super Natural Cooking (My potatoes were quite large and I like a thinner soup.)

2 tablespoon extra virgin olive oil (I am loving the California Olive Ranch brand lately. It has a strong, almost grassy taste.)
24 garlic scapes, flowers removed and chopped
3 large russet potatoes, cubed (no need to peel)
5-6 cups vegetable broth
3 cups spinach
2 T fresh lemon juice
1 cup whole milk
salt and pepper to taste

In a large soup pot, heat oil and sauté scapes for a few minutes. Next, add potatoes and broth and bring to a boil. Reduce heat and simmer until potato cubes break apart easily when pierced with a fork, about 30 minutes. Remove pot from heat, add spinach, and puree the soup (an immersion blender is really the way to go here). Add lemon juice, milk, salt and pepper, and continue to blend until well combined. Adjust seasoning. You may need to add additional salt until, as Heidi puts it, “the flavors really pop.”