drinks » Wonderland Kitchen
Browsing Tag

drinks

DIY Coke: (Even Better Than?) the Real Thing

Cola Syrup

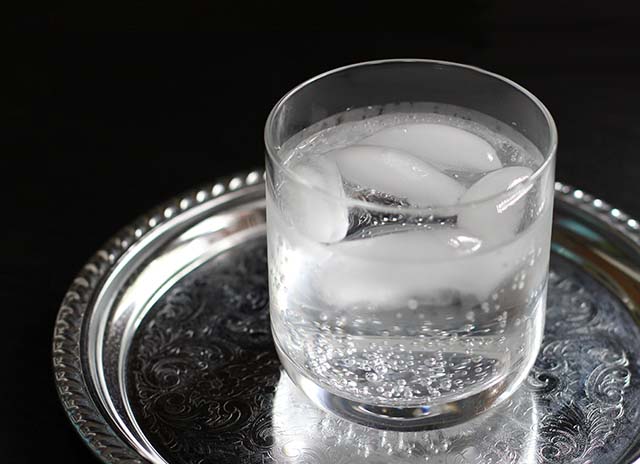
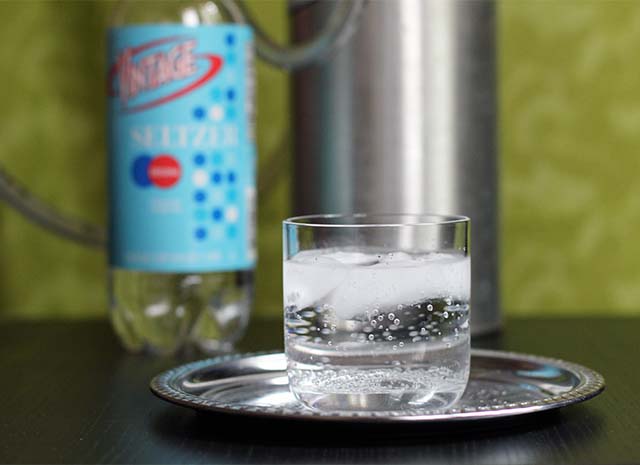
I’ve made no secret of the fact that I drink a lot of seltzer—so much that building my own carbonation system was actually incredibly cost effective (not to mention shopping-labor saving!). So when a friend asked what other kinds of fun carbonated drinks I was DIY-ing at home, I was kind of embarrassed that I came up empty.

I mean, sure, there have been a few outings with tonic water for parties and maybe a squeeze of lemon and lime in the bottle from time to time, but here I was with my own fizzy drink maker and I was just choosing door #1 day after day after day.

Cola Syrup

Determined to break out of this sad state of affairs, I asked my pal what sort of drink she might like. (Confession: this was one part genuine love for her, one part because she drove me into the wilds to make my last CO2 cylinder exchange and she was owed.) She mentioned that she’d really like to break her Coke at work habit, so I started researching. When I was a kid I remember checking a book out of the library that had a fake cola recipe with cinnamon and vanilla, but I was sure the internet would have surely improved upon that recipe by now. For my first outting, I decided to go fancy since I just happened to have all the weird ingredients in my pantry and try out the recipe below (which appeared in the New York Times in 2011, adapted from the Brooklyn Farmacy & Soda Fountain).

In the end, I think I probably knew too much as far as tricking my taste buds. But this is a delicious concoction all the same. I’ll have to report back on whether or not my friend notices I’ve replaced what’s normally in her red can with my own special brew, but I’m happy to have broken the floodgates on my beverage rut.

Hmmm, what should I carbonate next?

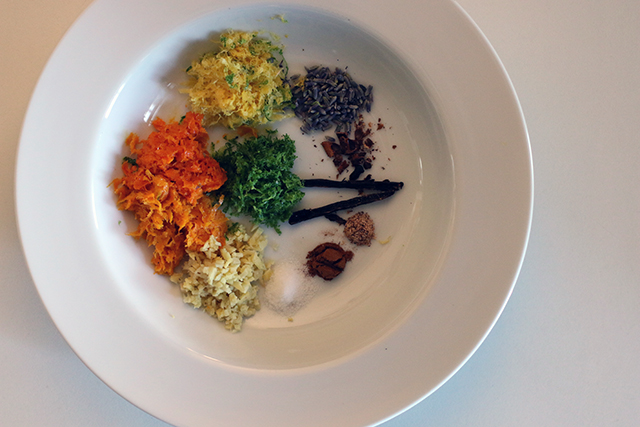
Cola Syrup: Ingredients

Note: I skipped the coloring, ditched the extra two tablespoons of white sugar in the original recipe, and didn’t bother blitzing the sugar in a food processor before dissolving to save dishes and annoyance. It all worked out just fine.

Cola Syrup
From the New York Times, adapted from Brooklyn Farmacy & Soda Fountain, Brooklyn, with minor shortcuts by me

Grated zest of 2 medium oranges
Grated zest of 1 large lime
Grated zest of 1 large lemon
1/8 teaspoon ground cinnamon
1/8 teaspoon grated nutmeg
1 section of a star anise pod, crushed (note: section!)
1/2 teaspoon dried lavender flowers
2 teaspoons minced ginger
1 one-and-a-half-inch piece vanilla bean, split
1/4 teaspoon citric acid
2 cups sugar
1 tablespoon light brown sugar
3/4 teaspoon caramel color powder, optional (I skipped this, but I am curious how that might change the overall experience/trickery)

In a heavy 2 quart sauce pan, bring two cups water and zests, cinnamon, nutmeg, star anise, lavender, ginger, vanilla, and citric acid to a simmer. Cover and reduce heat to low, simmering gently for 20 minutes or so.

Measure sugars into a bowl and place a sieve lined with two layers of butter muslin over top. As soon as infused water comes off the heat, pour through strainer, extracting as much liquid as possible. Discard solids and stir sugars into the hot liquid until completely dissolved.

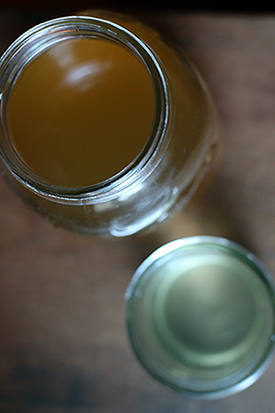
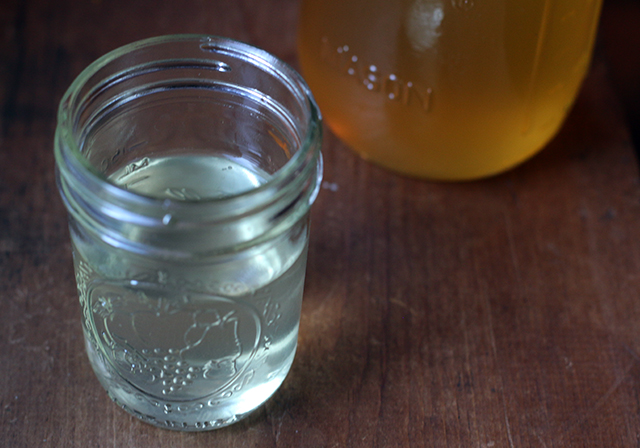
Pour syrup into a glass jar with a tight-fitting lid and store in the refrigerator until needed. Mix at a concentration to suit your tastes. A “four parts carbonated water to one part syrup” ratio seems a good place to start.

Raise a Glass: Cocktails for the Holiday Season

Holiday Cocktail Round-Up

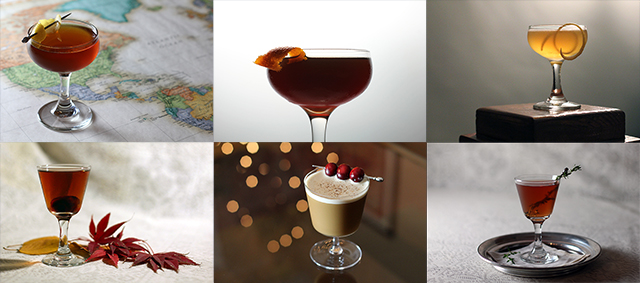
While dashing in and out of hotel lobbies and swank bars with He Spoke Style as we shot a holiday campaign video for Banana Republic (see end of post), I got a little nostalgic for the excellent cocktail recipes he created for Wonderland Kitchen last winter. (I can’t be the only one already excitedly anticipating the Christmas tree even as I plan my Thanksgiving dinner. But I know, I know, I’ll tamp it down.) With the colder temperatures and celebratory parties upon us again, however, it seemed like the perfect time to revisit a few of these warming cocktails.

What drinks will you be sharing with your guests this holiday season?

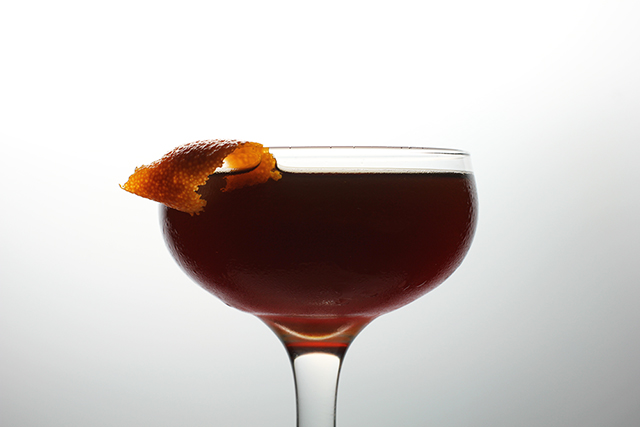
First Taste of Autumn: The Cylburn

cylburn_top

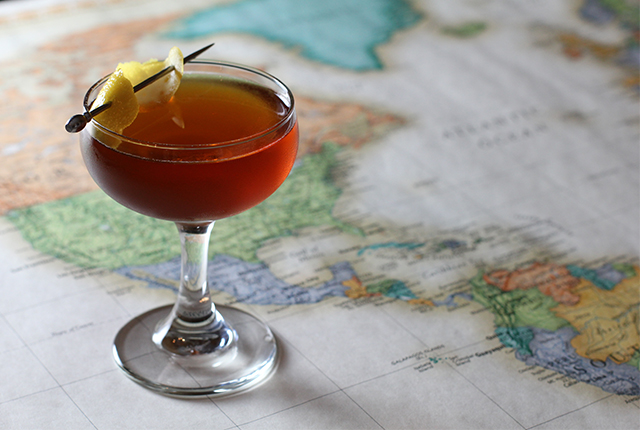
Fall Tequila Cocktail: The French Intervention

frenchintervention_top

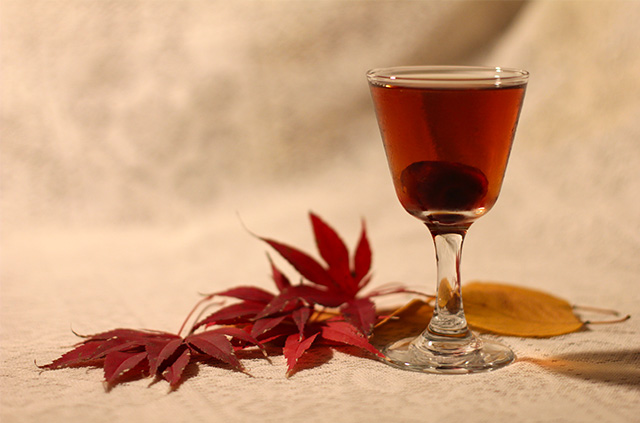
In the Russet Gold of This Vain Hour

russet_640

Rye and Maple Thanksgiving Cocktail: Poor Sap

Rye and Maple Thanksgiving Cocktail: Poor Sap

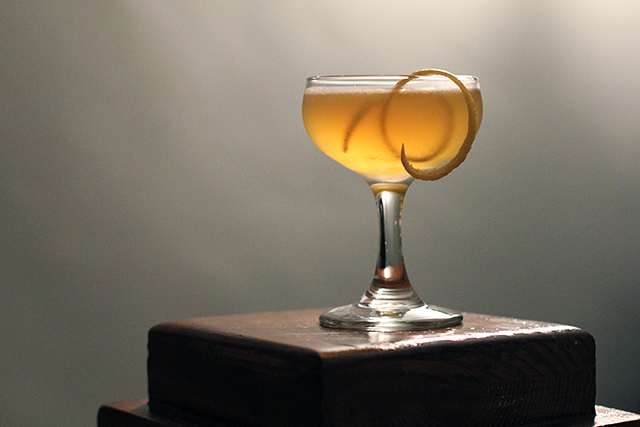
Scotch Cocktail: The Lamplighter

Scotch Cocktail: The Lamplighter Cocktail

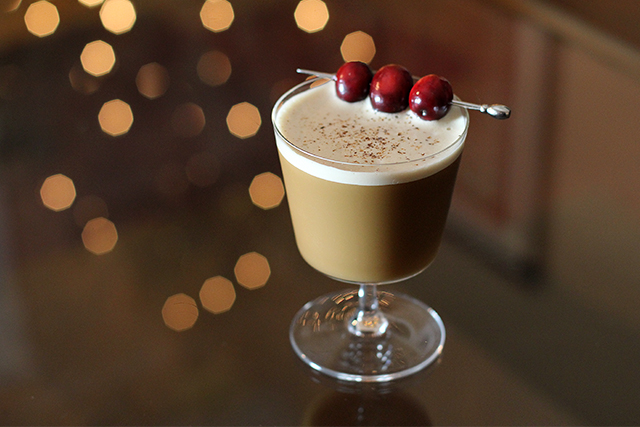
A Cocktail for the Rest of Us: St. Festivus Flip

Festivus Cocktail: St. Festivus Flip

Mixing Islay: The Coal Fire Cocktail

The Coal Fire Cocktail - Wonderland Kitchen

DIY Summer Seltzer Season

DIY Seltzer from Wonderland Kitchen

With a holiday weekend on the horizon and rising temperatures (at least in the Mid-Atlantic) hinting at the swamp, I mean, summer ahead, it seemed like a prime time to revisit the seltzer maker I built for the kitchen almost three (yikes!) years back. If you’re the tl;dr type, the sum up is that it still rocks. You may proceed to the directions to construct your very own.

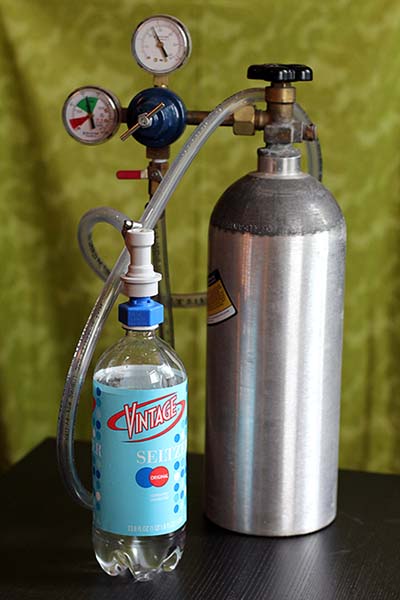
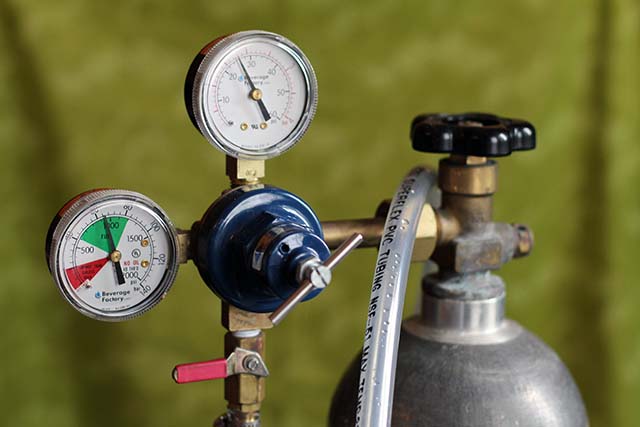
To be clear, I in no way invented this mad scientist contraption. Rather, at a time when the family recycling bin was overflowing with plastic one-liter bottles–my legs sore from carting them home and my stomach clenching over the packaging waste–I started digging around to see what my make-at-home options might be. Even back then, the SodaStream was a thing. But it was an expensive thing, with what seemed to be a high ongoing fee for the specialty CO2 cylinders it required. However, as with many problems, if you’re willing to get a little weird, the internet will provide. That’s how I ended up with this:

DIY Seltzer from Wonderland Kitchen

Truth be told, I’m not sure if I would have proceeded were it not for the fact that my dad has sold welding and gas supplies since I was a kid. (One of my favorite toys looked something like this mask, which probably explains more than a few things about me.) As a result, none of the necessary items were all that foreign to my eye and, while I admittedly carbonated my first bottle in the backyard a safe distance from the house just in case anything exploded, I was reasonably confident that I knew what I was doing. I asked my dad if this all seemed okay. He was also reasonably confident. The internet said it would be fine. And it was! Many, many bottles later, I haven’t had a single mishap.

DIY Seltzer from Wonderland Kitchen


To build the carbonation machine, you will need:

  • 5lb CO2 cylinder, or a size to suit your needs (if you know beer brewers, ask around and see if anyone if looking to get rid of one cheap)
  • Dual gauge regulator that can be set to deliver 20-50 psi
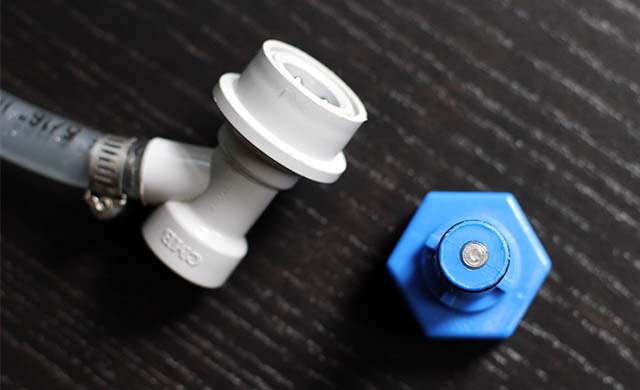
  • Flexible polyethylene tubing (4ft), 2 hose clamps, and a gas ball lock quick disconnect (now conveniently sold by Amazon as a single item)
  • Carbonater cap

NOTE: I tried assembling my own carbonater cap out of a tire stem as suggested (also by the internet), but could not get rid of the “just purchased from AutoZone!” smell, no matter what I washed or soaked it in. Possibly not a big deal in the long run, but the $12 carbonater cap I purchased has made scentless work of it for years and seems to have earned its keep just fine.

DIY Seltzer from Wonderland Kitchen

You will also need to upcycle at least one plastic bottle in very good condition. I steal new bottles from friends’ recycling bins when they are not looking in order to replace my bottles every few months, but you’ll definitely want to swap them out if you notice any visible wear.

Now, I’ve never used a SodaStream myself, but I’m willing to bet the look of the machine and the process of making the fizzy water is a little classier. Still, I have to say, with one of these babies in the kitchen, it’s automatic house party conversation material!

DIY Seltzer from Wonderland Kitchen

To carbonate water:

Fill the plastic bottle with water 7/8 full (I go to the top of where the label is) and chill. Very cold water is important for better CO2 absorption.

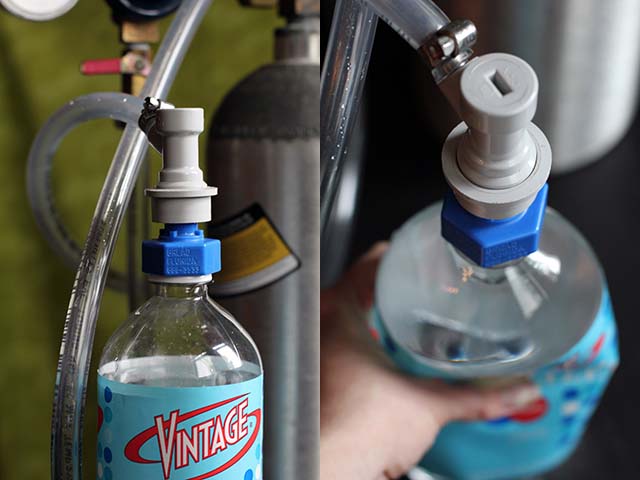
When cold, squeeze air out of the bottle and screw on carbonater cap.

DIY Seltzer from Wonderland Kitchen

Attach quick disconnect to the carbonater cap. Check to make sure the output valve on your regulator is completely closed. Turn on the gas and check/adjust the psi to suit your needs. I do mine at about 25 psi, but others go higher.

Holding tightly to your bottle in one hand, slowly open the output valve. The bottle will fill with gas. Shake the bottle vigorously for about 10-20 seconds.

Shut off the CO2 and close the output valve. Disconnect the bottle from the hose and refrigerate for at least several hours before removing the carbonater cap. (Unless, of course, you are looking to demonstrate a volcano eruption for the kids!)

The Verdict

The total cost of the unit, if all pieces are purchased brand new via Amazon, is $134.66. Plus you need to fill the tank. Locally, that cost me $15. I admit that the grand total can be something of a shock, but ask around and you just might be able to get some of these things for much cheaper.

Research indicates that I should be able to get about 280 one-liter bottles per tank. We have definitely had our runs of two-bottle-a-day consumption, and then a month without a single bottle made, but after what I swear are hundreds of bottles, we’re still on the same tank. I carbonate at a lower psi, so perhaps that bridges the gap. In any event, I’m cruising in on three years of stress-free, last-minute, in-home seltzer. I consider that a real coup, and a conversation piece to boot!

DIY Seltzer from Wonderland Kitchen

Fall Tequila Cocktail: The French Intervention

frenchintervention_top

Crafting original cocktails—for me, at least—is a process that calls for one part imagination and at least five parts experimentation. While Version 1.0 of any given recipe rarely passes muster, it opens doors to any number of paths leading to the final destination. Sometimes the solution is simple, though most often it requires a good bit of refinement. Around here, recently, it’s been more of the latter. In order to dial in the spec for The Cylburn, we hosted a tasting party that featured sundry variations on the theme; while in the case of my Suze-infused White Negroni I almost scrubbed the whole project after exhaustive attempts to tweak it to perfection didn’t seem to get me any closer to my desired result. However, every so often lightning strikes and a first draft is deemed of superior quality, being instantly advanced to final draft status without having to undergo any editing or further scrutinization. Call it the product of accrued mixological experience or call it a fluke, but such was the case with The French Intervention, a cocktail whose name even came easily.

A confluence of two things sparked the idea for this drink. First, there was tequila. In an unfortunate case of guilt by association, tequila often gets a bad rap as a liquor to be consumed in one gulp, in mass quantities, and with a side of salt and lime. Yet, it seemed to me that its earthy flavor profile might make it an excellent, not to mention unexpected, candidate as the base spirit in a fall cocktail. And having just picked up a bottle of El Espolòn, I was eager to test my hypothesis. The second was something I happened upon while wandering the aisles of a local wine and spirits shop—a postcard advertising the Can-Can Classic Cocktail Competition, a challenge to create a new drink using the French St-Germain elderflower liqueur. I accepted the challenge, dreamt up the recipe you see below, and was surprised that my maiden voyage produced such an interesting and balanced result—a cocktail I truly believed coulda been a contender.

The French Intervention: Pour

Well, it turns out the drink actually couldn’t have been a contender, as close inspection of the fine print revealed that submitted cocktails need contain 1 oz. of St-Germain. My scant 1/2 oz. just wasn’t going to cut it. (Queue sad trombone sound.) But, to me, the drink was definitely a winner and rather than mess with success for a chance at a $10,000 cash prize—who needs that anyway, right?—I was content to simply add it to Wonderland Kitchen’s fall cocktail menu.

A word on the name. The French Intervention refers to Napoleon III of France’s invasion of Mexico in 1861—a campaign meant to give President Benito Juárez a collective piece of Britain, Spain, and France’s mind after the former decided to stop sending interest payments to the three nations, who so happened to be Mexico’s major creditors. But it wasn’t just a debt-collecting mission for Napoleon III—Britain and Spain actually backed out when they found out there was an actual invasion planned—there was also a little something about financing his empire with the Mexican silver that was just laying around waiting to be mined, as well as keeping the burgeoning power of the United States in check while it was somewhat preoccupied with its own Civil War. Sneaky guy.

As a coda, while double checking to see that The French Invention had not already been ascribed to an alcoholic concoction, I serendipitously discovered that the drink’s spec tips its hat to Harry Craddock’s Napoleon cocktail. Granted, not the same Napoleon, but close enough for jazz.

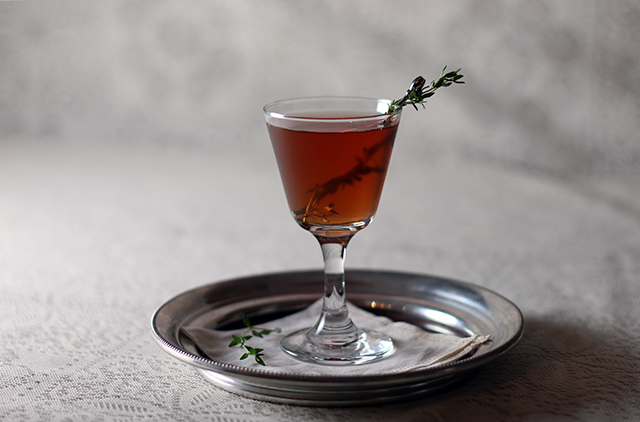
The French Intervention

2 oz. El Espolòn Tequila Blanco
1/2 oz. Cynar
1/2 oz. St-Germain Elderflower Liqueur
2 dashes Angostura Bitters
Wide lemon twist for garnish

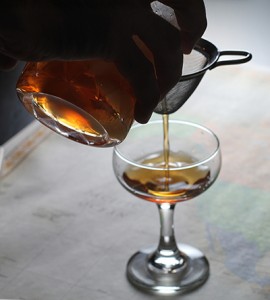
Combine the tequila, Cynar, St-Germain, and bitters in a mixing glass. Stir with ice and strain into a chilled coupe. Twist the lemon peel over the drink to express the oils and garnish.

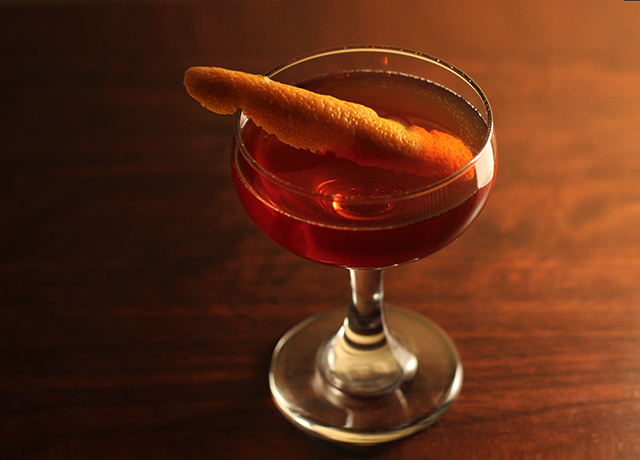
Roll Out the Barrel Aged Negronis

negroni_top

Patience, they say, is a virtue. But for me it’s not something that is terribly innate. However, during a period not too long ago when I found myself favoring the Negroni on a nightly basis, I stumbled upon this New York Times article, which led me to Jeffrey Morganthaler’s post about barrel aged cocktails. As it featured the Negroni as a prime candidate for barrel aging, I was excited to give my current drink of choice a six-week steep and see what the outcome was.

As I’d never had a barrel aged cocktail of any kind I wasn’t sure if laying out the cash for a full on barrel was the best idea. Luckily, Tuthilltown Spirits sells a 375ml barrel aged cocktail “kit” probably for people just like me. Once it arrived I measured and mixed my gin, Campari, and sweet vermouth, poured it into the jar, and stared at it for six weeks.

Barrel Aged Negronis

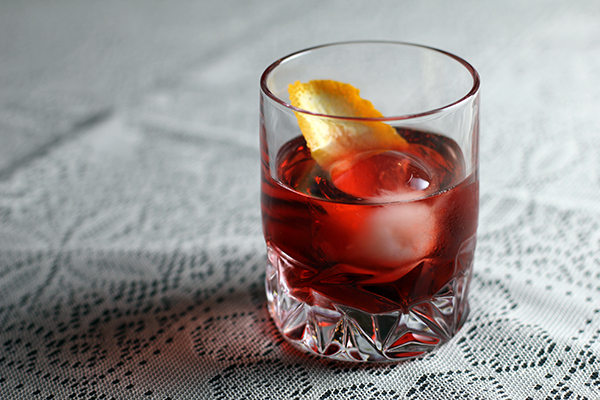
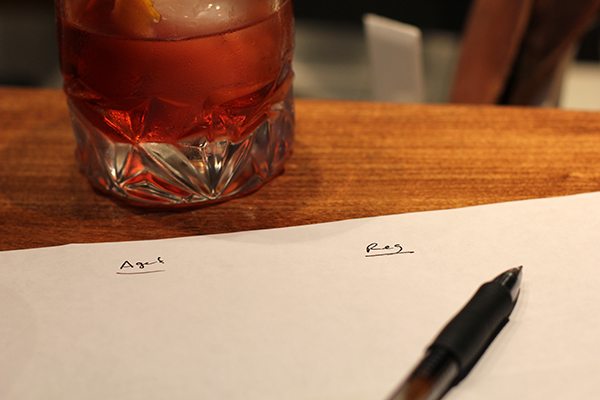
When the moment of truth arrived, I made a classic Negroni and lined it up next to the barrel aged version to compare. And to be honest, I was a bit surprised when I took the first sip of my six-week old concoction. Unlike the brightness of the original cocktail, my barrel aged Negroni tasted much smoother. The bitterness of the Campari was softened by the oak notes now present as a result of the aging. Put in music terms, if the original Negroni has a lot of high frequencies, the aged version has a more mid-range profile. Most striking to me, however, and not at all surprising I suppose, is the way the flavors melded together to create something much more like a singular spirit than a mixed drink.

The final verdict was that the barrel aged Negroni was so distinct from the original version that trying to compare them was more or less pointless. If you like Negronis you might like barrel aged Negronis. Or you might not. Try one for yourself if you really want to know!

Barrel Aged Negronis

One part gin (I used Beefeater)
One part Campari
One part sweet vermouth (I used Martini and Rossi)

Mix the gin, Campari, and sweet vermouth together without ice. Pour into your aging vessel and let stand for approximately six weeks. After six weeks, transfer your aged cocktail into a glass jar or bottle. When ready to serve, measure 3 – 3.75 ounces, stir with ice, then pour into a chilled old fashioned glass over a large ice ball. Garnish with an orange peel.

Pretty in Pink Week: Market Strawberries

strawberry_top

We’re not really a fruit household. I mean, there’s Brian’s banana-a-day habit and my endless juicing of lemons, but aside from that, it’s the rare apple or lime that crosses our threshold; like cakes and cookies, the sweets just don’t carry much traction. Give us brussels spouts or give us broccoli, but please hold the peaches, pineapples, and grapes.

Still, even a hardhearted Team Savory fan such as myself could not resist the loveliness that was the first market strawberries of the Maryland season. And when my friend Marie helpfully prompted that I could “totally put a couple in a salad,” my defenses were crushed.

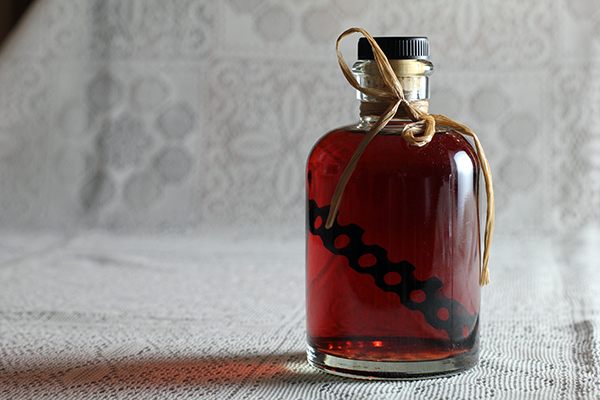
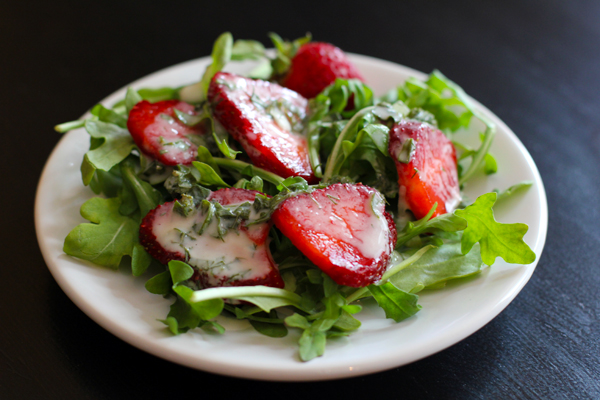
At home, I did indeed find a way to work them into an arugula salad with a tangy herbed buttermilk dressing. But I also got to thinking about that colonial fruit preservation method known as the shrub. I’d kept a jar of this vinegar-laced syrup a couple summers back and put it to good use in generous glasses of seltzer (yes, my homemade seltzer contraption is still going strong!). Perhaps it was time to make some more? Yes, yes indeed.

Strawberry Salad with Herbed Buttermilk Dressing
Serves 2

2 generous handfulls of baby arugula, spinach, or greens of your choice
6 strawberries

For the dressing

1/2 cup buttermilk
1 T white Balsamic vinegar
1 T fresh chopped basil or dill (or a mix)
salt and pepper to taste

Mix all dressing ingredients.

Rinse the greens (if necessary) and hull and slice the strawberries. Plate and drizzle with the dressing.

The Strawberry Shrub

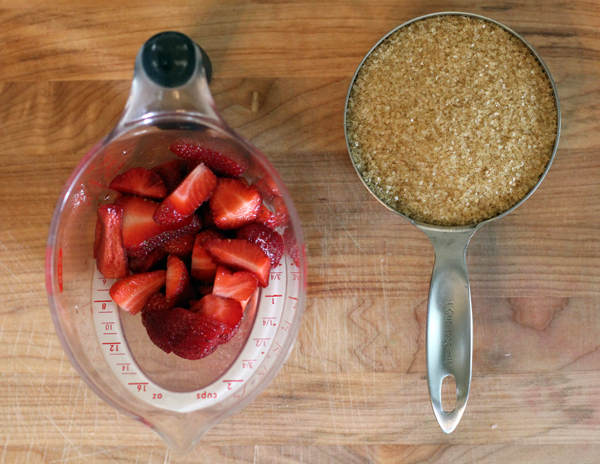
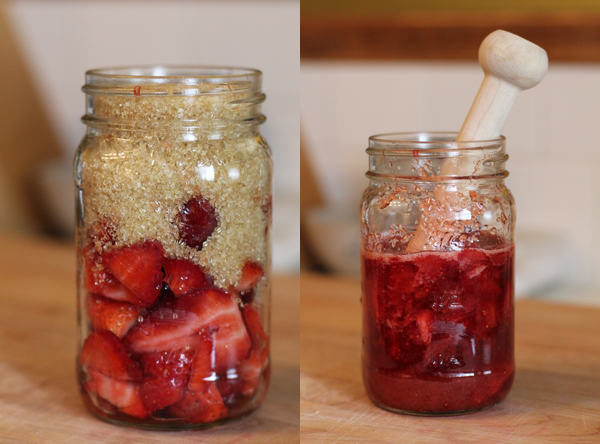
After some internet research and reflection, I decided to go with the 1:1:1 ratio of fruit:sugar:vinegar. I macerated the fruit with the sugar (now that is a satisfying feeling) and left the mixture to sit for 24 hours. At that point, I added a cup of apple cider vinegar and will now mind it, shaking daily, for seven days. Then it’s strain and refrigerate until needed. Here is a helpful post, if you’re looking for more detailed background and instructions. The last time I did this, I worked in the reverse order, first infusing the vinegar and then cooking in the sugar. So we shall see how this new experiment compares.