cookies » Wonderland Kitchen
Browsing Tag

cookies

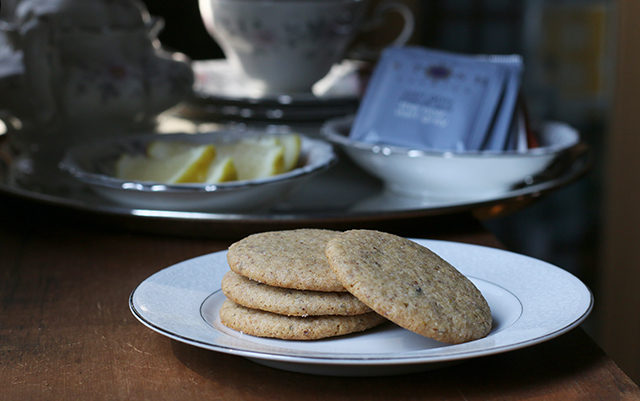
Let’s Celebrate! Have a Lavender and Lemon Cookie

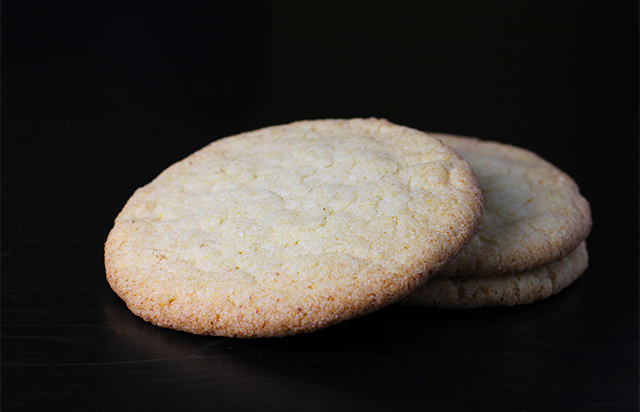
Lavender and Lemon Cookie

Though I have somewhat forgotten what the sun feels like due to this three-day sheet of rain it’s hiding behind, over the weekend a picnic was considered and I found myself in need of a simple, portable, no-silverware-required dessert-type experience. Since the suggested locations included our stunning local tulip patch, my mind turned to flowers–specifically the bag of dried lavender flowers I was already stocked with.

I must have googled lavender cakes and cookies and lemonades dozens of time in the past few years, but I had never followed through and actually executed a recipe. In this case, I needed something efficient in terms of time and effort, and bake-able out of what was already in the house. Giada De Laurentiis delivered with charm. Her Lavender and Lemon Cookies are short on ingredients, gentle on effort, and impressive on a plate.

Lavender and Lemon Cookie

Get the recipe: Lavender and Lemon Cookies

Other obligations meant that in the end we had to scrap the picnic, but inspired by these delicate treats, I broke out the fancy china for an appropriately random Wonderland-style tea party on the front porch.

This morning I’m enjoying the last of the cookies over on the music side of my life, as I try to get Dave Malloy’s highly addictive music out of my ear now that production is done on his profile and we begin to celebrate the 15th (15th!! Wow, where did the time go?) anniversary of NewMusicBox! Feeling like a little old lady in internet terms, so tea and a biscuit is quite the proper thing to indulge in.

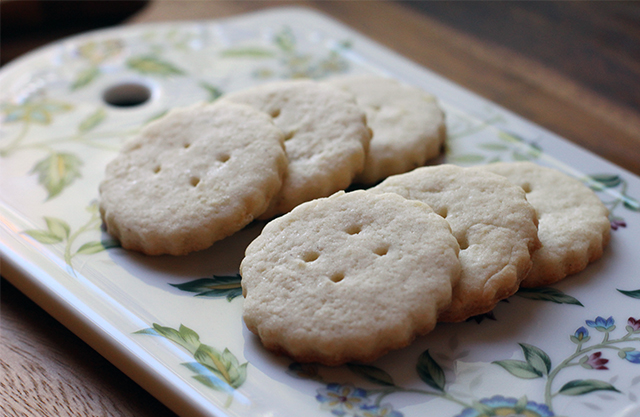
Mad Hatter Tea Party: Not Too Dry Tea Biscuits

Not Too Dry Tea Biscuits

You may have noticed something of an overarching theme in this site’s construction, but while Alice in Wonderland comes up here and there, I have yet to post any recipes for roasting Jabberwocky or to offer any advice on adding pepper to soups.

That being said, when I came across this now out-of-print cookbook riffing on the classic tale, it seemed like a match I surely could not ignore. It was easier to ignore it once I caught the triple-digit price tag on existing copies, however. Still, even while I waited for a version more within my budget, there were a few treats from the book posted online, so I decided to see where that rabbit hole would lead.

Not Too Dry Tea Biscuits: Tray

Whether you’re plotting a grand tea party for six or it’s just you and your cat, the recipe for these Very Dry Tea Biscuits is simple enough to whip up any time. No worries. As long as you don’t over-bake them, they are not too dry at all, neither are they terribly sweet, though bright hints of lemon and the rich scent of nutmeg accent them beautifully. This recipe turned out about 40 two-inch biscuits for me, and they store perfectly in the freezer. I like having them on hand to pull out at a moments notice when curious guests suddenly arrive and are in need of snacks.

Now that I’ve had a taste of Wonderland cooking, I must admit that roasting Jabberwocky sounds kind of intriguing. Maybe we’ll have to follow this white rabbit a bit more often.

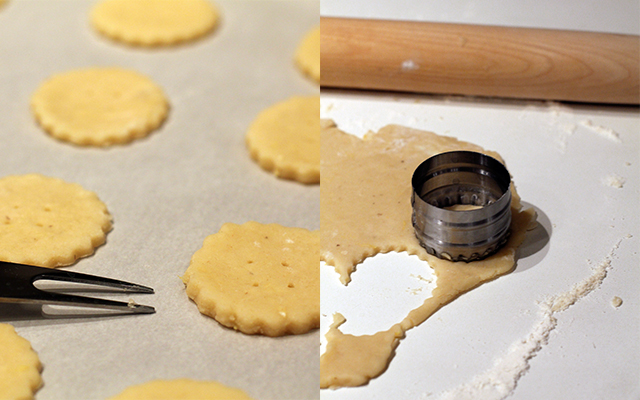
Not Too Dry Tea Biscuits: Process

Not Too Dry Tea Biscuits
from The Alice in Wonderland Cookbook: A Culinary Diversion by John Fisher

1 stick butter, room temperature
1/3 cup sugar
1 egg, lightly beaten
8 ounces flour
2 teaspoons lemon zest
a pinch of salt
a very generous scratch of nutmeg
2 tablespoons milk, as needed

Heat oven to 325°F

In a medium bowl, measure out flour. Add lemon zest, salt, and nutmeg and whisk to combine.

Cream together butter and sugar until light and fluffy. Scrape down the sides of the bowl, add egg, and continue mixing until incorporated. By hand, stir in mixture of flour, lemon zest, salt, and nutmeg. If dough remains too dry, add just enough milk to pull it together.

Roll out dough on lightly floured counter and cut out desired shapes. Place each biscuit on a parchment covered cookie sheet (you can squeeze them fairly close–they will not spread much) and prick each with a fork. Bake 14-16 minutes, or until lightly browned.

Cool completely on a wire rack. Store tightly covered (in the freezer for an even longer shelf life).

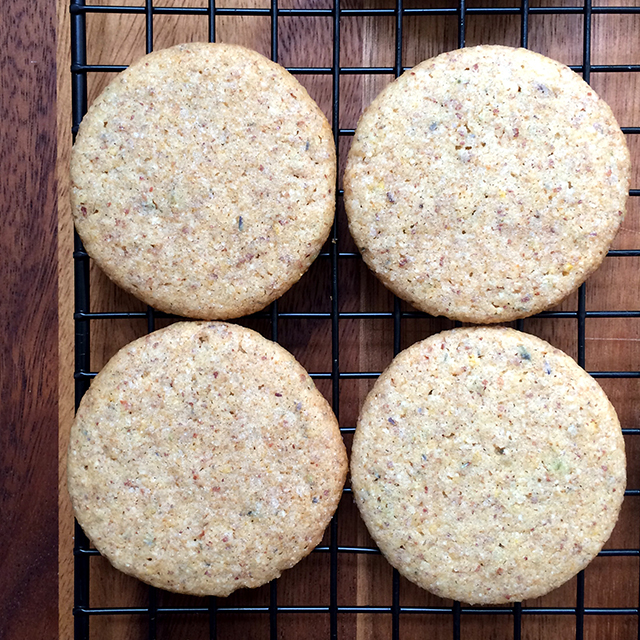
Getting Corny: Momofuku Milk Bar’s Corn Cookies

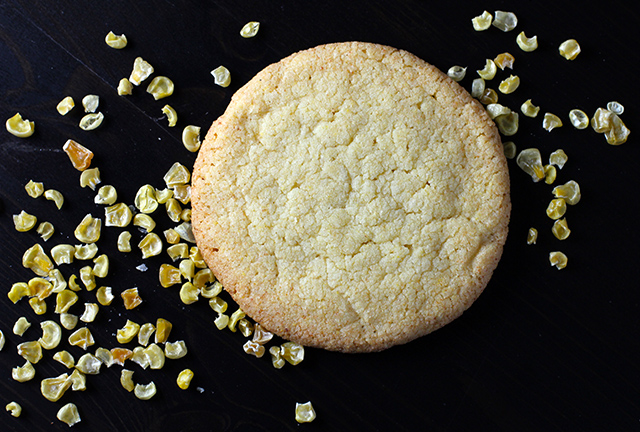
Momofuku Milk Bar's Corn Cookies

Based on the sheer number of somewhat bizarre drying experiments I’ve been running around here lately, you might have caught on that I’m a new convert to the joys home dehydration. Beyond your basic fruit snacks and carrot chips, I’ve been particularly interested in manufacturing my own DIY vegetable powders–everything from your standard garlic and onion to your more exotic tomato and red pepper.

In the course of things, I ended up dehydrating a bag of frozen sweet corn for a recipe that never materialized, so I packed the dried kernels away in a mason jar until a good use for them presented itself.

A few weeks later, however, I caught Savory Simple’s post on Momofuku Milk Bar’s Corn Cookies and was immediately seduced by the quirky taste profile the recipe suggested. I was less attracted to sourcing the unusual ingredients required. Did I really want to special order corn powder? Hmm, might my dehydrated corn step in to save the day? I committed…to thinking about it.

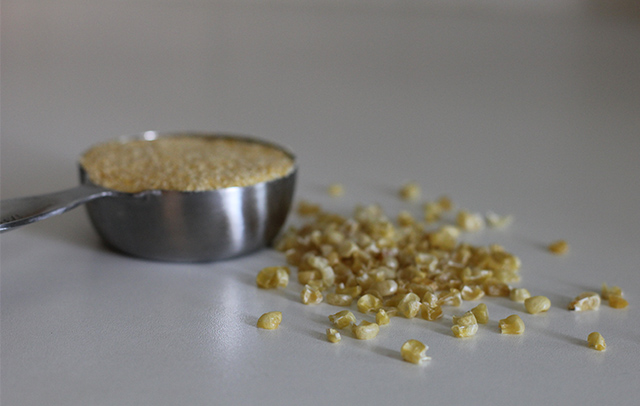
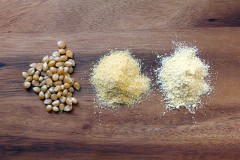
DIY corn powder and corn flour

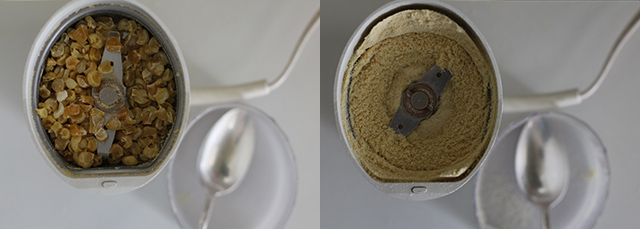
And so the recipe went into my “to make one day” pile, and there it sat. For months. Finally, frustrated by my own inaction, I pulled out my “coffee grinder reserved for spices” and got to work. The dried sweet corn was powdered; lacking corn flour, I also blitzed some of my DIY cornmeal until the motor was near to overheating and my fingers were satisfied with the texture. I sifted for good measure. Twice.

Do these cookies match the originator‘s? I actually can’t say, since for as much time as I spend in New York City, I have yet to make a pilgrimage to the Milk Bar. Perhaps I shall pop in this month, now that I have a mission. What I can say is that I made these with just what was in my pantry, and they were fantastic. The freshly powdered dehydrated sweet corn and corn flour provided a strong corn flavor that made for a particularly unique treat.

DIY Corn Powder

Corn Cookies: Pre-bake

NOTES: Before baking these, I read a recommendation to substitute bread flour for the AP to help the cookies stand up to the high butter content, controlling spreading while maintaining a chewy rather than crisp texture. It was suggested that King Arthur bread flour was what they use at the Milk Bar, and I liked the results I got this way (though I did not bake a comparison batch).

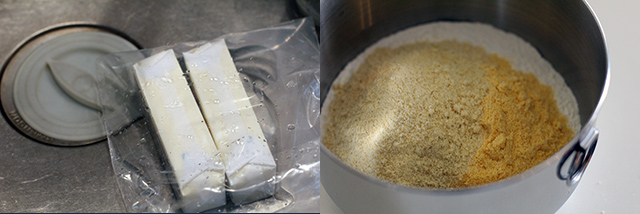
On baking day, it was cold enough in my house, and I was impatient enough to get started, that getting my butter to room temperature seemed like a battle I was destined to lose. However, I remembered a neat trick I learned (via Food in Jars) to soften butter in warm tap water. Killer kitchen tip for the poor planners in the crowd like myself!

Corn Cookies: Ingredient Prep

Momofuku Milk Bar's Corn Cookies

Momofuku Milk Bar’s Corn Cookies

1 1/3 cups (225 g) King Arthur bread flour
1/4 cup (45 g) corn flour (I ground cornmeal to a super fine level; for international readers, this is NOT corn starch)
2/3 cup (65 g) freeze-dried corn powder (I used finely ground dehydrated sweet corn kernels)
3/4 teaspoon baking powder
1/4 teaspoon baking soda
1 1/2 teaspoons kosher salt
16 tablespoons (225 g) butter, at room temperature
1 1/2 cups (300 g) sugar
1 egg

Measure dry ingredients into a mixing bowl and whisk to evenly incorporate. Set aside.

Cream butter and sugar together (medium-high for 2 to 3 minutes). Scrape down bowl, add egg, and beat for 7 minutes more.

Reduce speed to low and add dry ingredients to wet. Mix just until combined.

Portion into 15 rounds on a parchment-lined baking sheet. Flatten each cookie to about an inch thick. Cover with plastic wrap and refrigerate for at least one hour before baking–do not skip this step! Cookies baked several days later, however, were just as good.

When ready to bake, heat oven to 350°F.

Place six raw dough pucks spaced well apart on a parchment-lined cookie sheet (they will spread considerably). Bake 16 minutes, until edged have lightly browned. Allow cookies to cool and firm up before removing from pan. Store in an air-tight container.

https://wonderlandkitchen.com/2013/05/getting-corny-momofuku-milk-bars-corn-cookies/

1 1/3 cups (225 g) King Arthur bread flour
1/4 cup (45 g) corn flour (I ground cornmeal to a super fine level; for international readers, this is NOT corn starch)
2/3 cup (65 g) freeze-dried corn powder (I used finely ground dehydrated sweet corn kernels)
3/4 teaspoon baking powder
1/4 teaspoon baking soda
1 1/2 teaspoons kosher salt
16 tablespoons (225 g) butter, at room temperature
1 1/2 cups (300 g) sugar
1 egg

Measure dry ingredients into a mixing bowl and whisk to evenly incorporate. Set aside.

Cream butter and sugar together (medium-high for 2 to 3 minutes). Scrape down bowl, add egg, and beat for 7 minutes more.

Reduce speed to low and add dry ingredients to wet. Mix just until combined.

Portion into 15 rounds on a parchment-lined baking sheet. Flatten each cookie to about an inch thick. Cover with plastic wrap and refrigerate for at least one hour before baking–do not skip this step! Cookies baked several days later, however, were just as good.

When ready to bake, heat oven to 350°F.

Place six raw dough pucks spaced well apart on a parchment-lined cookie sheet (they will spread considerably). Bake 16 minutes, until edged have lightly browned. Allow cookies to cool and firm up before removing from pan. Store in an air-tight container.

Little Debbie, Little Debbie…Mini Bourbon Oatmeal Cream Pies

cookies_top

Though I don’t spend a lot of time on Pinterest, I love using the service as a way to quickly file recipes I spy online and want to be able to return to when the occasion suits. As a result, this “To Make” board haunts me due to its visual deliciousness, questioning sweetly (yet with an aggressive undertone) “Why make it later, when you could make it now?” whenever I review its contents.

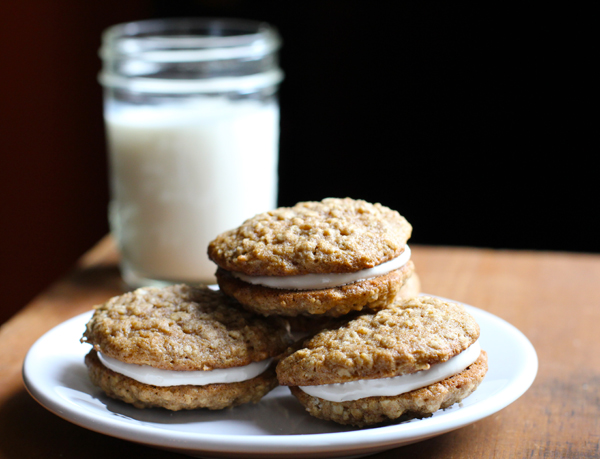
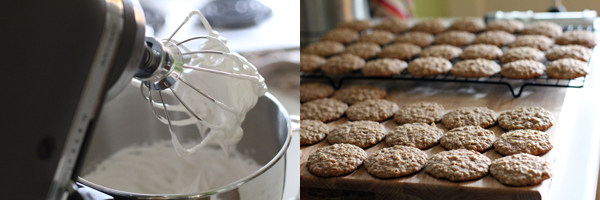
Well, the pin board won a round this weekend and I finally put my hand to cracking out a batch of these very tempting Mini Whiskey Oatmeal Cream Pies from Food Plus Words. Though I opted for bourbon and added some nutmeg and clove to the spice profile of the cookies, I otherwise followed the recipe and did as I was told. Be forewarned that, as written, it makes a lot of filling–much more than you’ll need for just this batch of cookies. Once you get a taste of it, however, you probably won’t have a problem finding other things to slather it on. Considering all my pies are already gone (hey, I shared!) I would have gladly doubled the recipe on the cookie side in order to net more treats up front. Lessons for next time. Because there will be a next time. Just invite me to your summer picnics and see how many next times there might be.

Or, you can make a batch for yourself:

I also feel like this “Classic Snack Cakes with an Alcoholic Punch Up” could easily become a thing here in Wonderland. A chocolate jelly roll cake spiked with a Chambord version of the above-mentioned copious filling to create an oversized Ho-Ho, anyone? And don’t even get me started on my ideas for Sno-ball variations…

And yes, I did play this track several times while constructing my pies. Little Debbie, Little Debbie…I just couldn’t help myself.

For Want of a Cookie

cookies_top

You know how people always say don’t go grocery shopping hungry? I think I may need to apply a similar rule to recipe research: don’t go browsing while indecisive. When I sat down at my kitchen table to figure out what dessert to bring to tonight’s potluck, I knew I needed something easy to eat, small and sampler-plate friendly that would suit a smorgasbord for 15. But with not much more of an idea than that, once this Libra started spotting cookie recipes in line with my pantry stores, well, it was hard to stop at one.

Or two.

Or three.

Luckily, at that point I was out of time, out of counter space, and out of sugar, or else things could have taken a serious turn towards the diabetic.

The first of these recipes comes from a new-to-me site that I immediately paged through back to front, drinking in all the phenomenal photography and stopping here and there along the way to get to know the woman behind the lens. I can’t wait for her next post.

The second two are both from Joy the Baker, who I hear has a new cookbook out. Based on my experiences with these two cookie recipes (selected from among her top picks) I suspect that the book contains some real winners. If I had had any puff pastry in the house, you couldn’t have held me back from making a go at just one more cookie.

Want to make a batch of your own? I suspected as much. This way to the recipes!

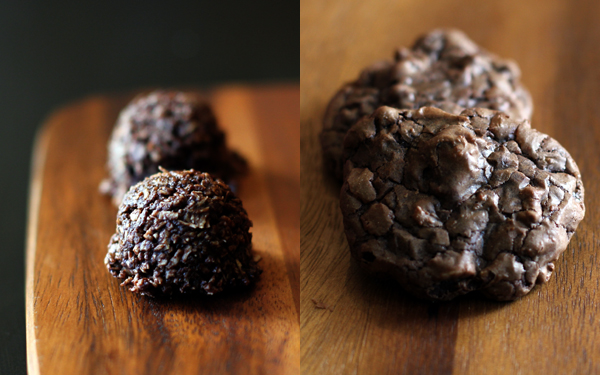
Cocoa and Coconut Bits: It’s a potluck in 2012, so something vegan and also gluten free (unless you avoid oats, as well) seemed a good idea.

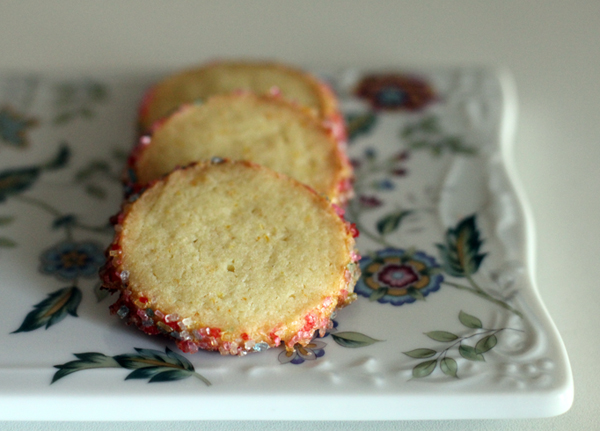
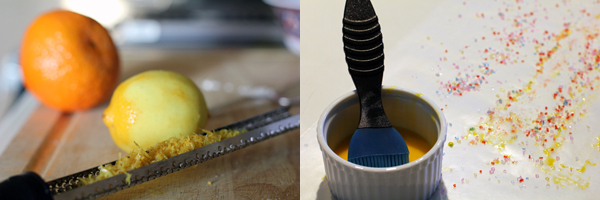
Citrus Sables: I used lemon and orange.

Dark Chocolate, Walnut and Golden Raisin Cookies: Though I used cranberries and almonds.

Comfort and Joy! (New Christmas Cookie Edition)

cookies_top

I was bored with Christmas baking, and I hadn’t even started yet. Let me back up.

On Friday, my mom called to ask how my Christmas preparations were coming along. I gazed out my window at the Halloween pumpkin still decomposing on my front porch and refused to assume her plan-ahead, Martha Stewart decorating drive.

I don’t like to pack my holiday celebrations too tightly, and I was still working off Thanksgiving dinner, thankyouverymuch. Still, an examination of the calendar did indicate that perhaps some hustle on my part was in order. While I wasn’t ready to make a public lawn statement quite yet, I figured that some baking might help ease me into the spirit of the season. When I turned to my usual Christmas cookie contenders, however–the peanut butter blossoms, the pecan tarts, the Hungarian half-moons–they were all so perfect and lovely and…uninspiring somehow. I decided that I needed to break tradition: Christmas 2011 needed a new cookie.

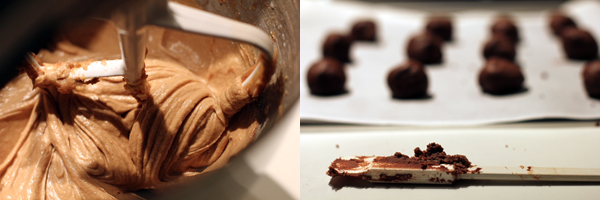
Thus began the epic Googling. (What? I’m a girl who likes her research!) In the end I settled on two experiments. This is the first, the “cozier” and less fussy of the duo. A friend came back from a block party raving about them a few weeks ago and even though they are laid back, they sure are tasty. I think what sold me is how they are kind of like a Buckeye–a peanut butter ball wrapped in chocolate; what’s not to love?–but (bonus!) in this version they also function as cookies. I was not disappointed.

Cooks all over blogland have gone to town on this recipe (which appears to have originated in an issue of Better Homes and Gardens), so whatever version you need, you can probably find one to suit (the vegans, in particular, have done a range of adaptions). I went with this posting by Culinary in the Country, mostly just because I liked his cookie flattening technique and the fact that he, too, whisks his dry ingredients.
Peanut Butter Filled Chocolate Cookies
Recipe from Culinary in the Country; adapted from Better Homes and Gardens

Dough:
1 1/2 cups all-purpose flour
1/2 cup unsweetened cocoa powder
1/2 teaspoon baking soda
1/4 teaspoon salt
1/2 cup unsalted butter, softened
1/2 cup granulated sugar
1/2 cup packed brown sugar
1/4 cup peanut butter
1 large egg
1 T milk
1 teaspoon vanilla

Filling:
3/4 cup sifted powdered sugar
1/2 cup peanut butter
pinch salt

For assembly:
a few tablespoons granulated sugar

Measure flour, cocoa powder, baking soda, and salt into a medium bowl and whisk to combine.

In a large bowl or stand mixer, cream butter, sugars, and peanut butter until smooth. Add the egg, milk, and vanilla, and continue mixing until well combined. Add dry ingredients and mix just until combined.

Cover two baking sheet with parchment and divide dough into 32 pieces. (I only got 29 and wasn’t disappointed with their size, so use your own judgement.) Quickly shape into balls.

Preheat oven to 350°F.

In a medium bowl or stand mixer, mix powdered sugar, peanut butter, and salt until smooth. Divide into enough pieces to fill your chocolate balls. I found the filling coherent and malleable enough to roll it out into a log, so I did that and simply divided it evenly with a butter knife rather than guess on individual balls, as the original recipe suggested.

Flatten each chocolate ball in the palm of your hand and top with a piece of the peanut butter filling. Fold chocolate dough as evenly as possible around the peanut butter and shape back into a ball before placing it on the baking sheet again. My “round” ball cookies always come out slightly flat, which in this case actually worked in my favor (see next step).

Lightly flatten each cookie with the bottom of a glass dipped in granulated sugar. You might need to get it a little greasy first to get the sugar to stick.

Bake cookies one sheet at a time until the surface of the cookies begins to crack slightly, about 8 minutes. Allow cookies to cool for 1 minute on the baking sheet, then transfer to wire rack and cool completely.