Molly Sheridan
Browsing All Posts By

Molly

Pioneer Days: In The Country Kitchen for Salt-Rising Bread

salt-rising bread

A little more than a year ago, I attempted an old-world recipe from Della Lutes’s completely charming cook book-meets-memoir The Country Kitchen (Little, Brown, and Company, 1936). A few months ago I then passed that book on to a friend, and we got to talking about another interesting recipe referenced in the text for salt-rising bread.

Or actually, almost a recipe, as far as contemporary expectations go. While Lutes quotes the rough method, she comes up just short enough on detail that I was hesitant to try it out. But I had something she did not: the internet.

And of course, the crowd provides. After reading up on the unique smells and the finicky challenges of this bread, I took a minute to gauge my sanity and then plowed ahead. I mean, I do all kinds of weird projects here in Wonderland, so why not? To hedge my bets, I went with the very thorough King Arthur guidelines provided in this post, and I was not disappointed!

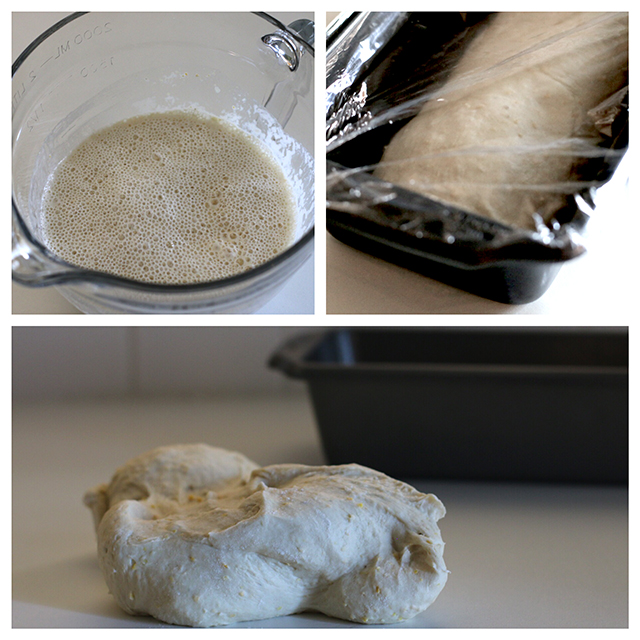
salt-rising bread: steps

Interesting points and some things to keep in mind:

Even though it’s called salt-rising, there’s actually not that much salt in the recipe. But there is no added commercial yeast. More details for the curious on the history and the name can be found here and more discussion can be had here.

Some other recipes use potatoes instead of cornmeal, or some combination. Others caution to only use whole grain cornmeal, which I did. (You can buy this—just check your package—or make your own!)

Everything they say about the smells the various stages of this dough emit are true and yet it’s just kind of weird, not stomach convulsingly terrible—to my nose at least. I’m also accustomed to strange cheeses and various fermentation projects, however, so perhaps I’ve simply built up a tolerance.

Most challenging part: You will need a method to keep the dough warm enough—between 90°F and 100°F according to the recipe I followed (though others go as low as 80°F). My oven offers a proofing setting at around 95°F, so I was golden and the development of the dough seemed to proceed on schedule, but your results may vary depending on what you can rig up. You will at least know if things are amiss at each stage, so it won’t just be a big surprise at the very end.

While I started this recipe just before I went to bed one night and didn’t end up with a loaf of bread until the following evening, the actual skills needed and dishes used/mess made are quite minimal, so this recipe is mostly a question of patience to my mind.

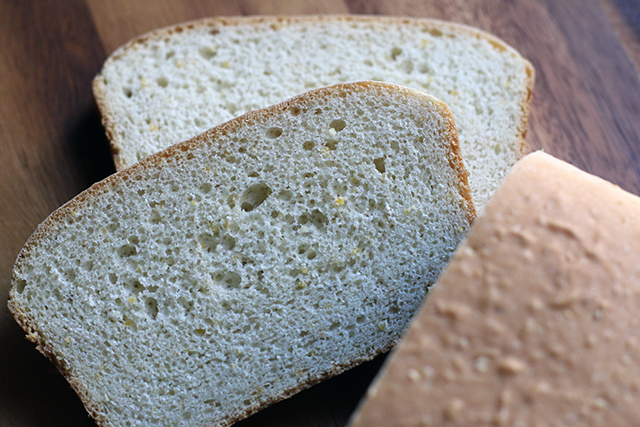
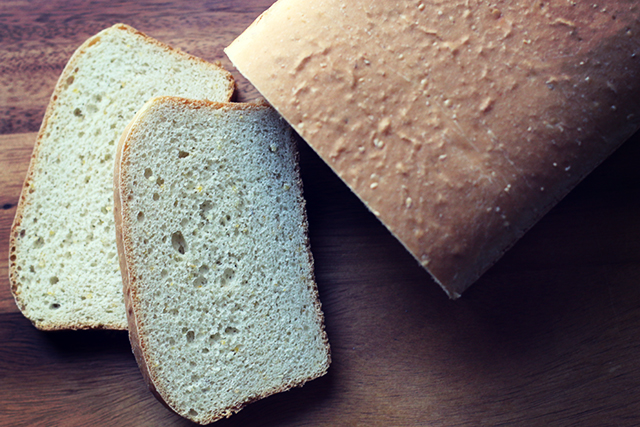
And the results are really interesting. The produced loaf has a fairly dense, dry crumb that stores well and makes for excellent toast (really the only way to eat it, in my opinion). Toasting perfects the inherent cheesy, nutty flavors in the dough that people note and that seem to be the nostalgic pull for many.

salt-rising bread

Salt-Rising Bread
As seen on King Arthur Flour, but the recipe’s providence goes back quite a bit further. For some additional process pictures and hand holding, I definitely recommend a read through KAF’s related blog post as well–just don’t panic!

Stage One

1/4 cup milk
2 tablespoons cornmeal
1 teaspoon sugar

Stage Two

1 cup hot water (120°F to 130°F)
1/2 teaspoon salt
1/2 teaspoon baking soda
1/2 teaspoon sugar
1 1/2 cups AP flour

Complete the Dough

4 tablespoons butter, softened
1/2 teaspoon salt
2 1/4 AP flour

Stage One: Scald the milk and cool to lukewarm. In a glass container large enough to allow for expansion (I used an 8-cup glass measure for stages one and two), combine the milk, cornmeal, and sugar. Whisk to combine until no lumps remain.

Cover with plastic wrap and let rest in a warm place (between 90°F and 100°F) for 8 to 12 hours. At the end of this stage, you should see some bubbles/foam on the surface and notice a slight smell. If not, you will need to start over (or abandon this project–no shame).

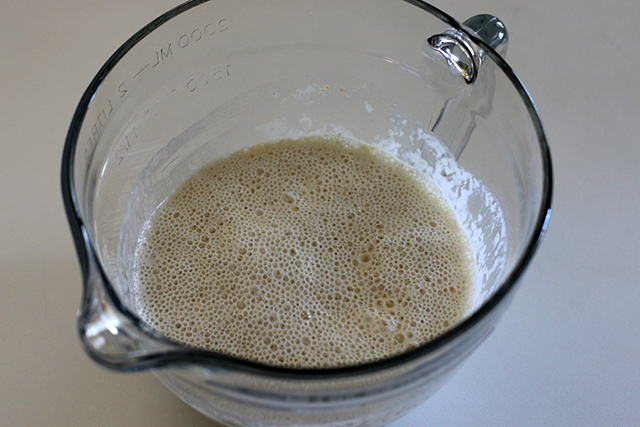
Stage Two: Combine the hot water, salt, baking soda, sugar, and flour and then stir this mixture into Stage One until evenly incorporated. Cover the bowl again and return to your warm place for two to four hours, until the starter has doubled and is quite bubbly and pungent. (The measuring cup makes this even easier to gauge; mine took about 3 hours.) Here again, if you don’t get the results described, you will need to begin again. If action just seems slow, try a warmer spot for a couple hours more.

salt-rising bread: bubbles

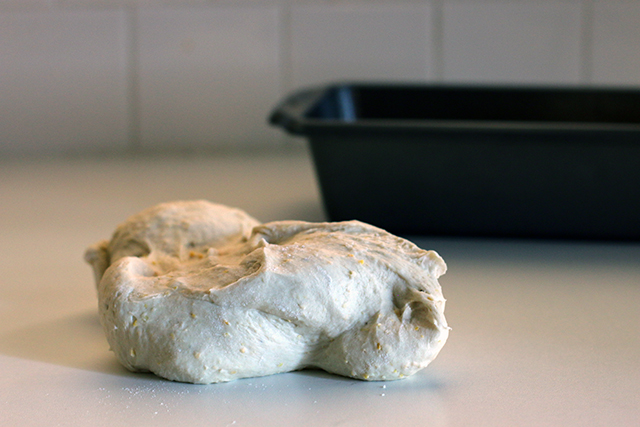
Complete the Dough: Transfer starter to a large bowl or stand mixer and add remaining ingredients. Knead until smooth.

salt-rising bread: dough

Form dough into a log and place in a greased loaf pan (8 1/2″ x 4 1/2” is recommended, but I used my 9” x 5” without issue). Cover again and return to the warm place until it crowns over the edge of the pan. The edges will round but the surface of the loaf may be relatively flat. This is expected.

Near the end of the rising time, heat the oven to 350°F. Bake for 40 minutes, until nicely browned.

Cool for 5 minutes in the pan then turn out onto a wire rack and cool completely before slicing. Stores well in plastic for about a week.

Natural Woman: DIY Moisturizer

DIY moisturizer

I tend to approach health and food trends with an open-minded skepticism. Sure, I’ll try oil pulling or short-term juicing since it’s pretty obvious it won’t kill me, and I even did a stretch of “clean eating” that nixed all the dairy, gluten, caffeine, and alcohol from my life for 30 days. But I’m not a doctor or a nutritionist, so I try not to do anything too weird without a good reason and a decent amount of research. I don’t want to live in a world without butter and avocados and coconut oil, but I can stick to moderation and food that doesn’t come in a box for the most part.

For all that care, however, what I hadn’t done is put much thought into what touched my skin. I’m no cover girl, but still it seems kind of silly to put so much thought into what goes into my mouth and then turn around and smear things on my body without reading the labels. And as with food, once you start reading labels things get questionable pretty quickly.

So without being a zealot about it, I’ve started playing around with cosmetic alternatives that, even if I wouldn’t literally eat them, are a little closer to the ground. To be clear, this doesn’t necessarily make them a good idea, and I would strongly caution every reader to use your own common sense when experimenting. For example, most of the DIY deodorant recipes I’ve come across have a significant level of baking soda in them which painfully irritates my skin. Just because you make something in your kitchen does not mean that it’s a safe(r) alternative to commercial products.

Rainbow Henna

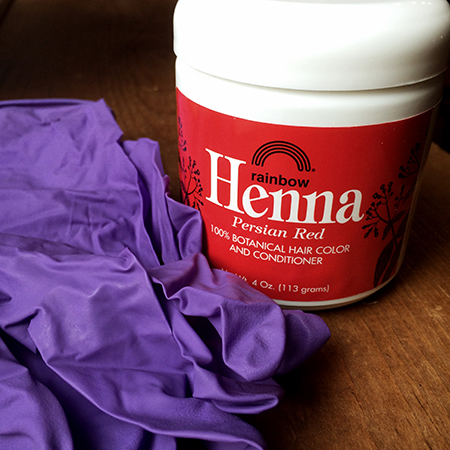
Dying my hair with my usual drugstore box of color seemed ill advised if I was getting serious about chemicals on my skin, so I tried out this henna which I found at Whole Foods. Mountain Rose Herbs also sells henna in a variety of tones.

DIY deoderant

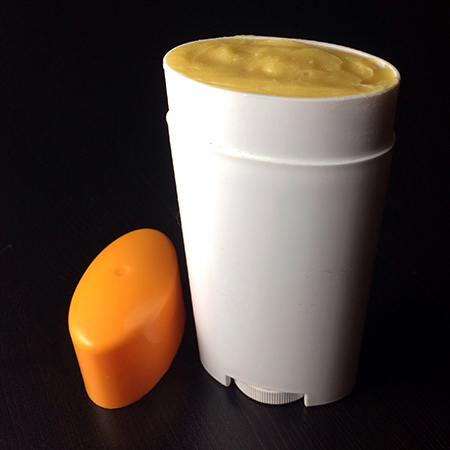
I’m still looking for the recipe that works for me. This (going even lighter on the soda, but not omitting it completely which removes effectiveness, I found) is the last one I tried. Closer, but not quite.

DIY cosmetics

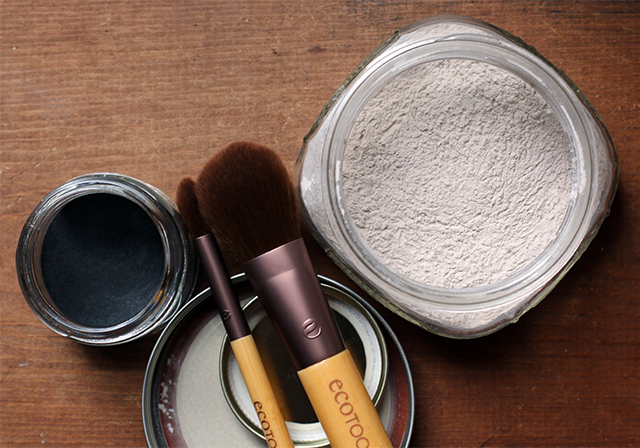
Most of the products I’ve tried take only a few minutes to assemble and package and, once you’ve stocked a few key ingredients, are fairly cheap to make. Mix arrowroot and white kaolin clay with a bit of cocoa to make a respectable face powder, mix it with a bit of activated charcoal and you get an attractive smokey eyeshadow. Cracking out a small army of lip glosses tinted with alkanet (way better than beet powder!) was child’s play; my attempt to mix activated charcoal into a similar base to get a decent eyeliner was slightly less successful, but definitely educational!

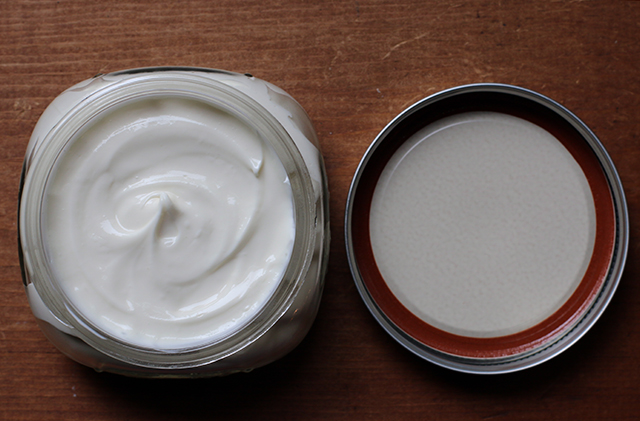
Of all the products I’ve attempted, however, none has felt as sophisticated as the moisturizer I made from a recipe designed by Rosemary Gladstar. For those in the crowd who have made mayonnaise, this project was a similar level of difficulty. The key to successful emulsion seems to be patience. Make sure your oils have cooled to room temperature! (I took this another step and set my glass measuring cup of waters in a bowl of hot water to warm it up some while I waited.) Result: beautiful cream right out of the gate! While this moisturizer does seem to take a few extra seconds to absorb fully into the skin than commercial products, when used sparingly on the face and generously elsewhere, it leaves my skin feeling satiny and in no way greasy. My destroyed winter hands are especially happy.

Do you have any DIY cosmetic tips or tricks to pass my way? Anything you’d like to learn to DIY at home?

Blending moisturizer

Rosemary’s Perfect Cream
The original recipe as found in Herbal Recipes for Vibrant Health offers various substitution options, so do check that if you want more ideas. This is the breakdown I followed.

2/3 cup distilled water, room temperature
1/3 cup aloe vera gel
2 drops lavender essential oil

1/4 apricot oil (w/vitamin E added)
1/2 cup sweet almond oil
1/6 cup coconut oil
1/6 cup cocoa butter
.8 ounces grated beeswax

Combine the water, aloe, and essential oil in a glass measuring cup. Set aside.

Measure the oils, cocoa butter, and beeswax into a double boiler (I suspend a metal bowl over a small sauce pan filled with about an inch of boiling water) and heat gently until melted. Transfer melted liquid to your blender’s carafe and allow to cool to room temperature, stirring occasionally to gauge progress. (As I mentioned above, I also took the chill off my winter room temperature waters by setting the glass measuring cup in a bowl of hot water. I’m not sure this was strictly necessary, but it didn’t seem like it would hurt my chances for success.)

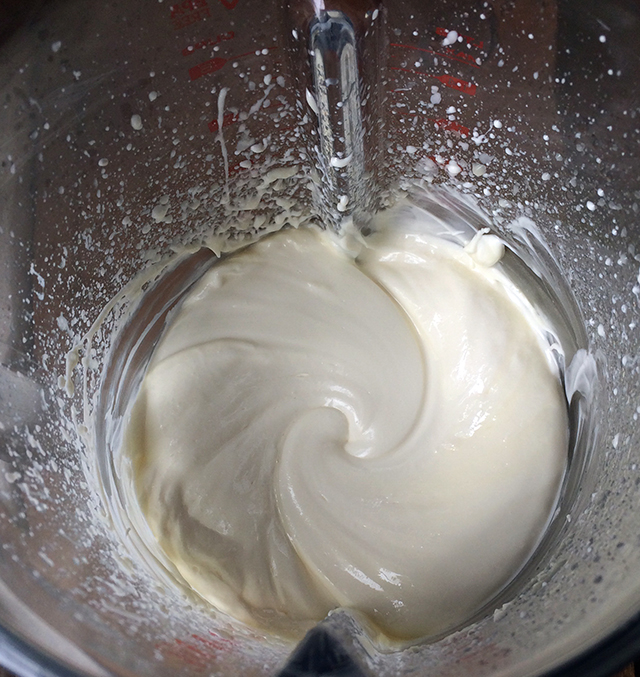
When oils have reached the desired temperature, secure lid and turn on blender at highest setting. Add the water/aloe mixture through the top access hole in a slow and steady stream. When 3/4 of the water has been added, monitor the cream in the blender. At a certain point, it will thicken and pull above the blades, no longer accepting more liquid. Stir by hand to make sure all oils and water are incorporated evenly and transfer to storage jars.

Cream will thicken as it sets. Store covered in a cool location.

UPDATE: Even only using the cream with clean hands post-shower, eventually my cream did spoil before it was completely used up. Making smaller batches and sharing with friends helps, but I found that there is a shelf life to observe here.

DIY Coke: (Even Better Than?) the Real Thing

Cola Syrup

I’ve made no secret of the fact that I drink a lot of seltzer—so much that building my own carbonation system was actually incredibly cost effective (not to mention shopping-labor saving!). So when a friend asked what other kinds of fun carbonated drinks I was DIY-ing at home, I was kind of embarrassed that I came up empty.

I mean, sure, there have been a few outings with tonic water for parties and maybe a squeeze of lemon and lime in the bottle from time to time, but here I was with my own fizzy drink maker and I was just choosing door #1 day after day after day.

Cola Syrup

Determined to break out of this sad state of affairs, I asked my pal what sort of drink she might like. (Confession: this was one part genuine love for her, one part because she drove me into the wilds to make my last CO2 cylinder exchange and she was owed.) She mentioned that she’d really like to break her Coke at work habit, so I started researching. When I was a kid I remember checking a book out of the library that had a fake cola recipe with cinnamon and vanilla, but I was sure the internet would have surely improved upon that recipe by now. For my first outting, I decided to go fancy since I just happened to have all the weird ingredients in my pantry and try out the recipe below (which appeared in the New York Times in 2011, adapted from the Brooklyn Farmacy & Soda Fountain).

In the end, I think I probably knew too much as far as tricking my taste buds. But this is a delicious concoction all the same. I’ll have to report back on whether or not my friend notices I’ve replaced what’s normally in her red can with my own special brew, but I’m happy to have broken the floodgates on my beverage rut.

Hmmm, what should I carbonate next?

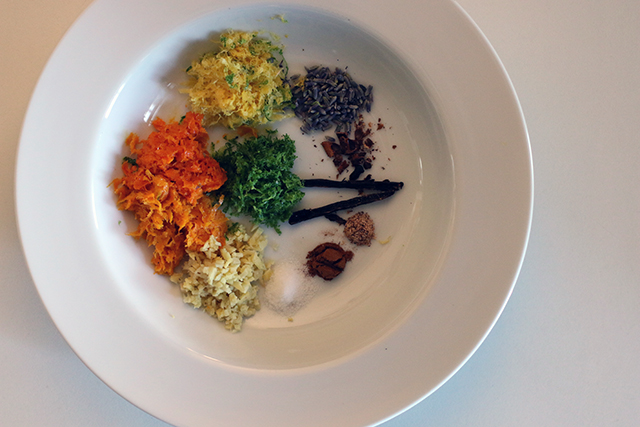
Cola Syrup: Ingredients

Note: I skipped the coloring, ditched the extra two tablespoons of white sugar in the original recipe, and didn’t bother blitzing the sugar in a food processor before dissolving to save dishes and annoyance. It all worked out just fine.

Cola Syrup
From the New York Times, adapted from Brooklyn Farmacy & Soda Fountain, Brooklyn, with minor shortcuts by me

Grated zest of 2 medium oranges
Grated zest of 1 large lime
Grated zest of 1 large lemon
1/8 teaspoon ground cinnamon
1/8 teaspoon grated nutmeg
1 section of a star anise pod, crushed (note: section!)
1/2 teaspoon dried lavender flowers
2 teaspoons minced ginger
1 one-and-a-half-inch piece vanilla bean, split
1/4 teaspoon citric acid
2 cups sugar
1 tablespoon light brown sugar
3/4 teaspoon caramel color powder, optional (I skipped this, but I am curious how that might change the overall experience/trickery)

In a heavy 2 quart sauce pan, bring two cups water and zests, cinnamon, nutmeg, star anise, lavender, ginger, vanilla, and citric acid to a simmer. Cover and reduce heat to low, simmering gently for 20 minutes or so.

Measure sugars into a bowl and place a sieve lined with two layers of butter muslin over top. As soon as infused water comes off the heat, pour through strainer, extracting as much liquid as possible. Discard solids and stir sugars into the hot liquid until completely dissolved.

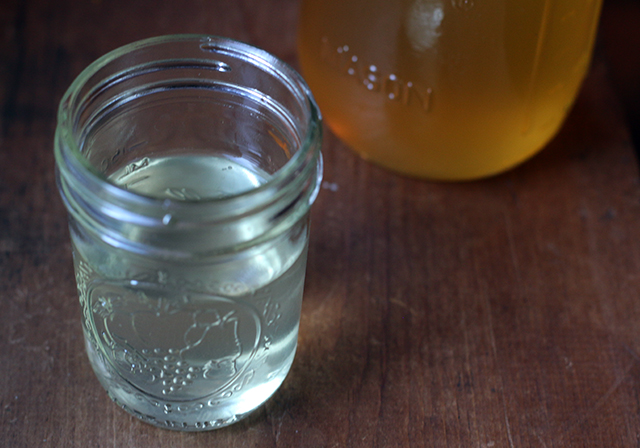
Pour syrup into a glass jar with a tight-fitting lid and store in the refrigerator until needed. Mix at a concentration to suit your tastes. A “four parts carbonated water to one part syrup” ratio seems a good place to start.

Baby Love: Sweet Treats and Cozy Knits

Pistachio, Orange, and Dark Chocolate Cinnamon Rolls

While handmade gifts for adults can be tricky to navigate, knitting for a new baby always feels right to me. They are much less likely to notice my mistakes! But seriously, to my mind knitting provides a great venue for reflecting on a new life and infusing some good thoughts into whatever soft and fuzzy creation you’d care to take on.

Last month friends welcomed a sweet little boy into their family. Considering the intense cold that we’re still battling here in the Mid-Atlantic, a simple little cap seemed like a useful item. Admittedly, I was also encouraged by the fact that I was almost guaranteed to complete the project before the new baby was filling out his college applications. I found a simple yet attractive pattern that would definitely flatter a variegated yarn. Since my color was subtle, I decided to just eyeball in a couple stripes for a little visual kick.

Cosset Baby Hat by Jenny Raymond

Get the pattern: Cosset Baby Hat by Jenny Raymond

Knowing that the sleep-deprived parents were also big fans of cinnamon rolls, I took the opportunity to finally test drive Joy the Baker’s stunning Pistachio, Orange, and Dark Chocolate Cinnamon Rolls. Even with her reduction of the Pioneer Woman’s original “ranch-sized” recipe down to 16 rolls, that’s still plenty to make this a “one pan to keep, one to pan to give away” project. Plus, while the production is somewhat time intensive, the process is actually fairly simple, the timing flexible (bake now or bake tomorrow!), the dough easy to work with, and the filling options ultimately innumerable. I assembled them the evening before and let them rest in the fridge overnight. The next morning, I let the chill come off them while I heated the oven and then baked them while I whipped up the glaze. I suspect that I will be bribing friends and neighbors with these for years to come!

Pistachio, Orange, and Dark Chocolate Cinnamon Rolls

Get the recipe: Pistachio, Orange, and Dark Chocolate Cinnamon Rolls by Joy the Baker

Do you have a go-to baby gift or food item you like to share with new parents?

Pamphlet Cooking: “Armenian” Soup

“Armenian” Soup

Last week’s Tomato Soup Cake recipe reminded me that, in addition to my stacks of proper cookbooks, I have also amassed quite an impressive pile of pamphlets, brochures, and small spiral-bound recipe collections. Most of these I acquired thanks to The Book Thing, an awesome organization here in Baltimore that redistributes books to the community free of charge. A few times a year I donate all the books I don’t need anymore and browse the cookbook shelf to see what new treats might catch my eye. And it’s these slim paper volumes—often old advertising gimmicks for baking soda or similar—that are my favorite scores.

My stash includes quite a few tempting offerings such as “The Little Book of Excellent Recipes” by The Mystery Chef (future post, promise!), but in flipping through a few of them I landed on a soup recipe in the less exotic sounding “CSA Pantry Collection #4” that I decided to test drive. As it turned out, CSA in this case stood not for community supported agriculture, as I had assumed, but rather the Celiac Spruce Association. Their recipe for Armenian Soup included dried apricots and a single potato swimming in a full 2 quarts of water. Currently challenged by yet another snow storm and freezing temperatures required some creative pantry thinking on my part if I was going to execute, so I used the pitted dates and sweet potatoes I had on hand and ended up using half the amount of stock called for. Which is to say I wouldn’t blame “CSA Pantry Collection #4” for this bastardized recipe, but between its inspiration and the bitter, bitter cold, I ended up with a soup that was appreciated thoroughly without having to slide down the street to the grocery store.

That all said, I’m not sure what the Armenians would have to say about it.

 “Armenian” Soup

“Armenian” Soup

1/3 cup red lentils
6 dates, chopped
1 large sweet potato, cubed (no need to peel)
1 quart vegetable broth
2 tablespoons lemon juice
1 teaspoon toasted and ground cumin
4 tablespoons parsley, chopped

The real joy of this recipe: its simplicity. Place all ingredients in a 4 quart sauce pan. Bring to a boil, then cover and reduce heat to simmer for 30 minutes. Puree until smooth. Season with salt and pepper as desired.

That’s it. You’re done. Let’s eat.

The Returned: How to Cook a Wolf

Tomato Soup Cake from How to Cook a Wolf

If I’m making amends for the sins of abandonment committed against my cookbooks here, it seems extra appropriate to do right by a book that isn’t even actually mine but rather one I borrowed from a neighbor and then proceeded to bury under an ever-growing pile of unread Lucky Peach issues. (Okay, I have a problem. We’ve clearly established that at this point.)

If you’re unfamiliar, How to Cook a Wolf (published originally in 1942) is a quick read, part rallying cry and part cookbook designed to aid and inspire home cooks in a time of stress and limitation. When I started the book, I was immediately struck by how much the ideas M.F.K. Fisher had about economics, nutrition, and making do had to say (adjusting for inflation and accounting for the proximity of war) to me sitting in my living room arm chair in 2014. My appreciation for her outlook only grew as the pages turned, as did my trust in her advice and appraisals after acknowledgements such as this one, crediting her sources for a “Cream of Potato Soup” that follows a bit of a tirade on doing things “correctly” vs. “eating according to your own tastes.”

However, there are compromises that can be admitted, whether you approve of them or not. Here is a recipe, a combination really of Escoffier’s Soupe à la Bonne Femme and one I found in a calendar published by the gas company in the Canton of Vaud in Switzerland.

Hear, hear! That’s a world-aware outlook and a flexibility of approach I can get behind. (It’s also probably why I can’t really hang with the Cook’s Illustrated folks, but that’s a convo for another post.)

Canned Tomato Soup

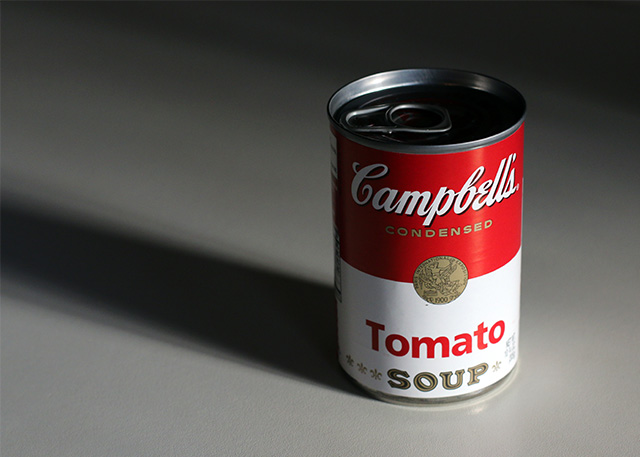
Think of it as adding a little Warhol pizzazz to your baking?

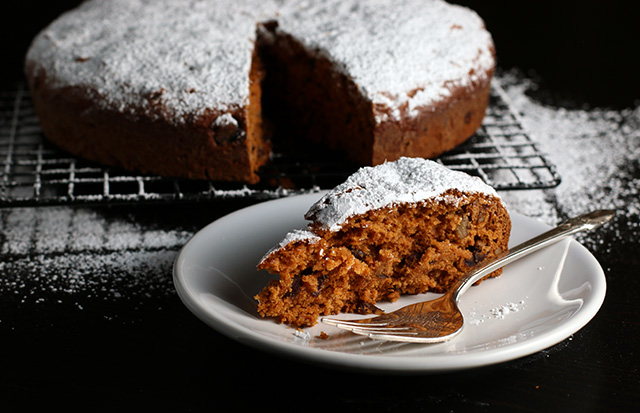
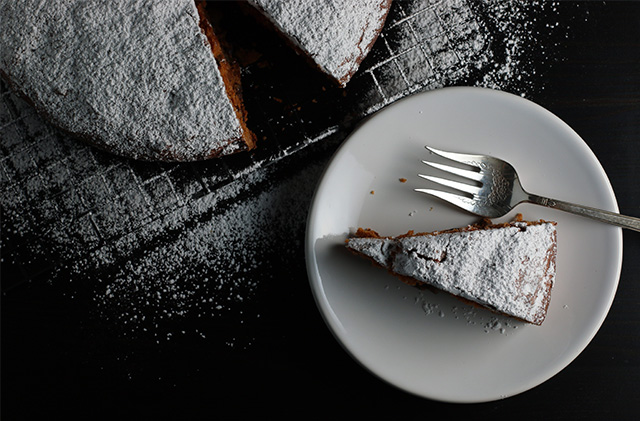
I’m personally satisfied to report that I have now finished the book and returned it to its rightful owner, along with a portion of a cake from its pages that I just had to try out: Tomato Soup Cake. Also known as Mystery or Conversation Cake due to its surprising secret ingredient (which I doubt any taste tester would be able to ID), this is one of those recipes that seems to trace back for a lot of people to grandma’s special version and holiday family gatherings (and probably an advertising pamphlet produced by Campbell’s Soup!). It’s a spice cake that uses no eggs and only three tablespoons of fat, making it easy on the pantry and easily vegan to boot. You can dress it up with the mix-ins and spice combinations that best suit your guests and top it (maple cream cheese frosting, anyone?) however you like. I’ve included my version below, but as Fisher says, you should make yours “to you own tastes!”

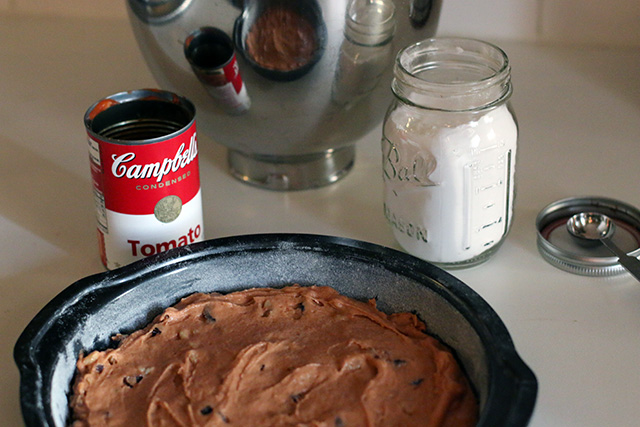
Tomato Soup Cake: Ready to Bake

Tomato Soup Cake
from How to Cook a Wolf

3 tablespoons shortening (or butter)
1 cup sugar
1 can condensed tomato soup
1 teaspoon baking soda
2 cups AP flour
1 teaspoon cinnamon
1 teaspoon mixed spice (I used 1/4 teaspoon of each of the following: ginger, allspice, cloves, and nutmeg.)
1 1/2 cups nuts and fruit, roughly chopped (I used 1/2 cup of each of the following: raisins, walnuts, and dates.)

Optional topping:
3 tablespoons powdered sugar dusted over top

Heat oven to 325°F. Butter and flour a 9-inch cake pan (line bottom with parchment if you are extra nervous about cake removal—I did and don’t regret it, but it was perhaps overkill for a cake of this texture). Set aside.

Measure flour and spices into a medium bowl and whisk to combine. Set aside.

Using a hand or stand mixer, cream shortening and sugar together until well blended and fluffy.

Stir baking soda into the soup and mix well. Add this and the flour/spice mixture to the creamed sugar in several alternating portions, mixing until fully incorporated. Fold in nuts and fruit.

Spoon into the prepared cake pan and smooth the top (batter will be quite thick). Bake for 45 minutes, or until a cake tester inserted into the center comes out clean. Cool for ten minutes in the pan and then turn out onto a wire rack to cool completely.

Top as desired.

Cake stores well and pleased even my non-spice-cake-liking friends, for what it’s worth.

Tomato Soup Cake from How to Cook a Wolf