My first attempt at dairy-free yogurt earlier this fall was a disaster. Admittedly, I was feeling a little cocky since I’d had a run of really great batches of Greek yogurt. I was so confident, in fact, that I didn’t even hunt around online ahead of time for tips. This was especially dumb since I’ve never needed to adhere to a dairy-free diet myself and was quite inexperienced. I simply dove in with my Tetra Pak of coconut milk beverage and my vegan yogurt starter. The result: a nauseatingly curdled liquid that was immediately fed to the drain in the kitchen sink.
Appropriately chastened, I started reading. There are myriad ways to make traditional yogurt, and going dairy-free only increases the number of variables. I played around with sweeteners, thickeners, and styles of coconut milk to land on the version I liked best, and used a method for incubating that works for me. Your preferences may vary, of course, and I hope you’ll share them in the comments.
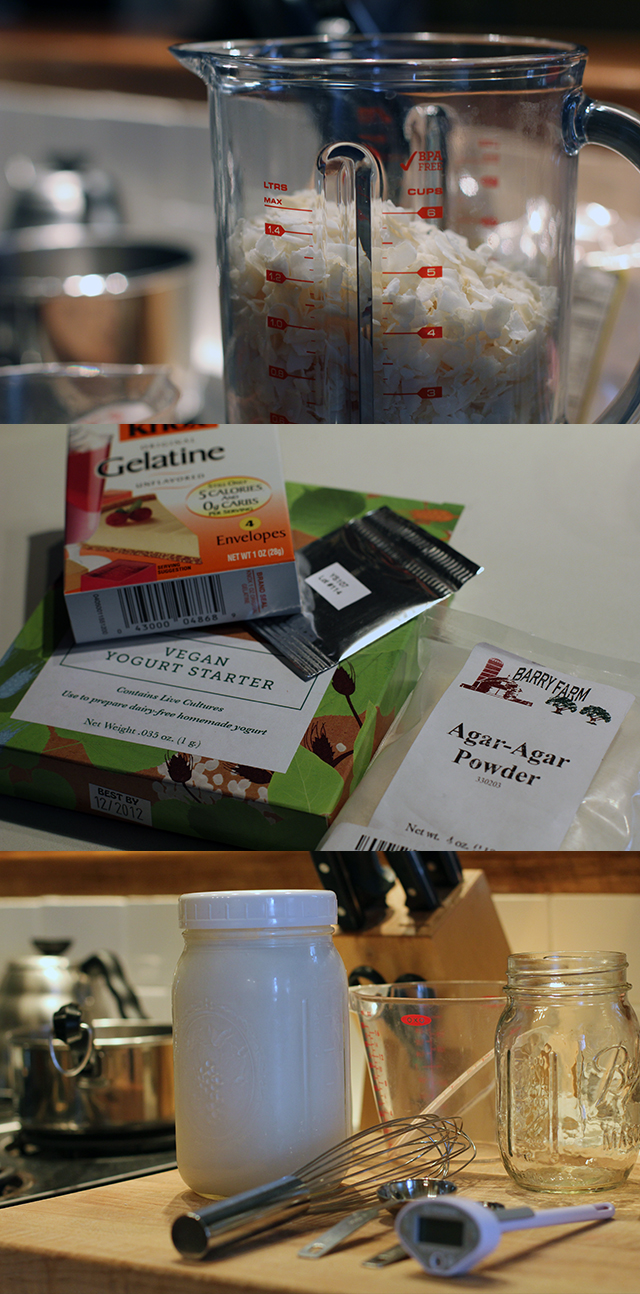
Not All Coconut Milk Is Created Equal: First off, I have found the “milk” sold in those convenient Tetra Paks–often specifically labeled as a “beverage”–to be too watered down to make a good yogurt. Canned is a viable option, and initially I thought I’d go this direction–especially when I thought the idea of “fresh” coconut milk was going to require finding a coconut supplier and a hammer. Ultimately, however, I found that using unsweetened dried coconut flakes provided a workload I could handle while still delivering exceptional taste. It also allowed me to control how much water was added to the milk. The resulting yogurt was fresh and bright, thick enough to hold a spoon but not so gelled that it broke up in my mouth like jello.
Canned: Light vs Regular Coconut Milk: Before I decided to go the (partially) DIY coconut milk route, I tried out both regular and light versions of the canned option. For the record, coconut milk has a high level of saturated fat, and there is much debate over the health risks and benefits of this food. Assessing things purely on taste, I liked the regular well enough, but found the reduced-fat option to have an odd taste, quite chalky with very little hint of actual coconut.
Since the milk was already fortified with some thickeners, I got a solid set with just the addition of 1/2 teaspoon agar agar powder dissolved into a half cup of boiling water to four cups milk. A second batch fortified with two teaspoons of gelatin with the same quantity of milk produced a thinner though tasty yogurt, similar to a kefir. However, canned milk, even full fat, still had a somewhat chalky taste to me, which is why I ultimately settled on making my own milk with coconut flakes.
Sweeteners: This is another area where I should have read before I leapt into non-dairy yogurt making. Unlike cow milk, alternatives require additional sugars in order for the cultures to have enough to eat during fermentation. With so many variables already in play, I decided to stick with traditional sugar. Honey and maple syrup also seem to be popular among cooks.
The Verdict:
I was surprised to see that even though the yogurt shelves at my local grocery have exploded in recent years, there were no non-dairy options. At the larger grocery a few miles away, I could pick up a six-ounce cup of coconut yogurt for $1.89. At this same location, I could purchase a bag of thick, high-quality unsweetened coconut flakes (more like chips) for $3.49–enough for six cups of milk (and therefor six cups of yogurt). While that’s not accounting for the other additives in the recipe, some of which require special sourcing, it’s still not close to the $15.12 it would cost to purchase the same quantity commercially. Plus, you’re controlling the ingredient list. Whether this is all ultimately worth the work involved is, of course, only something you can judge.
I ordered vegan yogurt starter from Cultures for Health. Their website also offers a wealth of advice that I found extremely helpful while experimenting.
DIY Dairy-Free Coconut Yogurt
make approximately four cups
4 cups unsweetened dried coconut flakes
4 1/2 cups water, divided
2 tablespoons sugar
1/2 teaspoon agar agar powder
2 tablespoons tapioca starch
Direct-set vegan yogurt starter
Place dried coconut in blender carafe and add 4 cups just-boiled water. Allow to soak for 30 minutes and then blend on highest speed for two minutes. Set aside until cool enough to handle.
Once cooled, strain through a nut milk bag or fine sieve into bowl. Add sugar and stir to dissolve. If not ready to proceed right away, milk can be stored, covered tightly, in the refrigerator. Otherwise, continue with next step.
Place milk in a saucepan and heat over medium-low flame. Add tapioca starch and whisk until well dissolved. Meanwhile, in a second saucepan, bring 1/2 water to a boil and add agar agar powder. Whisk and simmer until well dissolved, then pour into the heated coconut milk.
Allow to cool, whisking occasionally, to 110°F (check package directions on your starter for alternate instructions/variations). Add starter, whisking again to evenly distribute, and pour milk into a glass container and incubate at 110°F using the method of your choice. (I like the cooler method discussed here.)
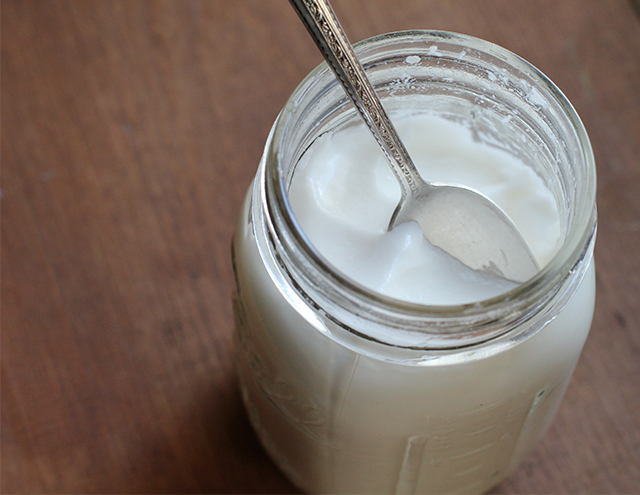
When incubation is complete (using the method above, mine took about seven hours), move jar to the refrigerator to chill and halt culturing, at least six hours. Yogurt is now ready to eat.
This recipe and post were created for my “DIY vs. Buy” column on Serious Eats.









Interesting! Im super excited about trying this. Thanks so much for doing this, your instructions are clear & not confusing at all. Will report back.
I’ve made yogurt from cow’s milk before and culture it with existing yogurt. I’m not vegan but am interested in reducing how much cow’s milk I consume. Instead of purchasing yogurt starter, do you think I could culture with some (cow’s milk) yogurt I already have? (it has live cultures)
I’ve never tried it, but it certainly seems like it should work. Let me know what happens!
Ok total yogurt newbie here…I’m guessing I need a thermometer for this?
Also do we need to sterilize the mason jars if we do the cooler method?
Thanks!
Hi, Kait. I would definitely recommend picking up a thermometer. I found non-dairy yogurt making to be much more particular about temps than traditional yogurt. As far as jar sterilization, I know some cooks insist on it. I have always just used obviously clean glass mason jars and never had a problem.
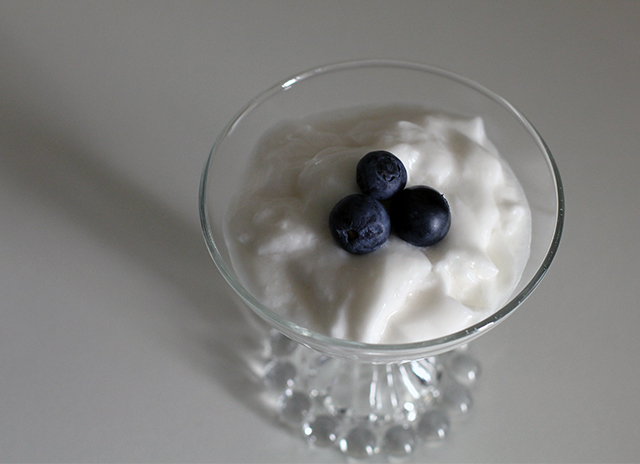
It looks really yummy in the picture! Can you make another batch of yogurt using some of the previous batch to ferment it or you need a new starter every time?
Thanks, Francesca. I would first check the package directions on whatever starter you decide to use. I was using a direct-set yogurt starter that cannot be used multiple time.
[…] looked at many recipes and settled on this one as my starting point. It didn’t quite yield for me those creamy looking results, so as I […]
I am going GMO, dairy and soy free. My health demands it. This recipe sounds great and easy. The questions and answers are great.
Can you use Stevia in place of Sugar?
Hi, Katherine. I hope this works well for you. I don’t think Stevia would make a good substitution here, because you need the sugar to feed the culturing bacteria. I have never tried Stevia, however, and can’t say for certain what your results will be. If you run this experiment, I hope you’ll report back on what you’ve discovered!
Molly another quick question.
Have you ever used a yogurt maker for incubating? NC weather may not be consistent enough.
I have with straight dairy, but I was getting frustratingly inconsistent results with the non-dairy. My suspicion is that my machine was much too hot for it.
Sounds interesting – is that 1/2 cup of water for dissolving the agar agar?
Yes, exactly right.
Hi Molly, The amount of coconut flakes seems a bit much. I know that 3 tablespoons of shredded contain 10 grams of fat so what in the world would 4 cups yield in fat content even though it yields about a quart of yogurt. I added 3 tablespoons to 1 cup of milk to make coconut milk and it was very good and very rich. Can you explain further on this? Thanks, Carole
Hi Carole. Definitely use what suits your tastes. Coconut is indeed a high fat food. I was using flakes, not shredded, so that may also account for some of the difference.
I’d like to add strawberry flavor. Would I blend the strawberries and add to yogurt before straining or right after straining? I know blended strawberries will be watery…
Hi Liz. I think I would add any fruit just right before serving. The finished ready-to-eat yogurt will be relatively firm, however, so I suspect you could spoon it on top after the yogurt is completely set if needed.
Hi Molly,
How long will this keep in the fridge and does it freeze well for use as a yoghurt later (rather than as frozen yoghurt)?
Thanks,
Emma
Hi Emma,
My yogurt was fine in the fridge for a couple weeks, though I don’t have any hard data on how long you’re advised to keep it. I have no experience freezing it. Sorry!
Can the sugar be omitted?
I don’t want any sugar in the final product.
Is it necessary for the bacteria to thrive?
Thanks
Hi Alice. It is indeed my understanding that it cannot be omitted. I have never tried to ferment without it, but based on my reading there will not be enough food for the bacteria without it, just as you’ve said.