yogurt » Wonderland Kitchen
Browsing Tag

yogurt

DIY Dairy-Free Coconut Yogurt

DIY Dairy-Free Coconut Yogurt

My first attempt at dairy-free yogurt earlier this fall was a disaster. Admittedly, I was feeling a little cocky since I’d had a run of really great batches of Greek yogurt. I was so confident, in fact, that I didn’t even hunt around online ahead of time for tips. This was especially dumb since I’ve never needed to adhere to a dairy-free diet myself and was quite inexperienced. I simply dove in with my Tetra Pak of coconut milk beverage and my vegan yogurt starter. The result: a nauseatingly curdled liquid that was immediately fed to the drain in the kitchen sink.

Appropriately chastened, I started reading. There are myriad ways to make traditional yogurt, and going dairy-free only increases the number of variables. I played around with sweeteners, thickeners, and styles of coconut milk to land on the version I liked best, and used a method for incubating that works for me. Your preferences may vary, of course, and I hope you’ll share them in the comments.

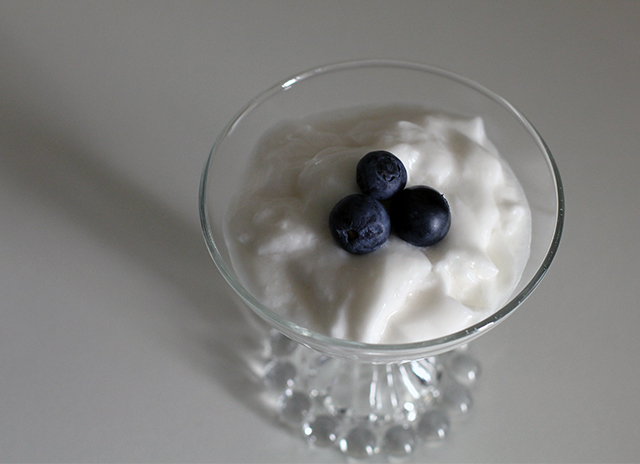
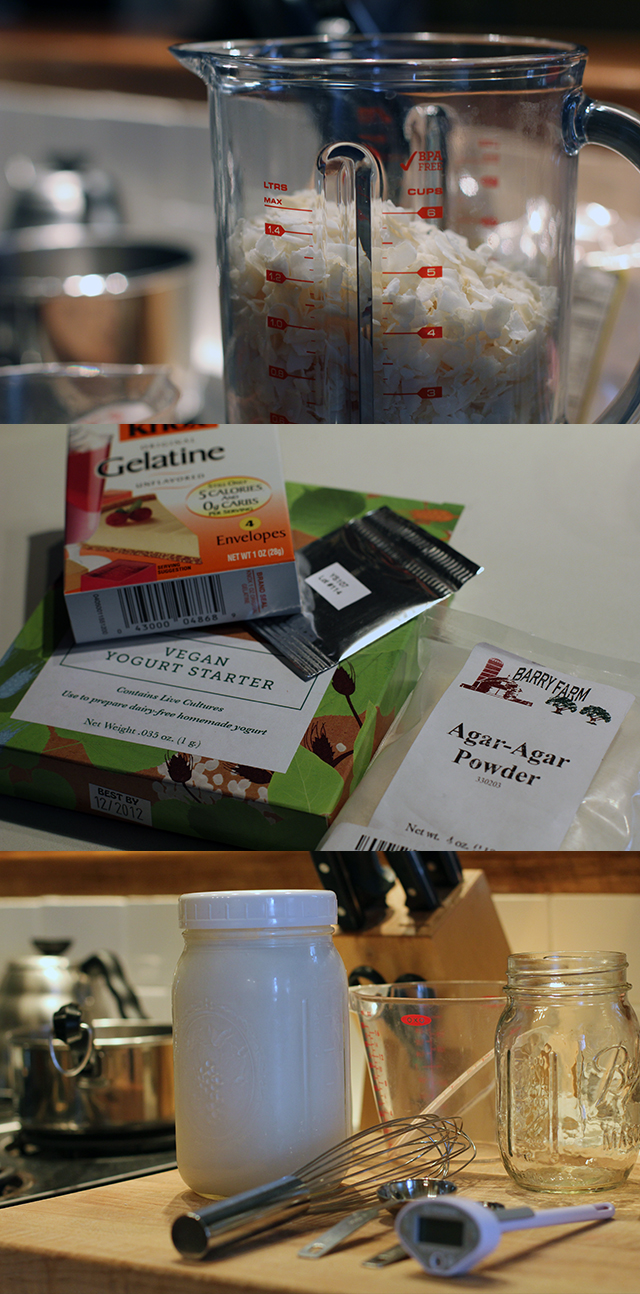
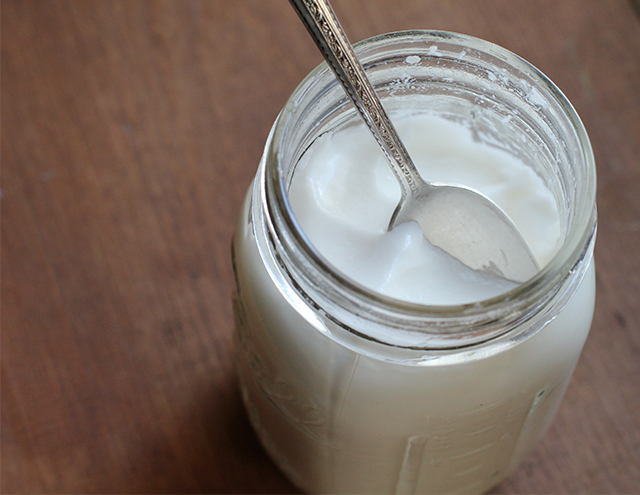
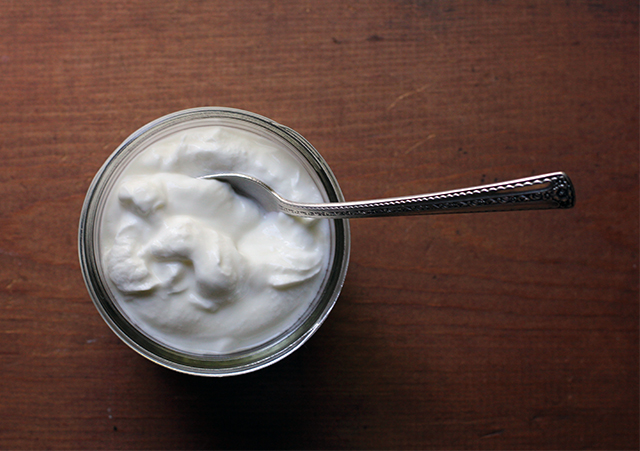
Not All Coconut Milk Is Created Equal: First off, I have found the “milk” sold in those convenient Tetra Paks–often specifically labeled as a “beverage”–to be too watered down to make a good yogurt. Canned is a viable option, and initially I thought I’d go this direction–especially when I thought the idea of “fresh” coconut milk was going to require finding a coconut supplier and a hammer. Ultimately, however, I found that using unsweetened dried coconut flakes provided a workload I could handle while still delivering exceptional taste. It also allowed me to control how much water was added to the milk. The resulting yogurt was fresh and bright, thick enough to hold a spoon but not so gelled that it broke up in my mouth like jello.

Canned: Light vs Regular Coconut Milk: Before I decided to go the (partially) DIY coconut milk route, I tried out both regular and light versions of the canned option. For the record, coconut milk has a high level of saturated fat, and there is much debate over the health risks and benefits of this food. Assessing things purely on taste, I liked the regular well enough, but found the reduced-fat option to have an odd taste, quite chalky with very little hint of actual coconut.

Since the milk was already fortified with some thickeners, I got a solid set with just the addition of 1/2 teaspoon agar agar powder dissolved into a half cup of boiling water to four cups milk. A second batch fortified with two teaspoons of gelatin with the same quantity of milk produced a thinner though tasty yogurt, similar to a kefir. However, canned milk, even full fat, still had a somewhat chalky taste to me, which is why I ultimately settled on making my own milk with coconut flakes.

Dairy-Free Coconut Yogurt: Process

Sweeteners: This is another area where I should have read before I leapt into non-dairy yogurt making. Unlike cow milk, alternatives require additional sugars in order for the cultures to have enough to eat during fermentation. With so many variables already in play, I decided to stick with traditional sugar. Honey and maple syrup also seem to be popular among cooks.

The Verdict:

I was surprised to see that even though the yogurt shelves at my local grocery have exploded in recent years, there were no non-dairy options. At the larger grocery a few miles away, I could pick up a six-ounce cup of coconut yogurt for $1.89. At this same location, I could purchase a bag of thick, high-quality unsweetened coconut flakes (more like chips) for $3.49–enough for six cups of milk (and therefor six cups of yogurt). While that’s not accounting for the other additives in the recipe, some of which require special sourcing, it’s still not close to the $15.12 it would cost to purchase the same quantity commercially. Plus, you’re controlling the ingredient list. Whether this is all ultimately worth the work involved is, of course, only something you can judge.

Coconut Yogurt: Thick and Creamy

I ordered vegan yogurt starter from Cultures for Health. Their website also offers a wealth of advice that I found extremely helpful while experimenting.

DIY Dairy-Free Coconut Yogurt
make approximately four cups

4 cups unsweetened dried coconut flakes
4 1/2 cups water, divided
2 tablespoons sugar
1/2 teaspoon agar agar powder
2 tablespoons tapioca starch
Direct-set vegan yogurt starter

Place dried coconut in blender carafe and add 4 cups just-boiled water. Allow to soak for 30 minutes and then blend on highest speed for two minutes. Set aside until cool enough to handle.

Once cooled, strain through a nut milk bag or fine sieve into bowl. Add sugar and stir to dissolve. If not ready to proceed right away, milk can be stored, covered tightly, in the refrigerator. Otherwise, continue with next step.

Place milk in a saucepan and heat over medium-low flame. Add tapioca starch and whisk until well dissolved. Meanwhile, in a second saucepan, bring 1/2 water to a boil and add agar agar powder. Whisk and simmer until well dissolved, then pour into the heated coconut milk.

Allow to cool, whisking occasionally, to 110°F (check package directions on your starter for alternate instructions/variations). Add starter, whisking again to evenly distribute, and pour milk into a glass container and incubate at 110°F using the method of your choice. (I like the cooler method discussed here.)

When incubation is complete (using the method above, mine took about seven hours), move jar to the refrigerator to chill and halt culturing, at least six hours. Yogurt is now ready to eat.

*

This recipe and post were created for my “DIY vs. Buy” column on Serious Eats.

Real Deal: DIY Greek Yogurt

greek-yogurt-finished-two

I am not generally a “doing the math” kind of person. As a result, I end up economizing in weird ways. I’ll stand in a grocery store aisle agonizing over the cost/benefit of something based on price and ingredients and brand, maybe saving a dollar here with a bulk buy or spending a dollar there to get the organic option. Later that night, however, I won’t think twice about going out to dinner with my husband, making the utility of the entire exercise somewhat questionable.

When it comes to the Greek yogurt consumed in our house, however, I finally did all the math for my latest Serious Eats column, a process which left me convinced I no longer knew how to divide. I was shocked by what kind of savings I might manage in a given year if we could get off the little cups with the parchment paper tops and start making it all at home. But I was going to need a much more streamlined process than my yogurt-making appliance filled with little glass jars would allow, so the research began.

Producing yogurt at home may not be quite as simple as making ice cubes, but it’s not much more complicated than measuring liquid into containers and letting it reach or hold certain temperatures. Ultimately, if you can stir and read a thermometer, you have all the skill needed to culture your own. The process takes a lot of hands off time, however, so if you’re more accustomed to the immediate gratification of cookie baking, this may take some getting used to.

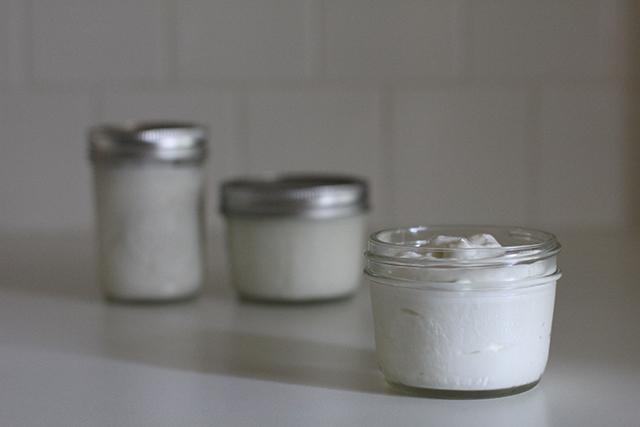
DIY Greek Yogurt: strained and portioned

A few things to consider before you begin:

  • Both the milk and the starter you select will impact the taste and consistency of the final product, and you will likely need to experiment some before you hit on your ideal ingredients. If you’re using fresh yogurt as your starter rather than freeze-dried, be sure to use a plain variety that contains live and active cultures.
  • There is more than one way to incubate at 110°F—from a simple thermos to a special appliance specific to yogurt making. I found the method below (which I first learned about here) to be both simple and consistent, but you may want to experiment and use the process you find most efficient.
  • A useful trick I picked up from Alana Chernila’s The Homemade Pantry is to incubate a small portion of the milk and starter mixture in a 1/2-pint jar alongside the two filled quart jars. Reserve this smaller portion to culture your next batch of yogurt. If using the small cooler method outlined below, you can keep this smaller jar above the water line by setting it on top of a narrow, empty 1/2-pint jar.

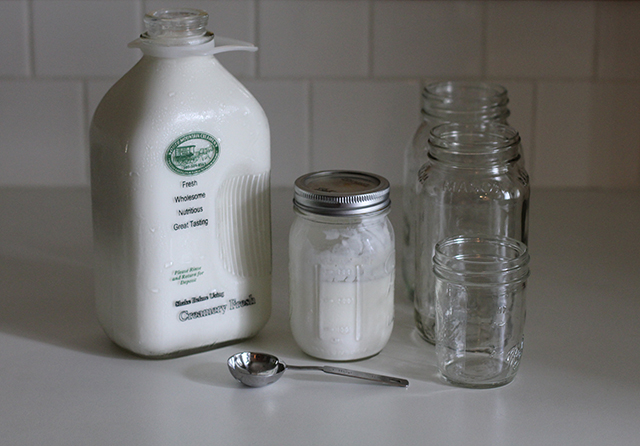
DIY Greek Yogurt: ingredients

DIY Greek Yogurt
8 cups milk
4 tablespoons plain yogurt with live and active cultures or freeze-dried yogurt starter

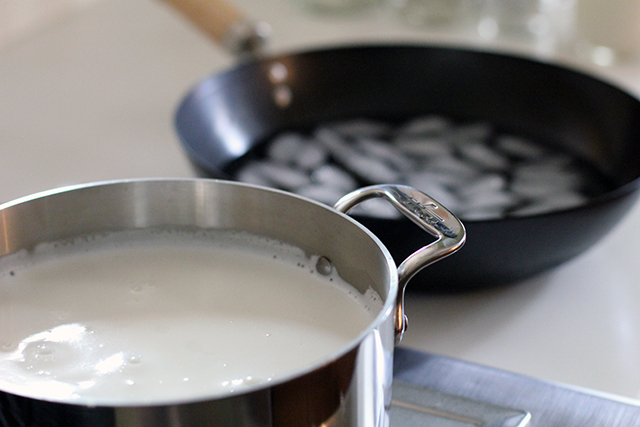
DIY Greek Yogurt: hot and cold

In a heavy-bottomed pot over medium heat, bring milk to 180°F, stirring regularly to prevent scorching.

Once milk has reached temperature, allow it to cool to 110°F (place pot in an ice bath to speed cooling, if desired). When milk has cooled, add yogurt to the pot and whisk thoroughly to combine.

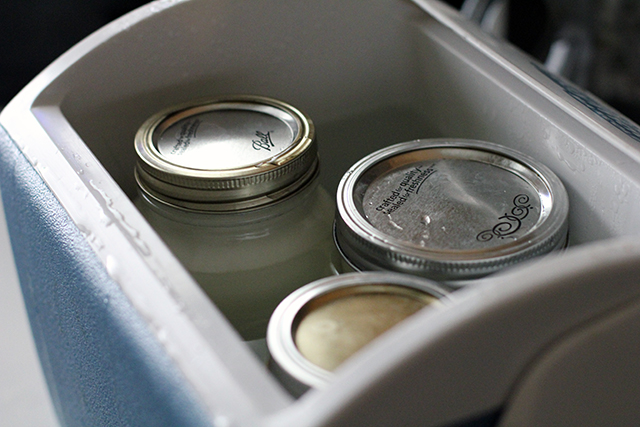
DIY Greek Yogurt: incubation

Pour milk and starter mixture into two quart-sized jars (and smaller 1/2-pint, if using) and screw on lids. Place them in a small insulated cooler and fill with 120°F water until jars are submerged nearly up to their lids. Close cooler and leave in a draft-free, undisturbed place for six hours or until desired tartness is achieved.

When incubation is complete, remove jars from water bath and place in refrigerator for at least six hours to halt culturing and set yogurt.

DIY Greek Yogurt: straining

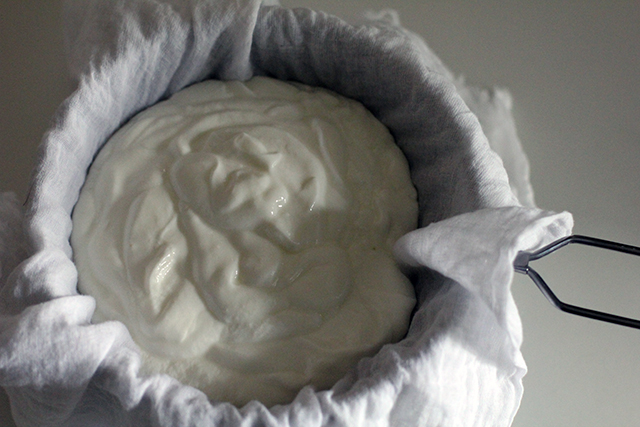
At this point, yogurt may be eaten, but to achieve a Greek-style consistency, it will need to be strained. Place a fine mesh strainer over a bowl and line it with two layers of cheese cloth. Spoon yogurt into lined strainer and allow to drain for two hours or until desired thickness is achieved.

Transfer yogurt to a storage container and refrigerate until needed. Remaining leftover whey (approximately two cups) may be reserved for another use if desired.

Playing With My Food

saladart_top

This post was inspired by two things.

1. The $14 salad I ate last week that arrived looking like an SNL sketch ripping on modernist cuisine. Once I tamped down the snarky commentary in my head, it tasted so delicious I was shamed (at least until the check arrived) for my quick judgment call. An 1/8 of a pound of split pea pods and artichoke hearts perched on a slick of fennel dressing (accented–I’m not making this up–with a single, paper-thin radish slice) never tasted so lovely.

2. The fact that when I opened the refrigerator to figure out dinner last night, nothing was cooked besides the beets, and it was already 8 p.m.

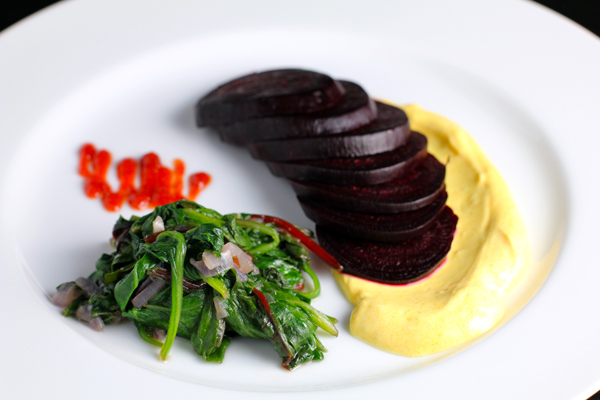
Oh, and part 2b. I had been wondering if you could dye strained yogurt, which I also had on hand, with turmeric to make a bright yellow, tasty sauce.*

Okay, and 2c. For the past two weeks, every time we sit down for dinner and dig into the asparagus/greens/broccoli/brussels sprouts/sweet potatoes/etc., I wonder aloud, “How could anyone not like vegetables? They taste sooo good!” Granted, in our house they usually get served with all kinds of fun dressings made up on the fly, but that all really just brings me up to the actual point of this disjointed preamble.

Playing with food–especially as a gateway platform to enjoying vegetables–is to be encouraged.

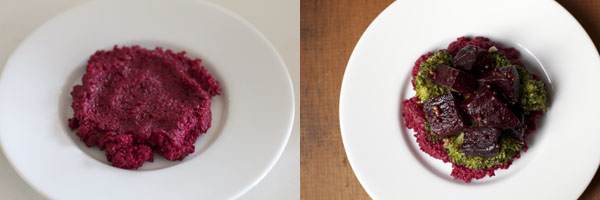
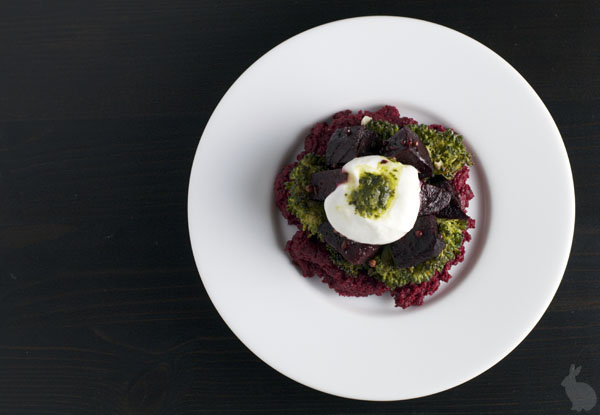
I don’t actually find the time to create art much anymore, but for two minutes before I sat down to eat last night, I decided to get out the big plate and just get ridiculous. Maybe it’s the insidious influence of the Food Network, but that little creative vacation almost made up for the preceding 48 hours of stress and anxiety. It was just fun. And then I ate it.

Non-toxic finger painting that’s completely safe to lick off your finger tips.

* You totally can use turmeric to make a bright yellow, tasty sauce. I added one pressed garlic clove (mince it instead if you prefer a less potent dressing), 1/4 tsp salt, and a 1/4 tsp turmeric to about a cup of strained yogurt. Now I think I might just have to design an entire set of yogurt-based “paints” for plating/saucing/taking things too far. Beet juice? Blueberry juice? What else might make a good edible yogurt dye?

The Beet of My Heart

beettower_top-copy

It started with the beets.

This weekend I went on a bit of a tear cooking with my eyes more than anything else, and it all began when I spotted a lovely box filled with deep purple beets from Gardener’s Gourmet at the farmers’ market. Since I’d also managed to stuff some cilantro, limes, buttermilk, and broccoli into my basket while shopping, when I got back home, I worked out a plan of attack that looked like this:

First, I got the oven going and made another one of these for the husband.

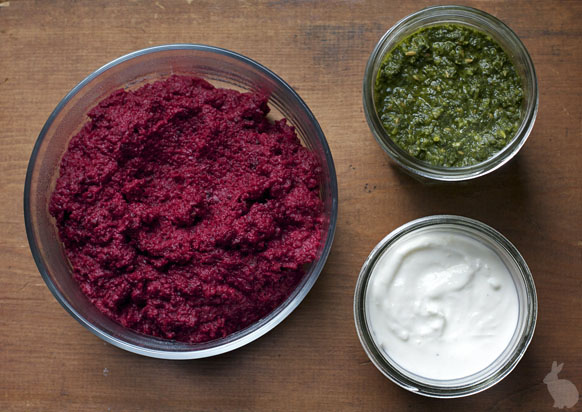
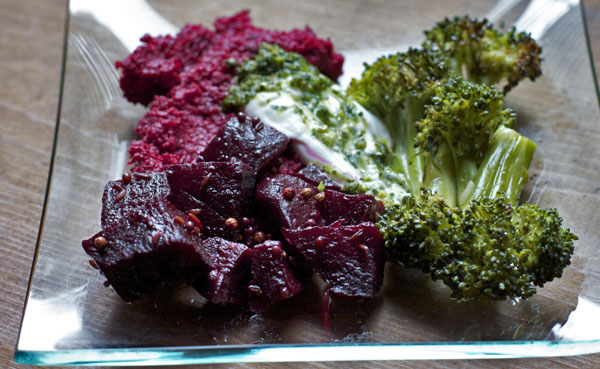
Then, while the oven was hot, I cleaned, cubed, and roasted the beets like this, though the yogurt dressing I made was pressed garlic, grated ginger, and a whole lime worth of juice. I also made a batch of my favorite chutney.

Beet Hummus and Chutney

Hands stained and taste buds pleased, I knew that I had more roasted beets than even a girl like me could want to eat straight, so I took about half of them and, once they were cool, mixed them with a cup of chick peas and more or less made this version of beet hummus. Meanwhile, I roasted the broccoli pretty much like this (though not for quite as long, as it was getting quite dry).

In the end, lunch looked like this:

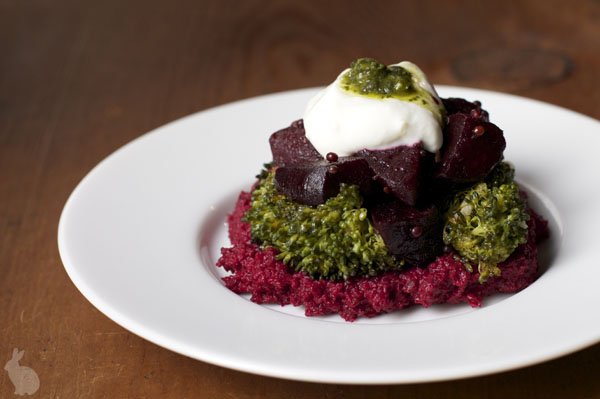
Which was pretty in its way, but later I realized I was imagining something a little more dramatic, like this:


Beet Tower Appetizer

I’ve got a couple avocados and some Mexican limes still hanging out in the crisper drawer, so I’m not sure I’m done building yet.

Along Came a Spider (Curds and Whey Edition)

yogurtcheese_top

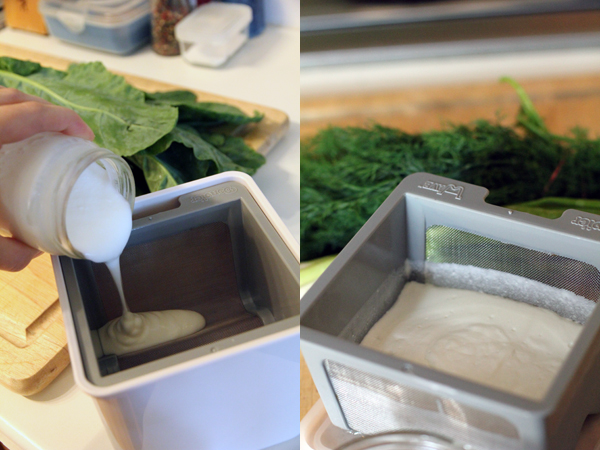
Sometimes, a girl comes home from the market, decides what to do with her purchased produce and dairy, and discovers she doesn’t need a large quantity of yogurt, but rather a solid dollop of sour cream. No problem. Just grab a strainer (I have a semi-fancy one that sits in a container with a lid over top) and make yogurt cheese. You can accomplish the same straining with a few layers of cheese cloth over a bowl, but I’ve never attempted that method.

Okay, back to making the cheese.

Nothing irks me like coming home from the market and discovering I have almost the right ingredients, but not quite. Draining enough whey out of my homemade yogurt to make an acceptable sour cream or cream cheese substitute (or even just to get a nice Greek yogurt consistency when a batch comes out a little runny) offers that satisfying “Ha! Take that, life!” self-sufficiency that I so enjoy in the kitchen. Not to mention that it saves me from making an additional trip to the grocery.

So, when there are enough of those little glass jars of yogurt taking up shelf space, I pull out two while I’m still putting things away, pour the yogurt into the strainer, pop on the lid, and leave it to drain in the fridge–anywhere from a few hours to a day or two, depending on the consistency I’m going for and how soon it’s needed. The whey collects in the bottom container and you can just pour that off or conserve for some other use.

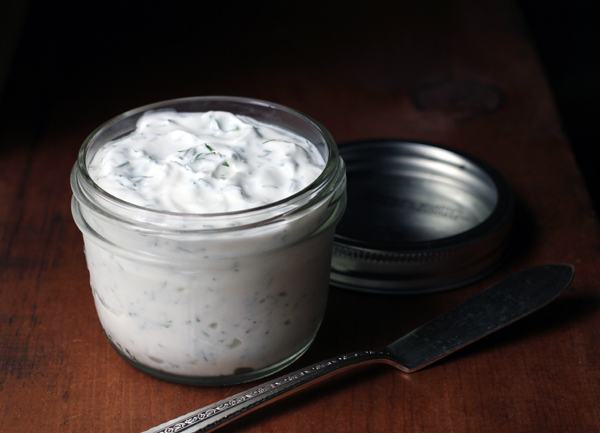
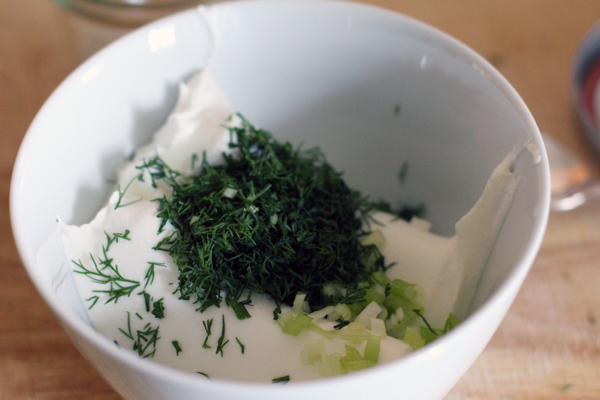
Some weeks it seems that my commitment to making my own yogurt is much stronger than my desire to actually eat it, but a fresh dish of yogurt cheese usually turns that around. This week I left a batch for a full 48 hours (okay, yes, I forgot all about it) and had a nice, thick base to work with. I added a pinch of salt, a chopped scallion, and a good dose of dill, and stirred it up into a spread that makes for a perfect savory toast topping. What would you add?

I think our porch spider got a whiff of my curds and whey…