I am not generally a “doing the math” kind of person. As a result, I end up economizing in weird ways. I’ll stand in a grocery store aisle agonizing over the cost/benefit of something based on price and ingredients and brand, maybe saving a dollar here with a bulk buy or spending a dollar there to get the organic option. Later that night, however, I won’t think twice about going out to dinner with my husband, making the utility of the entire exercise somewhat questionable.
When it comes to the Greek yogurt consumed in our house, however, I finally did all the math for my latest Serious Eats column, a process which left me convinced I no longer knew how to divide. I was shocked by what kind of savings I might manage in a given year if we could get off the little cups with the parchment paper tops and start making it all at home. But I was going to need a much more streamlined process than my yogurt-making appliance filled with little glass jars would allow, so the research began.
Producing yogurt at home may not be quite as simple as making ice cubes, but it’s not much more complicated than measuring liquid into containers and letting it reach or hold certain temperatures. Ultimately, if you can stir and read a thermometer, you have all the skill needed to culture your own. The process takes a lot of hands off time, however, so if you’re more accustomed to the immediate gratification of cookie baking, this may take some getting used to.
A few things to consider before you begin:
- Both the milk and the starter you select will impact the taste and consistency of the final product, and you will likely need to experiment some before you hit on your ideal ingredients. If you’re using fresh yogurt as your starter rather than freeze-dried, be sure to use a plain variety that contains live and active cultures.
- There is more than one way to incubate at 110°F—from a simple thermos to a special appliance specific to yogurt making. I found the method below (which I first learned about here) to be both simple and consistent, but you may want to experiment and use the process you find most efficient.
- A useful trick I picked up from Alana Chernila’s The Homemade Pantry
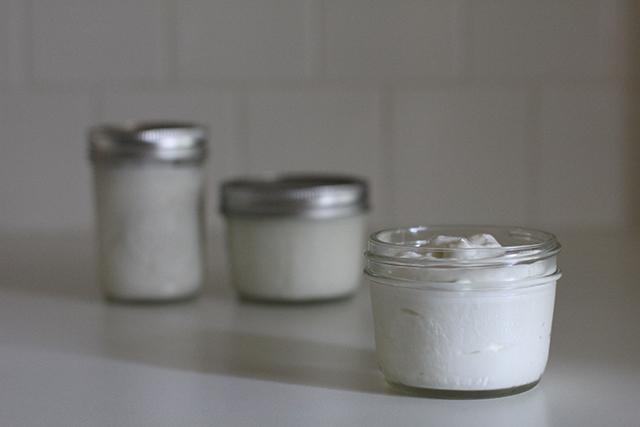
is to incubate a small portion of the milk and starter mixture in a 1/2-pint jar alongside the two filled quart jars. Reserve this smaller portion to culture your next batch of yogurt. If using the small cooler method outlined below, you can keep this smaller jar above the water line by setting it on top of a narrow, empty 1/2-pint jar.
DIY Greek Yogurt
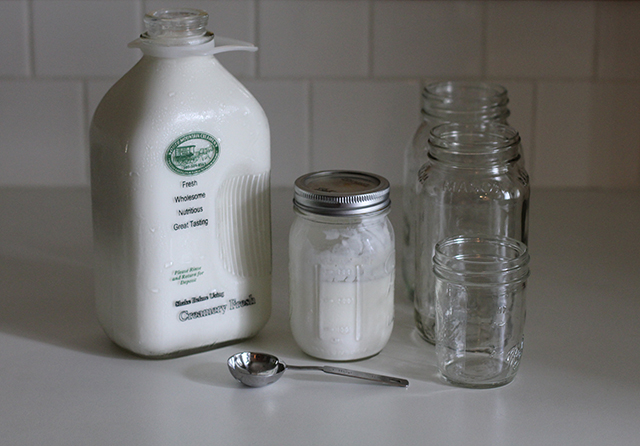
8 cups milk
4 tablespoons plain yogurt with live and active cultures or freeze-dried yogurt starter
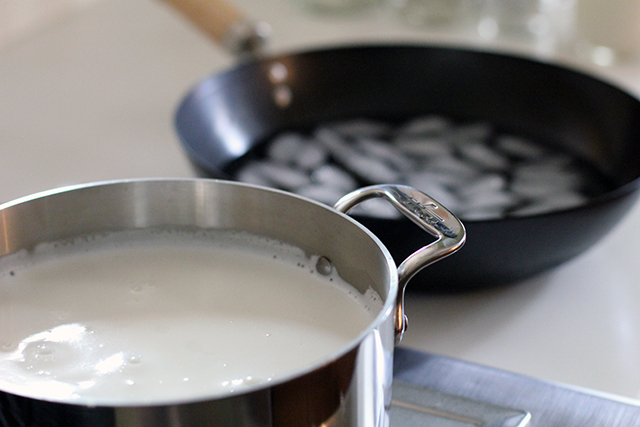
In a heavy-bottomed pot over medium heat, bring milk to 180°F, stirring regularly to prevent scorching.
Once milk has reached temperature, allow it to cool to 110°F (place pot in an ice bath to speed cooling, if desired). When milk has cooled, add yogurt to the pot and whisk thoroughly to combine.
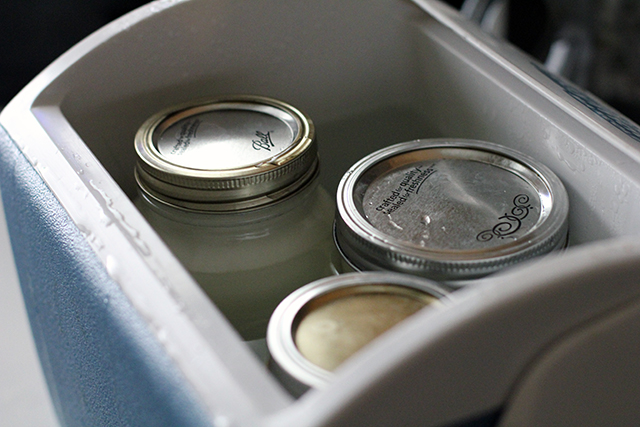
Pour milk and starter mixture into two quart-sized jars (and smaller 1/2-pint, if using) and screw on lids. Place them in a small insulated cooler and fill with 120°F water until jars are submerged nearly up to their lids. Close cooler and leave in a draft-free, undisturbed place for six hours or until desired tartness is achieved.
When incubation is complete, remove jars from water bath and place in refrigerator for at least six hours to halt culturing and set yogurt.
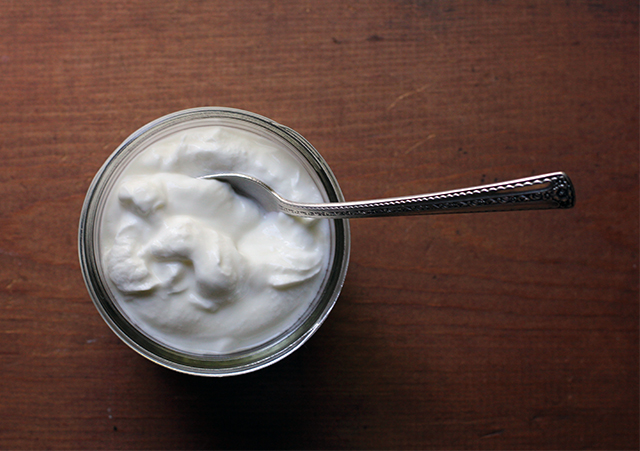
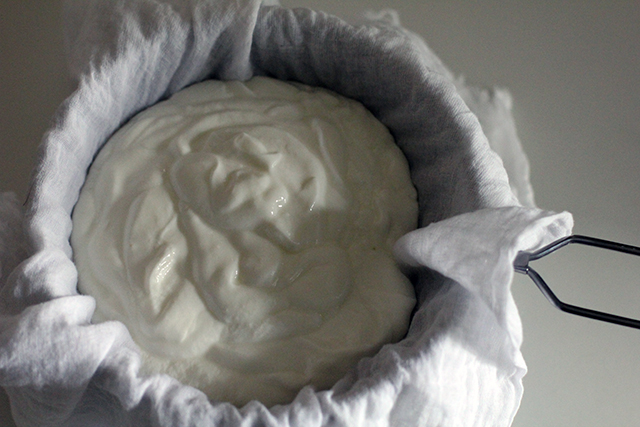
At this point, yogurt may be eaten, but to achieve a Greek-style consistency, it will need to be strained. Place a fine mesh strainer over a bowl and line it with two layers of cheese cloth. Spoon yogurt into lined strainer and allow to drain for two hours or until desired thickness is achieved.
Transfer yogurt to a storage container and refrigerate until needed. Remaining leftover whey (approximately two cups) may be reserved for another use if desired.



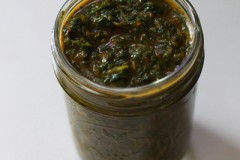



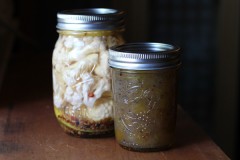


I would love to make this! How much greek yogurt do you get from the 8 cups of milk?
Strained to how thick I like it, I get 6 cups yogurt and 2 cups whey. There will be a little less if you’ve reserved some unstrained to culture the next batch.
I have been just incubating in an oven that I preheated to 170F and turned off (that’s as low as my oven will go)I turn the oven off and then put the bowl inside. the only drag is not being able to use your oven for the next 4-6 hours :)
I am fortunate and are able to use my sous vide supreme machine. It’s a giant water bath that keeps perfect temp. and I can keep it at 116 degrees like my recipe says. I used to make 8 cups of milk, but have recently increased it to 10. Having this accurate water bath is great for the “cheddaring” step in making cheese and my husband cooks all of his homemade lunch meat using it.
I have placed a heating pad on “low” in a large bowl,then set my 8 cup pyrex measure cup w/the~110 degree cultured milk on top-cover w/a plate,place a heavy towel over all,and it’s ready in the AM,I line my colander w/coffee filters for straining,the whey is great for bread making.I temp the milk on my wrist,as one would test a baby bottle.
i love yogurt, i miss being able to eat it. i just wish there was a way to make this vegan, with coconut milk or soy milk.
Have you ever tried culturing any of these non-dairy milks? I know it’s possible (in the “I’ve read about it on the internet” way) but I’ve never tried it. I know they have vegan starters at Cultures for Health or people use soy yogurt from the store (I didn’t know that was a thing, but apparently it is). Maybe we can run an experiment with a few types? Almond, coconut, and soy?
I incubate my yoghurt in the oven with the oven light on.
The Whey is quite tasty to drink. If you strain it through a double layer of coffee filters, it looks clear and appetizing.
-Anna
I used the whey when starting sauerkraut. Just helps get the process going.
I have been making yogurt for awhile now and I use my crock pot. After I add my starter I put the crock in the oven overnight. In the morning, I have yogurt.
I tried all sorts of different methods to incubate yogurt a couple of years ago and finally settled on a great method written about on a bulletin board by someone with the moniker “old hippie guy”: I wrap the prepared milk in my duvet and leave for 7 hours.
I love making mine in individual servings in little jam jars, the kids help themselves in the mornings and mix it with their choice of honey or preserves, or granola. Yum!!!
I heat the milk in the microwave. With a little experience, using the same quantity of milk and the same time, you get absolutely precise 180 degrees with no worry of scorching, no watching. I also let it cool to 110 degrees in the microwave, again with a little experince you will know how long it takes and you can set the timer and not worry about it.
Bump Maura’s comment. It does not seem as “authentic” to do it in the microwave, and I struggled against this for years while my entire family was getting easy fast yogurt using the microwave and I was slaving over a hot pot of milk stirring for over an hour. Finally I did it in the microwave and now I can literally get it done while watching TV. Milk in the microwave, heat until 180-190 degrees, cool in the microwave until 110-130, add the starter thinned with some of the milk, cover, wrap in a towel, and leave it on the counter top or in a unheated oven for 4-6 hours. Could not be more simple than this and I will put my yogurt against yours any day. Oh, also, I use 1/2 cup dried mild added to half a gallon of 2% milk at the beginning, this makes it come out much better.
[…] a redação, me deparei com o post Real Deal: DIY Greek Yogurt do Wonderland Kitchen. Ensina a fazer o que a gente já sabe e chama de iogurte […]
I’d like to get my mom a cheesecloth for her birthday so she make her own yogurt- any recommendations on brand/size/shopping sites?
Hi Sarah,
In my experience, I would just stay clear of the cheap stuff they sell at the grocery store. I’m not sure what purpose that linty, wide-weave material serves, but it won’t be useful here. You need something fairly tight. Here’s a picture of what I mean.
I have been making my greek yogurt every week without cheesecloth. I use a jelly strainer bag and frame. It is inexpensive, readily available where they sell canning supplies , and re-usable.
I agree with you Molly, that grocery store cheesecloth’s purpose or usefulness remains a mystery to me.
Sarah … there is really no need for cheese cloth, as long as you do not wash and reuse it .. I bought a pack of those big coffee filters and have been using that to strain my yogurt.
…. also I have learned from a biologist/biochemist friend, who is monitoring cheese making farms in TN, that when using pasteurized milk, there is NO need to bring it up to 180ºF degees, just to 115º to 119ºF and then add the culture and let “incubate” in the mode of your choice.
Since then it only takes me 15 -20 minutes to heat one gallon of milk and then I add about 8 oz. of my “old” yogurt, fill it into my favorite glass jars … and then all of those go into the oven with the light on. 6-8 hours later I have wonderful yogurt, which has to be cooled and then put into the refrigerator over night to make the best and easiest home-made yogurt, which is good for at least 4-6 weeks.
Hello;-) I have been making yogurt for awhilebnow- and I’m using a large soup thermos to incubate my yogurt. I heat it up by half-fill it with boiling water while I’m making the yogurt. When finish with the yogurt, I discharging the water from the thermos and pour in the yogurtbase directly when it’s still hot inside the thermos. Then I place the lid on and let it stand on the counter until next day. It keep holding the temperature perfect until next day, without using any electricity..
Then I strain it until greek yogurt :))
Great tips! Thanks.
Yogurt is NOT Greek!!!! It’s Bulgarian!
[…] Sheridan, wonderlandkitchen.com / […]
Not my idea, I found it on somebody else’s website: I used my Excalibur dehydrator. Make mine in an old crockpot bowl, using goat milk and yogurt from previous batch. Set temperature and time on dehydrator, and go about my business. Works like a charm.
When yogurts was relatively unknown in the USA jars would be confiscated at Ellis Island. One housewife decided she liked her starter so much that she washed some linen, dipped them in her yogurts, and then dried them flat. When they found the bright linen wrapped in paper the customs agents let it through. Neat story! I wondered about the boiling issues with pasturized mild and stopped heating it up so hot years ago. Works fine.
Great history! Thanks for sharing.
[…] DIY Greek Yogurt via Wonderland Kitchen […]
[…] Or regular yogurt, if you prefer; just leave out the final step of straining. Get the recipe. […]
Part of the reason I switched to Greek yogurt from regular plain yogurt was because of the additional protein. Do you lose this benefit from this yogurt since you’re starting with plain yogurt?