party » Wonderland Kitchen
Browsing Tag

party

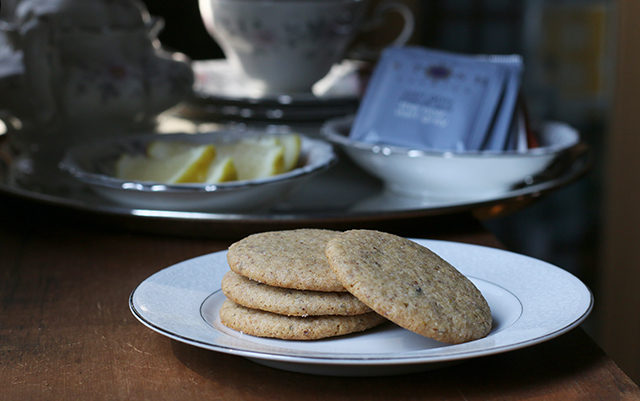
Let’s Celebrate! Have a Lavender and Lemon Cookie

Lavender and Lemon Cookie

Though I have somewhat forgotten what the sun feels like due to this three-day sheet of rain it’s hiding behind, over the weekend a picnic was considered and I found myself in need of a simple, portable, no-silverware-required dessert-type experience. Since the suggested locations included our stunning local tulip patch, my mind turned to flowers–specifically the bag of dried lavender flowers I was already stocked with.

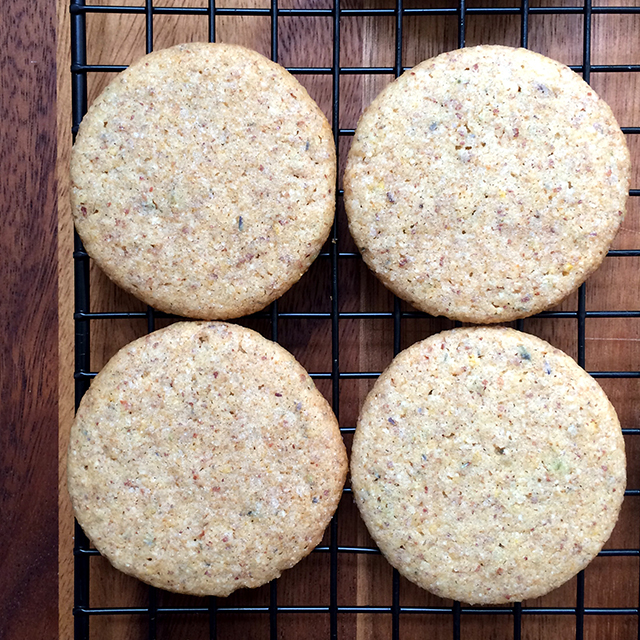
I must have googled lavender cakes and cookies and lemonades dozens of time in the past few years, but I had never followed through and actually executed a recipe. In this case, I needed something efficient in terms of time and effort, and bake-able out of what was already in the house. Giada De Laurentiis delivered with charm. Her Lavender and Lemon Cookies are short on ingredients, gentle on effort, and impressive on a plate.

Lavender and Lemon Cookie

Get the recipe: Lavender and Lemon Cookies

Other obligations meant that in the end we had to scrap the picnic, but inspired by these delicate treats, I broke out the fancy china for an appropriately random Wonderland-style tea party on the front porch.

This morning I’m enjoying the last of the cookies over on the music side of my life, as I try to get Dave Malloy’s highly addictive music out of my ear now that production is done on his profile and we begin to celebrate the 15th (15th!! Wow, where did the time go?) anniversary of NewMusicBox! Feeling like a little old lady in internet terms, so tea and a biscuit is quite the proper thing to indulge in.

Spring Brunch Brilliance: Porch Waffle Party

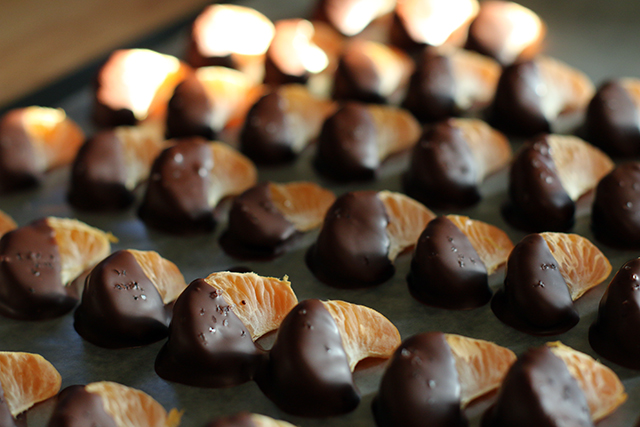
Dark chocolate dipped clementines with sea salt

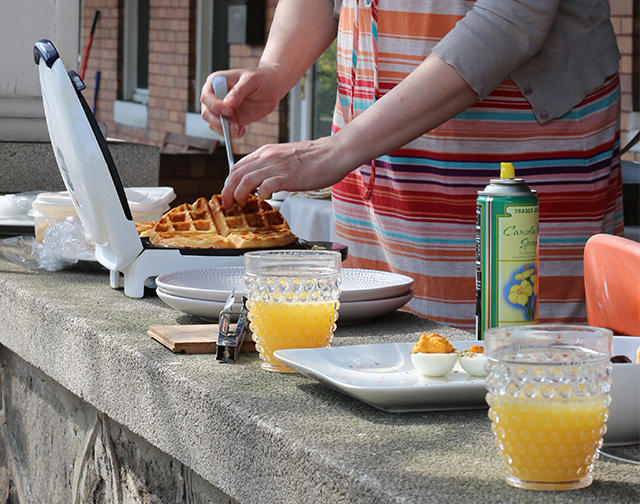
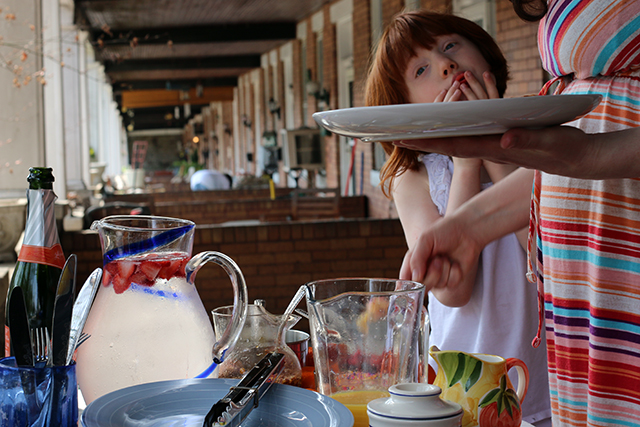
We stored up quite a bit of cabin fever here in Baltimore this winter, so as soon as the weekend temperatures began to touch the 70s, the neighbors fell into action to get our notoriously non-rowdy porch parties back on the social calendar. While these affairs normally allow us to enjoy some wine and dessert as a summer day cools its way into evening, we traded down to morning so that we could trade up to waffles and mimosas for this season’s kick-off event. After an unfortunate electrical fire, we were also inaugurating our resident waffle mistress’s brand new iron, so it was perhaps best to get things going outside—just to be safe.

Waffle with butter

How do you like to top your waffles?

Mistress of the waffle iron

Mistress of the waffle iron

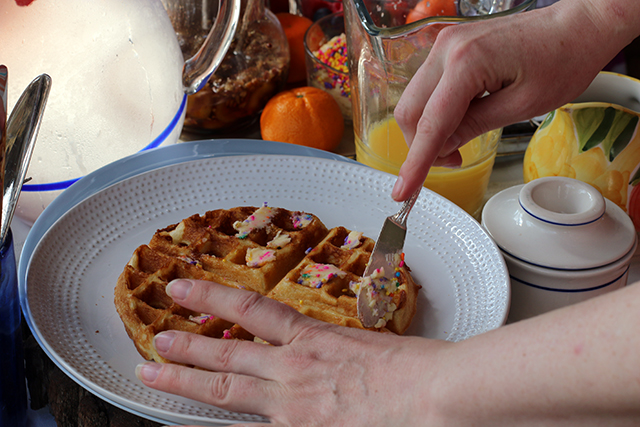
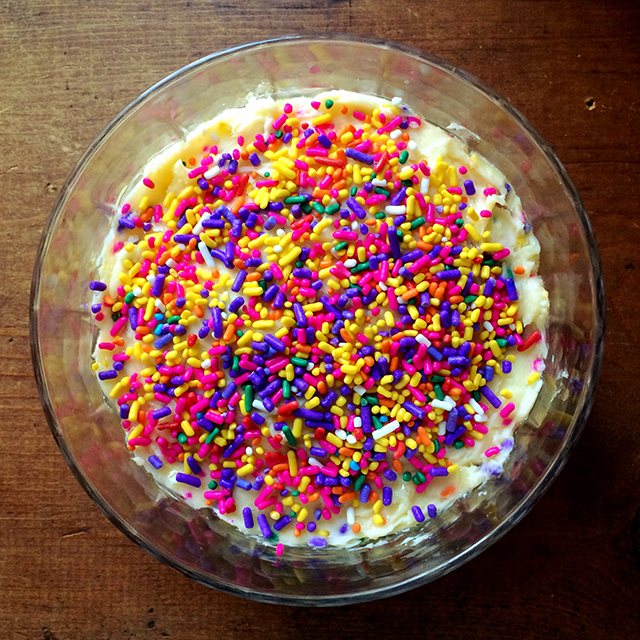
As the waffle production was very well in hand, I volunteered to provide some toppings. For once in my life I went simple, and I’m going to tattoo this lesson on my forearm so that I can enjoy making party food more and stress about it less. Whip a little honey into softened butter and add a tablespoon of sprinkles: perfect for the kids and takes about 5 minutes. Fry some banana slices in butter, deglaze the pan with bourbon, and stir in some pecans and a good dose of maple syrup: well worth the 20 minutes for the adult joy. A little fresh whipped cream and some mixed berries finished off the tray for the waffle traditionalists in the crowd.

Waffle topping table

Honey butter with sprinkles

Honey butter with sprinkles

With so little prep work to do, I also took a stab at some dark chocolate-dipped clementine slices with sea salt that had caught my eye on Pinterest. I don’t do a lot of fancy chocolate work, so I wasn’t super confident when I started the project, but this proved just as brainless as the rest. A 1/2 cup of good dark chocolate, a bit of shortening if you have some on hand to smooth things out, and then just melt it together in a double boiler, dip the slices, and rest them in rows on a parchment-lined cookie sheet. Finish a row and run a pinch of salt flakes down the line. Repeat. The only hard part was setting them down instead of eating them. I popped them in the fridge overnight, covered well in plastic wrap once the chocolate set hard. The next day I just had to pile them in a bowl.

For those who would like a little more detail in their recipes:

Honey Butter with Festive Sprinkles

Banana Bourbon Maple Syrup

Dark Chocolate-Dipped Clementine Slices with Sea Salt

How do you like to top your waffles and pancakes?

Ripe Strawberries, Ripe!: Strawberries and Cream Cake

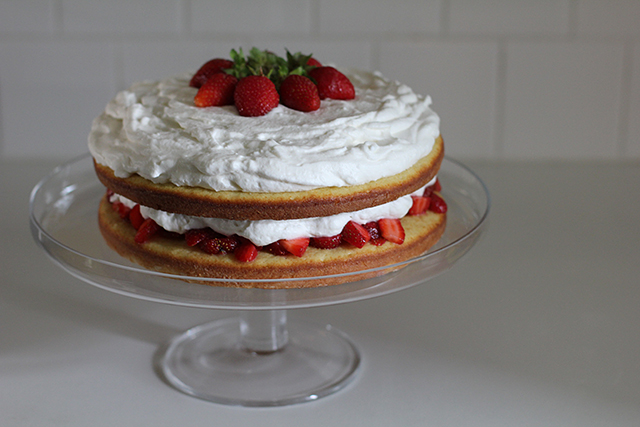
Strawberries and Cream Cake

I’m not really much of a fruit person, but when there were strawberries–strawberries everywhere–it felt shameful to walk away from the farmers market empty handed.

So it was that I ended up with about a pound of perfectly ripe fruit and no practical application in sight. What I did happen to have was a pint of gloriously rich heavy cream, which led pretty quickly to baking motivation, a sentiment efficiently fueled by a fear that this lovely fruit would be left to spoil as the busy week wore on. Add in our great neighbors willing to share an evening on the front porch, provide the Prosecco, and supply the plates and napkins, and a party was in process before the dessert was completely situated on the cake stand.

After reading through the comments, I decide to pour my cake batter into two pans rather than split a single layer after baking, which sped the cooking time up considerably (about 17 minutes total) and cut down on the mess. The next time I try this recipe, however, I think I’ll stick to one and see if that alters the texture favorably. This cake is firm and heavy–a bonus if your berries are very, very juicy, but mine were of the smaller and tarter variety. I think splitting the cake before baking may have only made the density more of a challenge and I found the crumb to be a shade drier than preferable. Could have all simply been a matter of user error on the part of the infrequent baker, admittedly. I’ve never claimed to be much of a Martha Stewart. More of a Mr. Wizard, if we’re frank about it.

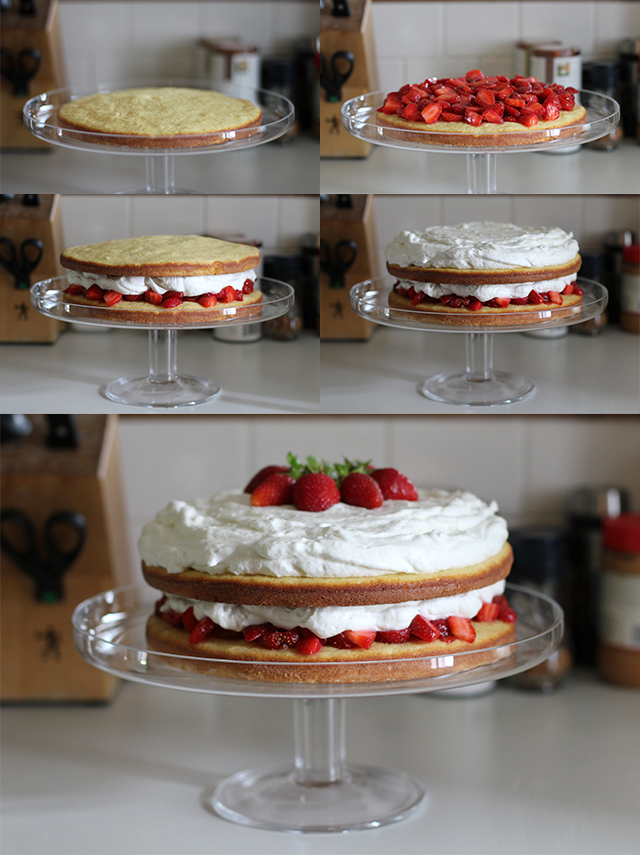
 Strawberries and Cream Cake: Assembly

But I doubt I’ll ever be able to top the look of this cake when assembled. I had never heard of mixing in a bit of plain gelatin with the whipping cream to help it maintain its form, but that is a take away I will not soon forget. Even a couple days later, a lone leftover piece still held up well in the fridge.

And of course, I couldn’t help but belt out “Ripe strawberries, ripe!” from the iconic street scene in the musical Oliver Twist while hulling the fruit to fill this cake. My sincere apologies to all those within ear shot.

Strawberries and Cream Cake
from Martha Stewart

1 1/2 cups all-purpose flour
2 teaspoons baking powder
1/2 teaspoon salt
1/2 cup unsalted butter, room temperature
3/4 cup sugar, plus more to sweeten berries
2 large eggs plus 2 large egg yolks
1/2 teaspoon vanilla extract
1/2 cup whole milk
1 pound strawberries, hulled and sliced
1 teaspoon unflavored gelatin
1 1/2 cups heavy cream

Butter two 8-inch cake pans and line the bottoms with circles of parchment. Butter the top of the paper and thoroughly flour the pans.

Heat the oven to 350°F.

Mix the sliced berries with the desired amount of sugar and toss gently to coat. Set aside.

In a medium bowl, measure flour, baking powder, and salt. Whisk to combine.

Using an electric or stand mixer at medium speed, cream butter and 1/2 cup sugar until light and fluffy. Scrape down sides of bowl and add eggs and yolks, one at a time, mixing thoroughly between each addition. Beat in vanilla. Reduce speed to low and add in the flour mixture (in three parts) and the milk (in two parts), alternating between the two and mixing just until combined. Divide batter between the two pans and smooth the surface.

Bake about 17 minutes. The edges of the cakes should be deeply golden and a cake tester inserted into the center should come out clean. Cool ten minutes in the pans before turning out on a wire rack to cool completely.

When ready to assemble the cake, prepare the whipped topping. In a small sauce pan add two tablespoons cold water and sprinkle gelatin over top. Heat on low just until gelatin dissolves and then allow to cool down.

Beat the cream with 1/4 cup sugar until soft peaks hold. With mixer running, drizzle in cooled (but still liquid) gelatin and continue beating until cream is once again holding soft peaks.

Place bottom layer of cooled cake on serving plate. Top with half the strawberries (I had fewer berries, so went with the slight variation you see pictured) and half the whipped cream. Top with the second layer of cake and the rest of the cream. Chill for at least one hour to allow cream to firm up and berry juices to penetrate the cake. Remove from refrigerator and top with remaining strawberries 15 minutes before serving.

Little Debbie, Little Debbie…Mini Bourbon Oatmeal Cream Pies

cookies_top

Though I don’t spend a lot of time on Pinterest, I love using the service as a way to quickly file recipes I spy online and want to be able to return to when the occasion suits. As a result, this “To Make” board haunts me due to its visual deliciousness, questioning sweetly (yet with an aggressive undertone) “Why make it later, when you could make it now?” whenever I review its contents.

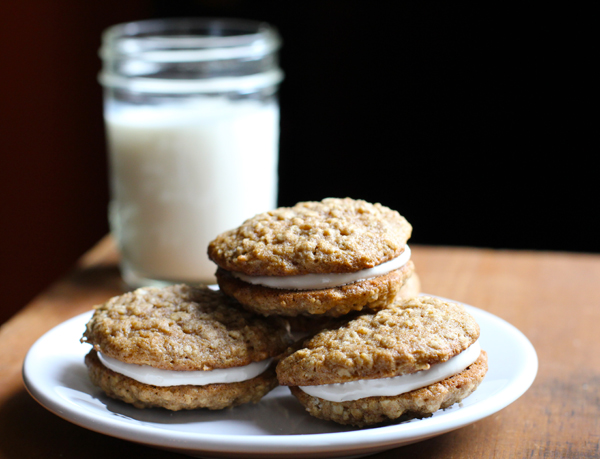
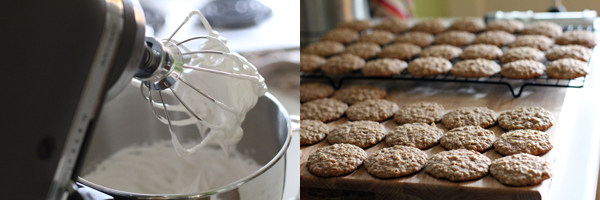
Well, the pin board won a round this weekend and I finally put my hand to cracking out a batch of these very tempting Mini Whiskey Oatmeal Cream Pies from Food Plus Words. Though I opted for bourbon and added some nutmeg and clove to the spice profile of the cookies, I otherwise followed the recipe and did as I was told. Be forewarned that, as written, it makes a lot of filling–much more than you’ll need for just this batch of cookies. Once you get a taste of it, however, you probably won’t have a problem finding other things to slather it on. Considering all my pies are already gone (hey, I shared!) I would have gladly doubled the recipe on the cookie side in order to net more treats up front. Lessons for next time. Because there will be a next time. Just invite me to your summer picnics and see how many next times there might be.

Or, you can make a batch for yourself:

I also feel like this “Classic Snack Cakes with an Alcoholic Punch Up” could easily become a thing here in Wonderland. A chocolate jelly roll cake spiked with a Chambord version of the above-mentioned copious filling to create an oversized Ho-Ho, anyone? And don’t even get me started on my ideas for Sno-ball variations…

And yes, I did play this track several times while constructing my pies. Little Debbie, Little Debbie…I just couldn’t help myself.

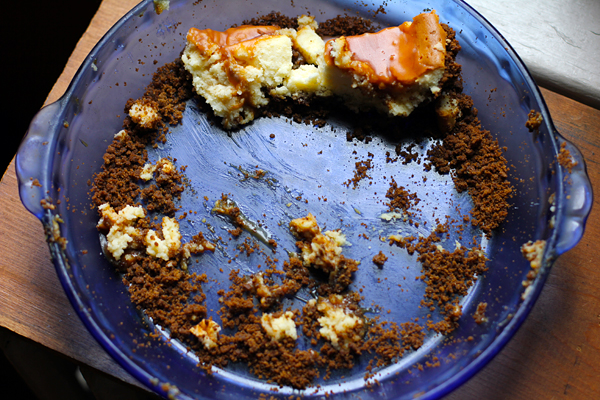
Matchmaker, Matchmaker: Salted Caramel Cheesecake Pie

cheesecake_top

Note to self: Never volunteer to make the dessert (or any dish, for that matter) for any social occasion unless you have already determined what you will make. You have an underdeveloped ability to make a decision and an overdeveloped fear of disappointing people. You are also a Libra. This is a deadly equation. Even your cat worries for you when, four hours later, you are still Googling things and changing your mind every 10 minutes. It’s dizzying.

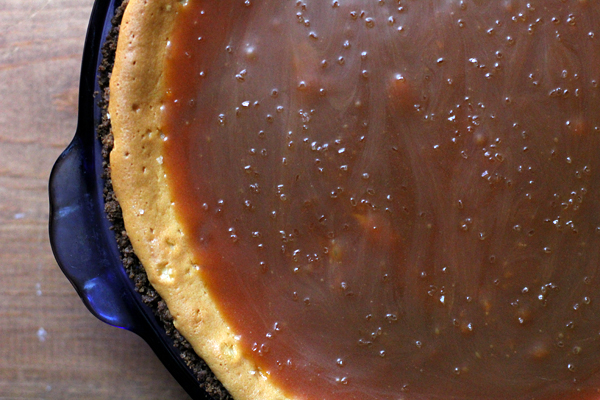
Yes, faithful readers, here I was once again this weekend hunting for a little something sweet to take to an informal gathering of music friends. While I had strong interest in things like browned butter and salted caramel, and a love/hate thing going on with cupcakes, I couldn’t shake the feeling that I’d know it when I saw it. And I simply wasn’t seeing it. Meanwhile, I saw this, and this, and this, and this, and this. But not it.

The day winding down and the grocery store ingredient run eminent, I decided to turn yet again to Joy the Baker. She had served me more than well in my last tight spot by providing some awesome cookie ideas. Perhaps she could lend a girl her icing smeared hand just one more time? I was hopeful.

And after only a few minutes nosing around in her index, I had found love.

Second note to self: Never Google “over-baked cheesecake” one hour before you are about to take a cheesecake you fear you have over-baked to a house party. You’re just being neurotic; all will be well.

Otherwise, the food was fantastic, the company stellar, and the dessert enjoyed.

Get the recipe and make one for yourself:

Salted Caramel Cheesecake Pie-Eaten

Comfort and Joy! (New Christmas Cookie Edition)

cookies_top

I was bored with Christmas baking, and I hadn’t even started yet. Let me back up.

On Friday, my mom called to ask how my Christmas preparations were coming along. I gazed out my window at the Halloween pumpkin still decomposing on my front porch and refused to assume her plan-ahead, Martha Stewart decorating drive.

I don’t like to pack my holiday celebrations too tightly, and I was still working off Thanksgiving dinner, thankyouverymuch. Still, an examination of the calendar did indicate that perhaps some hustle on my part was in order. While I wasn’t ready to make a public lawn statement quite yet, I figured that some baking might help ease me into the spirit of the season. When I turned to my usual Christmas cookie contenders, however–the peanut butter blossoms, the pecan tarts, the Hungarian half-moons–they were all so perfect and lovely and…uninspiring somehow. I decided that I needed to break tradition: Christmas 2011 needed a new cookie.

Thus began the epic Googling. (What? I’m a girl who likes her research!) In the end I settled on two experiments. This is the first, the “cozier” and less fussy of the duo. A friend came back from a block party raving about them a few weeks ago and even though they are laid back, they sure are tasty. I think what sold me is how they are kind of like a Buckeye–a peanut butter ball wrapped in chocolate; what’s not to love?–but (bonus!) in this version they also function as cookies. I was not disappointed.

Cooks all over blogland have gone to town on this recipe (which appears to have originated in an issue of Better Homes and Gardens), so whatever version you need, you can probably find one to suit (the vegans, in particular, have done a range of adaptions). I went with this posting by Culinary in the Country, mostly just because I liked his cookie flattening technique and the fact that he, too, whisks his dry ingredients.
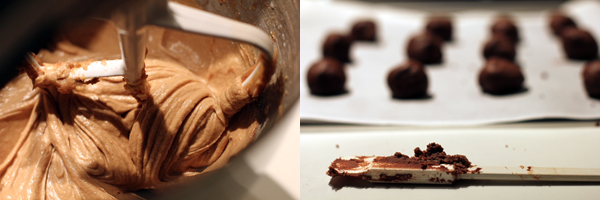
Peanut Butter Filled Chocolate Cookies
Recipe from Culinary in the Country; adapted from Better Homes and Gardens

Dough:
1 1/2 cups all-purpose flour
1/2 cup unsweetened cocoa powder
1/2 teaspoon baking soda
1/4 teaspoon salt
1/2 cup unsalted butter, softened
1/2 cup granulated sugar
1/2 cup packed brown sugar
1/4 cup peanut butter
1 large egg
1 T milk
1 teaspoon vanilla

Filling:
3/4 cup sifted powdered sugar
1/2 cup peanut butter
pinch salt

For assembly:
a few tablespoons granulated sugar

Measure flour, cocoa powder, baking soda, and salt into a medium bowl and whisk to combine.

In a large bowl or stand mixer, cream butter, sugars, and peanut butter until smooth. Add the egg, milk, and vanilla, and continue mixing until well combined. Add dry ingredients and mix just until combined.

Cover two baking sheet with parchment and divide dough into 32 pieces. (I only got 29 and wasn’t disappointed with their size, so use your own judgement.) Quickly shape into balls.

Preheat oven to 350°F.

In a medium bowl or stand mixer, mix powdered sugar, peanut butter, and salt until smooth. Divide into enough pieces to fill your chocolate balls. I found the filling coherent and malleable enough to roll it out into a log, so I did that and simply divided it evenly with a butter knife rather than guess on individual balls, as the original recipe suggested.

Flatten each chocolate ball in the palm of your hand and top with a piece of the peanut butter filling. Fold chocolate dough as evenly as possible around the peanut butter and shape back into a ball before placing it on the baking sheet again. My “round” ball cookies always come out slightly flat, which in this case actually worked in my favor (see next step).

Lightly flatten each cookie with the bottom of a glass dipped in granulated sugar. You might need to get it a little greasy first to get the sugar to stick.

Bake cookies one sheet at a time until the surface of the cookies begins to crack slightly, about 8 minutes. Allow cookies to cool for 1 minute on the baking sheet, then transfer to wire rack and cool completely.