homemade » Wonderland Kitchen
Browsing Tag

homemade

Ultimate DIY Picnic: Housemade Buns & Mayo

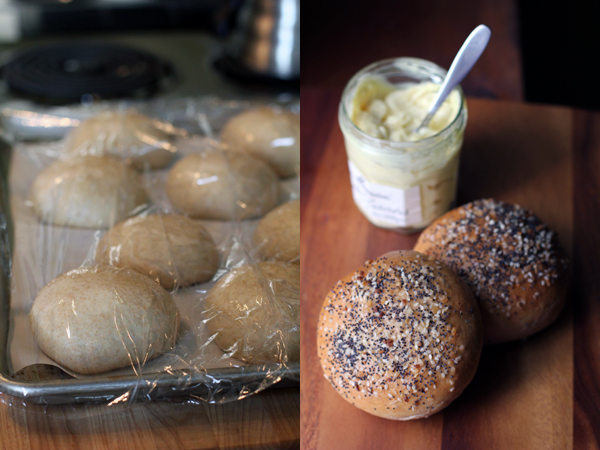
rolls_top

I did not intend to bake my own hamburger buns when the week began.

The thing of it was, I kept eating Brian’s whole wheat store-bought ones, simultaneously lamenting both their dwindling number and their shoddy quality. After polishing off half the bag–what? I was feeling nostalgic for the NYC egg sandwiches of my youth–it seemed only fair that I replace them, but I was hoping for something a little less prone to collapse. Maybe I could make them? That seemed likely to be prohibitively labor intensive for any pre-workday morning, but before I hit the store, I hit the Google. As per usual, King Arthur Flour delivered a recipe for a spectacular dough: a snap to mix, a dream to shape, and an end product that elicited a satisfying number of “You made these?!” responses from their consumers.

I mixed in some whole wheat flour, melted and cooled (rather than just softened) my butter accidentally, and reduced the sugar a bit the second time around (they go fast!), but this recipe is stellar either way.

Everything Burger Buns and One Minute Mayo

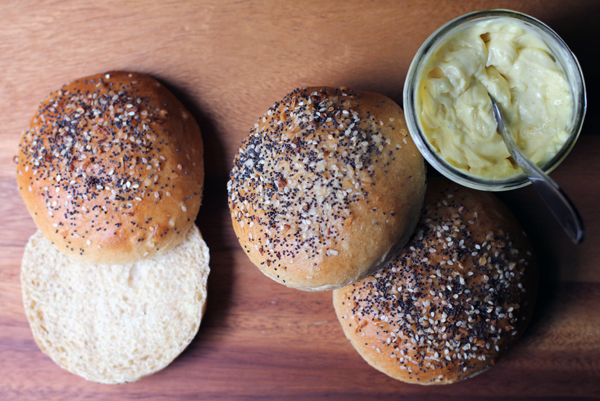
Everything Burger Buns
only slightly adapted from King Arthur Flour

3/4 cup water
1 T instant yeast
3T sugar
100 g whole wheat flour
318 g all purpose flour
1 egg plus 1 egg white for wash (add remaining yolk to dough, if you like, or reserve for homemade mayo–see recipe below)
1 1/2 tsp kosher salt
2 T butter, softened
3 T “everything bagel” topping

Place all ingredients in a large bowl or stand mixer and knead, but hand or by hook, until a smooth dough has formed. Lightly oil the bowl and surface of the dough, cover, and leave to rise until doubled, about 90 minutes.

Line a baking sheet with parchment paper. Deflate the dough and divide into eight equal piece. Shape each piece into a ball (I like to gather the edges of the dough into something of a very small balloon knot, and then place each roll on the sheet, knot-side down, patting it gently on top to spread the roll out a bit). Cover and leave to rise another hour.

During the second rise, preheat your oven to 375F. Beat the egg white with a little cool water and, when the rolls are ready for the oven, remove cover and gently brush the tops with the wash. Sprinkle each with the “everything bagel” topping, or the seed combo of your choice. Bake for 15-18 minutes, until golden. Cool completely on a wire rack before slicing.

Everything Burger Buns and One Minute Mayo

One-Minute Mayo

After two batches of the buns above, I had two yolks hanging out in the ‘fridge, demanding I make good use of them every time I opened the door. There are, of course, a million mayo recipes out there online, and I make no claims to have had any part in inventing this process. But I do love executing it. This is the formula I’m using currently. You’ll need an immersion blender for this method.

2 egg yolks
1 tsp. lemon juice
2 tsp. vinegar
1 tsp. mustard
1/4 tsp. salt
1 cup vegetable oil (some people include a bit of olive oil, but this has never worked for me; it always overpowers, never in a good way)
1 garlic clove (optional)

Allow all ingredients to warm to room temperature. Place everything but the oil and garlic in the base of a container just wide enough to accommodate your immersion blender (the cup that often comes packaged with one is perfect). Cover these ingredients with the business end of the blender wand and gently pour in the oil around it, so that the oil remains suspended above the rest. Begin pulsing the blender in two-second bursts until streams of emulsified mayo start to appear at the bottom of the glass. This won’t take very long at all. Continuing with the bursts, slowly moving the blender up towards the top of glass, plunging up and down a bit as needed, until all oil is incorporated. Scrap down blender. If using the garlic, use a press to crush the clove into the mayo. Stir well to incorporate. Taste and add additional salt as needed. Transfer to a container with a tight-fitting lid and refrigerate until picnic time!

Butter Me Up

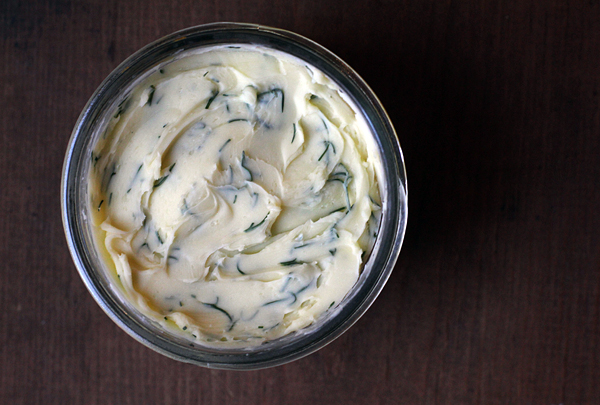
butter_over

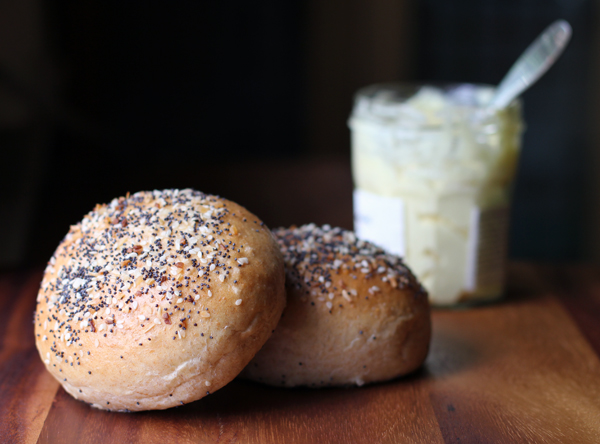
Homemade bread is pretty spectacular; homemade bread topped with homemade butter is…actually maybe taking the DIY homemaking a little too far?

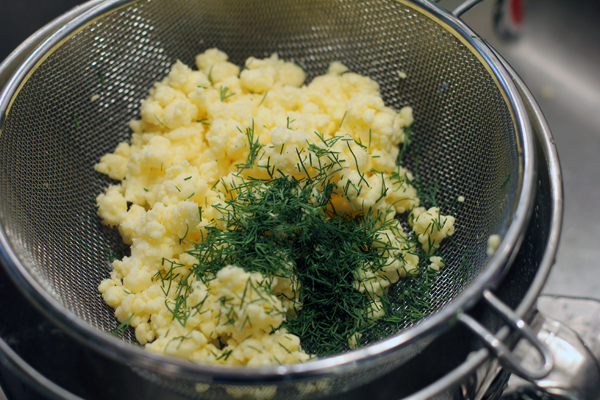
Nonsense, I say! Particularly if you, with all your baking prowess, own a stand mixer, simply affix the whisk attachment and toss a pint of heavy cream (leave it out on the counter for a bit to take the chill off) into that mixing bowl. Using the plastic bowl cover plus plastic wrap to completely cover any openings, run that baby until you break your whipped cream and the butter and buttermilk separate. Keep an eye on it so you can slow down the speed as soon as it comes apart.

homemade butter drain and flavor

At this point, you should strain off the “buttermilk” (more on this piece of the recipe puzzle in my next post) and rinse the butter in very cold water. You will then want to knead it well between your hands to wring out as much water as possible (I also blot it a bit with a paper towel–any leftover moisture will shorten its shelf-life) and flavor it with a sprinkle of salt (for taste and as a preservative) and whatever herbs you might want to incorporate (clearly, I went a little dill happy). That’s it! Pack it down into a jar and store it in the fridge. Then take that buttermilk and bake something delicious to put it on…

PS: I hear that, if you have access to child labor, you can nix the mixer and just pour the cream into a jar with a tight fitting lid and have the kids shake the cream until it separates. Food science is cool!

Springing Into the Season

spring3

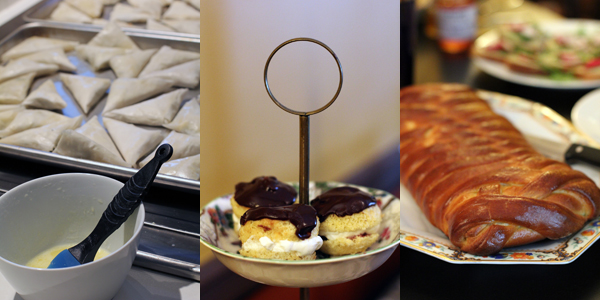
To introduce ourselves to Baltimore, Three Points Kitchen threw its second real-world, y’all-come-on-over event this past Sunday. Friends from far and near were kind enough to stop by and sample our kitchen’s offerings.

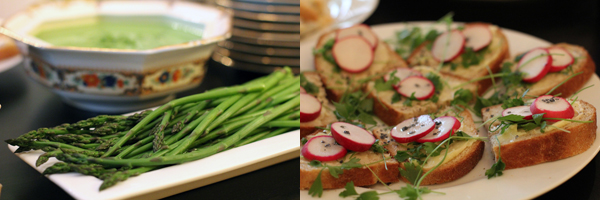
It was a Mad Hatter Tea Party of sorts, celebrating the arrival of the fresh produce of the season–bright pea and mint soup, roasted rhubarb, pencil-thin asparagus with wasabi dressing, duck egg salad on slices of warm baguette fresh from the oven, and radishes, baby greens, and homemade lemon butter slathered over just-baked rye bread. Plus sweets worthy of the Queen of Hearts, if we do say so ourselves.

We stopped just shy of breaking out the croquet mallets. The local Waverly Farmers Market provided most of the produce, including beautiful strawberries from the Eastern Shore that we topped with a St. Germaine Crème Anglaise. And just a few minutes shy of closing, the always-friendly staff at the Wine Source helped us procure all the parts of the Light Guard Punch we served alongside a watermelon lemonade for the abstainers in the crowd.

Want to try out what we ate? Here are a few of the recipes (if you have questions, just post ’em in the comments):

Chilled English Pea-Mint Soup

(N.B.: If you have 2 pints of heavy cream, you can make your own butter and use the remaining buttermilk to make this soup. It’s foodie pretension taken to the limit, but also incredibly satisfying kitchen crafting. If you don’t gloat too much about it, it’s really just 100% tasty.)

Asparagus with Wasabi-Mayonnaise Dip

Cornmeal Parmesan and Poppy Seed Crackers

French(ish) Baguettes

Graham Crackers

Rye Bread

Braided Lemon Bread

Spinach and Mushroom Phyllo Dough Triangles

Rhubarb Penuche Tart

Tiger Tea Cakes

St. Germaine Crème Anglaise

Light Guard Punch

Watermelon Lemonade

And finally, this post gave me the idea to embed a peony in a block of ice to float in the punch–a highly recommended decorative touch. Wish I had gotten a photo snap before it melted away.

Pasta Project 2010

nest_header1

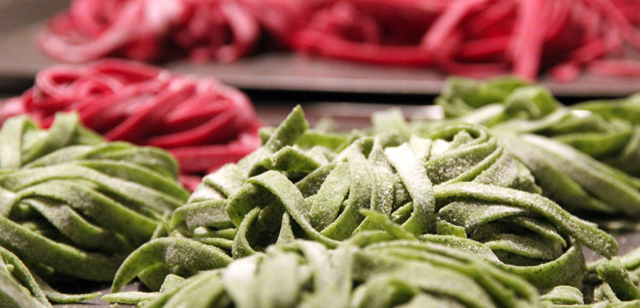
I wasn’t really in a shopping mood on this, the most commercial of American weekends, so getting a jump on some of the homemade holiday gifts I was hoping to produce seemed like a good idea. Plus, the husband was amenable to being conscripted into pasta machine cranking duty and, in all seriousness, I couldn’t have done it without him. How people manage to make excellent pasta with just their wits and a rolling pin continues to impress me greatly.

See the set on our Flickr page

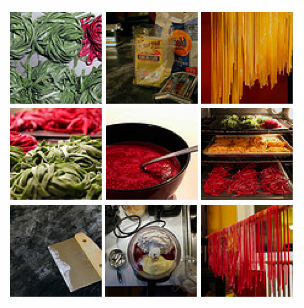
The basic recipe for this project was pretty simple (based off this one on Martha Stewart’s site): 4 eggs plus 2 egg whites, a scant cup of pureed vegetable*, 2 cups semolina, 3 cups all-purposes flour, and two teaspoons kosher salt. All that went into the food processor for the initial mix and then out onto a floured counter for ten minutes kneading. It rested (wrapped in plastic wrap) in the fridge for a couple hours before we did the rolling and the cutting and the drying. I used the inverted bowl trick over the dough we weren’t rolling out yet to keep it from drying out and discovered that method works a lot better than trying to keep it under plastic. A scrap 6 ft. piece of wood wrapped in plastic and strung between two chairs made for ample drying space.

We snuck a few stray pasta pieces into some boiling water at the end of the night and declared them tasty. Now our little fettucini nests will nap under the tree until they are handed off to friends and family.

* I used some frozen spinach, cooked in the microwave and then pulverized in a food processor. Three oven-roasted beets met the same fate. Then I got lazy and used two jars of carrot-only baby food for the final flavor and have to say that was the dough that felt the richest to work with, so don’t be ashamed to shortcut.