baking » Wonderland Kitchen
Browsing Tag

baking

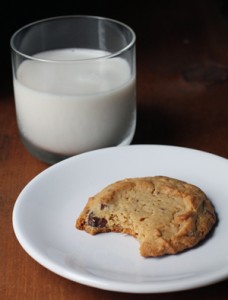
How To Bake Cookies (and Make Friends) Without Really Trying

milkcookie

I’m traveling a lot lately, which is probably how I got to reminiscing about all the globe-trotting adventures I used to have when I was younger and less gainfully employed.
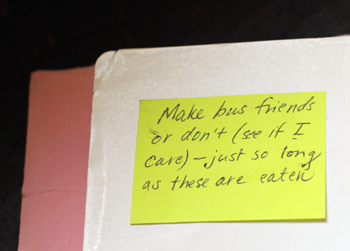
Greyhound carted me between cities scattered across the Northeast one memorable summer, and I took advantage of frequent layovers to spend time with friends who didn’t mind sharing their couches and their kitchens. I still have a little Post-It note that was attached to a sack lunch I was packed off with once. I didn’t have much of a sweet tooth, but it was suggested that on a multi-state bus ride, cookies could turn out to be a valuable commodity. Even though I was heading off down the road again, I didn’t need to go it alone (one way or the other).

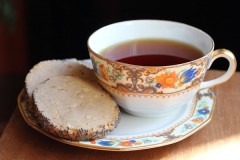
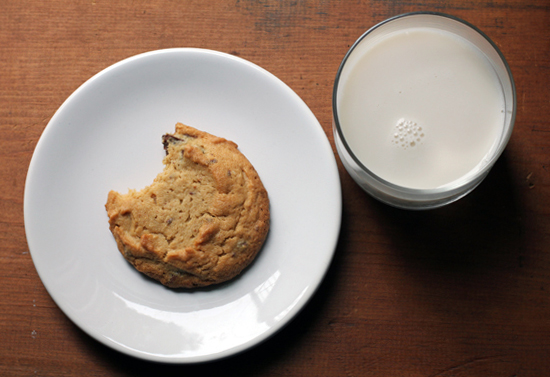
Desserts are not normally my thing, it’s true, but the sweet and savory one-two punch of these Salted Peanut Butter Cookies called out to me when I spotted them just a few days ago on Orangette. So much so that this recipe shot to the top of my “To Make ASAP” list.

I made a half-batch the first time out, even though I strongly suspected in advance that I was going to love their sweet and salty contrast. The recipe scaled down for me very easily (especially if you are weighing all your ingredients). I still ended up with 16 good-sized cookies (3″-4″ across), and I suspect that travel buddies old and newly met will help me make them disappear quickly enough. Unless I accidentally end up eating them all myself.


Salted Peanut Butter Cookies

Adapted from Autumn Martin and Hot Cakes Confections (via Orangette)

240 grams (2 cups plus 1 tsp.) pastry flour
5 grams (1 tsp.) baking soda
12 grams (1 T. plus 1 tsp.) kosher salt
275 grams (2 sticks plus 3.5 T.) unsalted butter, at room temperature
200 grams (about 1 ¼ cup, packed) dark brown sugar
170 grams (¾ cup plus 2.5 T.) sugar
2 large eggs
400 grams (1 ½ cup) natural salted creamy peanut butter
2 tsp. vanilla extract
170 grams (2 bars of 3 oz. each) milk chocolate, chopped

Preheat the oven to 350°F.

I very rarely bake, but when I do, I try to actually lay out and pre-measure all of my ingredients before beginning to mix. While cooking on the fly without a formal mise en place doesn’t often trip me, I find that the baking experience is considerably less stressful when all the pantry rummaging and ingredient portioning is done in advance. On top of that, I use my kitchen scale for accuracy–therefore avoiding worries that my flour is packed either too loosely or too tightly, or that I’ll fumble while leveling off a measuring cup and end up wearing half of it. So, with that strategy in mind:
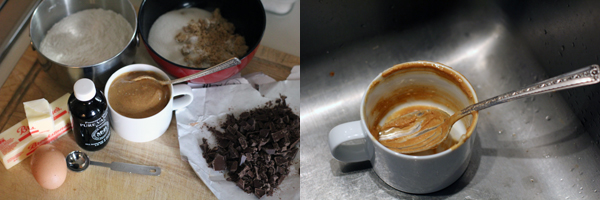

In bowl #1 measure out the brown and white sugar.

In bowl #2 measure out the peanut butter and the vanilla.

In bowl #3 measure out the flour, baking soda, and salt. Whisk to combine.

Finally, in the bowl of a stand mixer (if that’s what you’re using) or a large mixing bowl, place softened butter. Beat in sugars, and then eggs (one at a time). Scrape down the bowl, add in the peanut butter and vanilla, and beat until well combined. Add the dry ingredients in several portions, mixing gently to incorporate fully. Finally, add in the chocolate pieces and mix just long enough to evenly incorporate. Scrape down bowl and beater(s).

Using a scoop or large spoon, scoop batter onto a baking sheet lined with parchment paper. I safely used a scant 1/4 cup of dough and could fit 9 cookies per sheet, but start conservatively as they do spread out and you don’t want them all running together. Bake for 15 minutes, just until the sides begin to color and the top still looks undercooked. I over-baked my first batch, and while they were good, the soft and chewy second pan was the clear winner. Allow to cool completely on a rack before removing from the pan.

According to Orangette, this dough–scooped out and frozen in single-cookie-sized portions–stores really well. Just bake the cookies without defrosting as above, but you’ll probably need to extend the baking time to 20 minutes. Sounds like a wonderful(ly dangerous) impromptu treat, if you ask me. Good to have should friends unexpectedly pull into town.

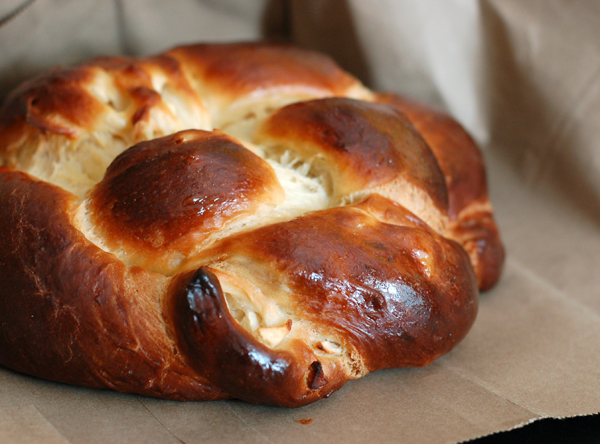
Have to Have a Challah

challa_top

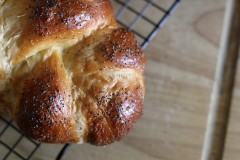
One of, um, okay, probably the only benefit to my oven being temperamental lately is that when things are baking I now must stand sentry by its side throughout the cook time just in case it should decide to start turning itself off again. From this location, my typing is especially inspired, what with all the lovely baking smells wafting my way.

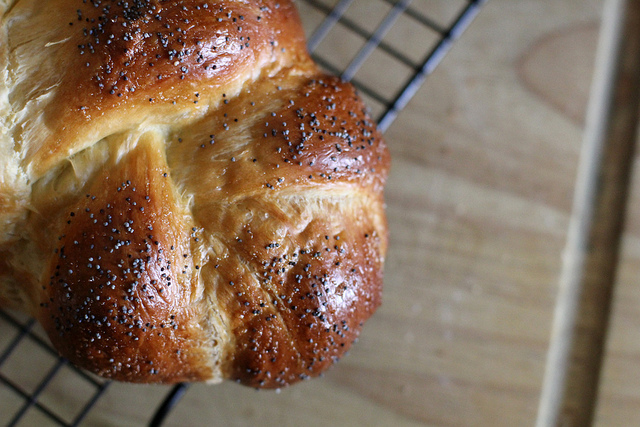
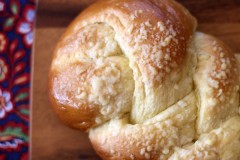
This effect was particularly potent during the baking of an Apple and Honey Challah the other morning. I had spotted the recipe on Smitten Kitchen and wanted to try it out immediately, but who wants to spend hours prepping bread dough only to be thwarted by an uncooperative appliance? Feeling braver after my pot pie success, I set out the ingredients and got to mixing. Despite the complex-looking braiding, the entire process was surprisingly simple.

Apple and Honey Challah
Pretty much as seen on Smitten Kitchen

2/3 cup warm water
2 t instant yeast
1/3 cup honey
1/3 cup vegetable oil
2 large eggs plus 1 large yolk
1 1/2 teaspoons salt
4 1/4 cups or 578 grams bread flour (Weighing flour is by the far the best, no-stress way to go when it comes to accuracy and neatness in flour measuring. If you bake often, consider investing. I have never looked back.)

2 medium baking apples, peeled, cored and in 1/2-inch chunks
Sprinkle of lemon juice, to keep them from browning

1 large additional egg, beaten, for bread wash

In a large bowl or the bowl of a stand mixer, whisk yeast and water. Add the oil, honey, and eggs, and thoroughly combine. The add the flour and salt, and stir till dough pulls together. In the mixer or by hand, knead until smooth and developed, about 6 minutes. Place the dough in an oiled bowl, cover, and allow to rise until almost doubled in sized.

(The original recipe used active yeast and suggested this would take an hour. My kitchen was chilly and my yeast was instant, so I left mine a little longer and in the end I wished I’d allowed the first rise to run even longer, but I got impatient.)

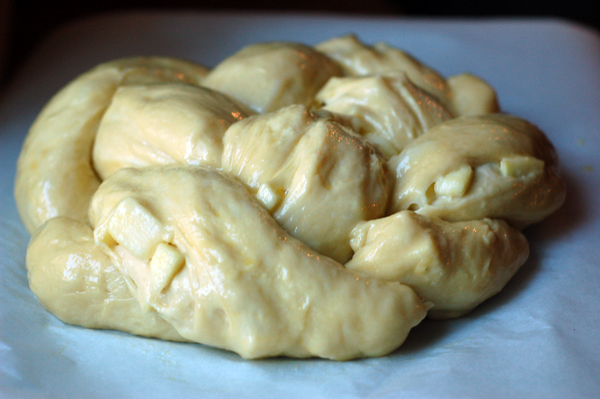
Let dough fall out of the bowl onto a clean counter and spread out into a wide disc, similar to a thick pizza crust, spread 2/3 of the apple chunks on the bottom half and fold the dough over, pressing it down and sealing in the fruit. Place the remaining fruit on to of half the dough again, and fold it over, pressing it down, sealing and tucking it into a boule shape. Invert and place the now-empty bowl over top of the dough and allow it to rest for 30 minutes.

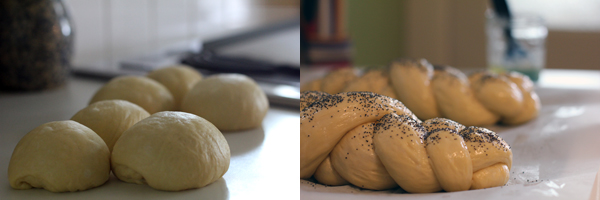
There are many ways to braid a challah, and I really enjoyed the Smitten Kitchen’s braiding suggestions. You can get detailed photos and step-by-step instructions over her way. Basically, you cut the dough into quarters like a pie (a bench scraper works well for this, slicing cleanly through the dough), seal in the apple chunks, and stretch each into a foot-long log. If pieces of apple try and escape during this step, don’t panic. Just poke them back into the dough. I honestly expected this to be of comedy of errors, but there didn’t end up being a great deal of runaway fruit to deal with. Weaving the four strips over and under one another in front of you in the shape of a # sign, you then lift each “under” leg over top of the leg to its immediate right, doing this a total of 4 times as you move around the bread. Then you take the leg you didn’t braid yet and move it to the left. For me, this was all the braiding that was needed, so all that remained was to tuck the ends securely underneath the loaf. Move the bread to a sheet of parchment, and brush it with the egg wash. I slipped mine onto the back of a baking sheet for ease of transfer and covered it with greased plastic wrap. Let it rise again for an hour.

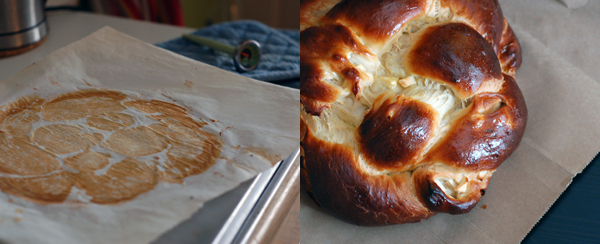
Preheat the over to 375˚F. When the final rise is complete and the oven is hot, remove the plastic, brush again with the egg wash, and bake for 45 minutes (tenting with foil if bread darkens quickly–mine always seems to.) When done, the inside of the bread should register at least 190˚F. My loaf ended up needing additional time, the middle still undercooked due to the fruit, so best to check.

Having Our Cake

bcake_main

I realized the other day that “celebration” always equals “food” in my mind. When someone’s general awesomeness or recent accomplishments need acknowledging, I make reservations.

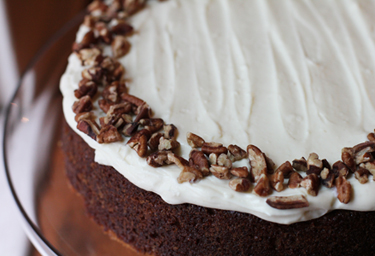
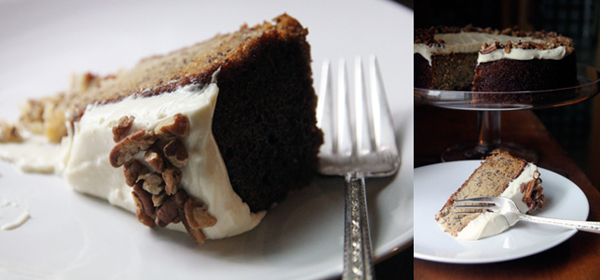
What I don’t usually do is bake for them, and in a culture where sugar is shorthand for love, that can be problematic. Cakes and cookies step beyond my skill set and outside of my palette preferences, so when the Three Points cooks decided that there would be cake(!) in honor of our 1st anniversary (that’s right, ladies and gents, we are cruising past 365 days and 152 posts), I was thoroughly stumped. Luckily, the dessert cart rolled to me. Celebrating her own six-years-and-counting blog anniversary, the Wednesday Chef featured a banana cake recipe from LA’s Clementine Bakery that sounded like it would suit both the happy occasion and my level of expertise especially well: a single layer situation topped with a simple cream cheese icing. And come on, fruit was even involved! This was no triple-decker, double chocolate fudge bomb with sprinkles on top. This would be wholesome joy.

I actually believed all that “good for me” posturing right up to the part where I was measuring out equal portions of pastry flour and white sugar into my mixing bowl. With a tropical storm on the way, however, it seemed a poor time to count calories. I had thought about throwing in some walnuts or other “banana bread” kinds of additives, but this is really not that. This is 100% decadence, not breakfast. And it’s delicious. So to all those visitors out there, share in this bit of sweetness sent with love, with friendship, with thanks.

Bless This House

6112957892_4e2d5d03ff_z

Bread, that this house may never know hunger. Salt, that life may always have flavor. And wine, that joy and prosperity may reign forever.

I’m not sure how the tradition of bringing bread, salt, and wine as a housewarming gift got started among my highly transient cohort (I guess, like most people, we heard it one too many times during the annual Christmas screening of It’s a Wonderful Life). Regardless, two sets of wonderful Baltimore friends made moves at the end of April, so I cracked open Reinhart’s The Bread Baker’s Apprentice yesterday and got to work on a couple of challah loaves to celebrate these new homes.

Like all traditions, variations pop up. I just came across a version that substitutes a new broom for the wine, “to sweep your troubles or sorrows away,” which sounds both poetic and practical. Honestly, with friend’s like mine, I’d always thought we had added the wine part on ourselves (along with a nice cheese and a container of olives, of course).

Miles To Go

6112335823_2042380ac5_z

I feel as if I’m getting to the point in my bread-making experience where I’ve done just enough to know how very far I have yet to go before I’m really good at it. I take some small comfort in the idea that, having learned to play the violin as a child, the patience to pursue this slow curve is already trained into my hands. Here’s hoping the muscle memory kicks in as easily as it did when I was ten.


Feeling confident but not yet cocky about my basic country loaf, for try #4 out of the Tartine bread book I decided to mix it up just a bit and do a run of the baguette recipe using the fendu shape (also the version that appears on the cover of the book, I believe). In the end, I got bread alright, and plenty of it, but I also learned a lot of things. While nothing I did destroyed the end product, I think it will be a lot better next time when I mix the initial dough a bit more carefully (myself and my available bowls were overwhelmed by the sheer weight and volume of dough on the table) and, now that I have a a better feel for the flour and crease shape, I think I have a clearer understanding of how to get the correct look from the final loaf. Alas, I’ll just have to do it again. And again. Not to mention start purchasing flour in the large burlap-sack size.

I used to get seriously distressed when recipes didn’t work for me the first time out, and yet I have trouble following instructions to the letter. I learned to play music by ear and I find myself cooking more by picture and smell and feel than by any amount of typed direction. The more comfortable I get in my kitchen, the more value I place on making time to practice and play around with what I’m doing so that I’m actually learning something for the takeaway–risking mistakes for the chance of stumbling onto something more personally satisfying. It doesn’t make the occasional complete failure  any less frustrating, but I’m just starting to understand that I’ve been in this place before.

Tartine Basic Country Loaf: Try #1

tartine3a_600

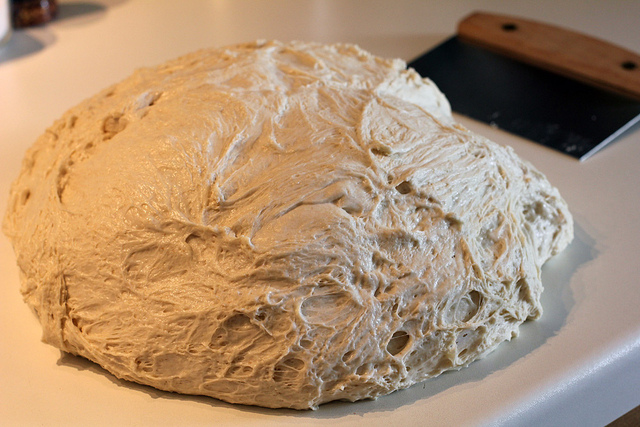
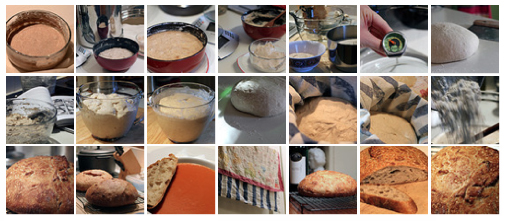
At 8 a.m. I began mixing the dough for my first Tartine Basic Country Loaf. Well, you could say that I had been mixing it for going on two weeks, since it took that long to get my starter into shape. Now, with just flour and water and patience (and a bit of salt), I was going to make bread.

There was much measuring of flour and water (weight and temperature!). My nurtured starter proved itself ready for the task at hand. Much stirring and folding and folding and folding (every half hour, for most of the morning). And shaping and resting and rising and then…

After all that work and what I thought was a careful flouring of the towel lining my rising bowl (I’ve done the no-knead bread dance more than once), the dough napped for four hours and adhered itself firmly to the material in the process. So there I was, poised over a 500 degree dutch oven with an entire day of careful work flashing through my mind and a teardrop of dough stuck to a towel in my hands. In just the 3 seconds it took to flip the dough over, I thought all was lost. Foul language was used.

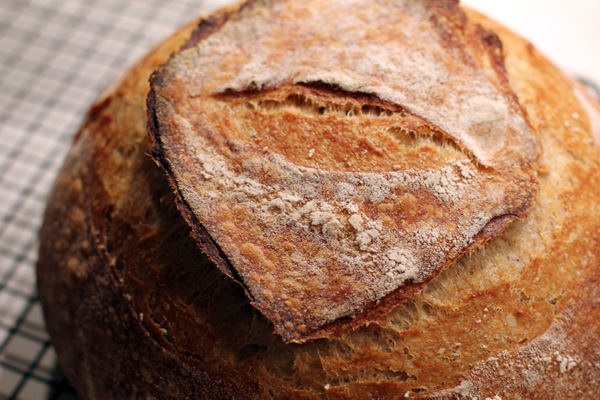
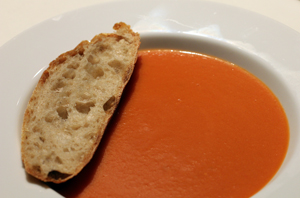
In the end, however, the bread forgave me this error, even if it did trade the attractive baker’s slashings for a surface more, um, rustic. Slicing into the first loaf, the crust was flaky and crisp, the inside boasting huge holes, a chewy texture, and a slight but extremely addictive sour note. I pronounced it excellent and made some cream of tomato soup to go with it on this chilly night.

You can check out the photographic play-by-play here. I need a rest, but then I am totally giving this one another run.

UPDATE: Try #3

Okay, I think I’m getting a handle on this process now. And even though it takes time, I like the work of the tasks involved. And it seems especially worth the investment when it comes out of the oven all golden and crackling.