jars »» Wonderland Kitchen
Search results for

jars

Choosy Moms Choose DIY (Peanut Butter Edition)

pb_top

Why don’t you just buy it?

Many DIY kitchen projects elicit this reaction, especially once the labor investment is revealed. Even if making your own means the removal of various chemicals, colorings, and preservatives, if it takes you five hours to crack out a bag of perfectly shaped and smiling goldfish crackers, is this a practical application of your time?

There are plenty of DIY projects that aren’t quite so involved, of course. Mayo. Salad dressing. Nut butters also fall into this category, the “recipe” being little more than “put ingredients in food processor and turn on.” Disappointed? I thought not. Even so, you may still be wondering: With so many peanut butter options already fighting for space on grocery store shelves, does it even matter if it takes 15 minutes rather than 15 hours to produce? Why…don’t you just buy it? I’m glad you asked.

Safety: The main reason I even thought to post about DIY-ing your own nut butters was due to the recall of yet another batch of contaminated peanut butter. I put so many more complicated condiments in jars here in Wonderland, it seemed silly not to add this no-brainer to the list.

Control: Peanut butter is one thing, but what about Cashew Almond Butter, or Hazelnut Cocoa Butter? When you DIY, you control type, quality, and quantity of the nuts and oils that go into each and every jar. Salt and sweeteners can be added to suit your tastes and nutrition goals, as well. Now things really start to get interesting.

Cost: When I did the math for Serious Eats, the supplies I was using didn’t dramatically result in cost savings until (perversely) the price comparison climbed into the really pure, “the only thing in that jar is peanuts” kind of $5.99, oil on top spread. To get a pure product and not have to try and figure out how to get the oil reincorporated is worth the homemade time investment as far as I’m concerned, though I did get some colorful tips on how to mix things up.

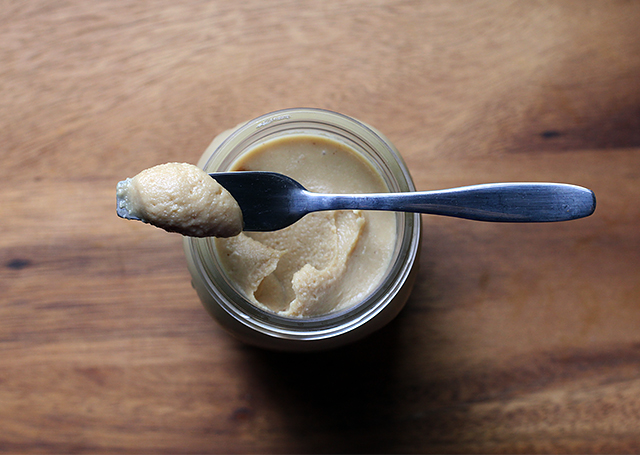
While considering what type of oil to include in my own DIY version, I wanted to find something that wouldn’t come with environmental concerns and yet still produced an excellent taste and texture. In my experience, using a small amount of coconut oil and then immediately transferring the finished product to the refrigerator results in a butter that holds together without getting oily on top or dry on the bottom before I use it up. I like its texture as well, because it spreads smoothly when totally cold, but isn’t runny on the knife.

DIY Simple Peanut Butter

16 ounces roasted unsalted peanuts
1 tablespoon coconut oil (be sure to use refined oil if a hint of coconut flavor would bother you)
1/2 teaspoon salt or to taste
Honey, agave, or other sweetener to taste (optional)

Place nuts, oil, salt, and sweetener (if using) in the bowl of food processor. Process until nuts break down, stopping occasionally to scrape the sides of the bowl as needed. My food processor likes to fling all the nuts to the sides of the bowl and out of reach of the blades, so I have to invest more time than I’d like scraping them back off until things get going. Using enough nuts to mostly fill up the processor bowl helps alleviate this issue.

DIY Peanut Butter: Processing

Continue to process until peanut butter reaches desired smoothness. Taste and adjust salt and sweetener as needed.

Due to the heat of the processing, the butter should pour easily into a clean container but will achieve a firm yet creamy consistency after chilling. Cover with a tight-fitting lid and store in the refrigerator to prevent separation. (I like Mason jars for this, of course, and am really loving the plastic storage lids)

*

This recipe was created for my “DIY vs. Buy” column on Serious Eats.

Falling Into the Season: Maple Apple Bars

applecake_top

I didn’t post about the fact that my pal Marie and I cooked a bushel and peck worth of apples last weekend, ran them through (a freakin’ hand-crank) food mill, and put them into jars. But we did. We even added caramel to some, and calvados and cardamom to others for an adult-rated version. It was quite a delicious project, not terribly backbreaking when all was said and done, and should keep us in applesauce and apple jam for the foreseeable future. But more than that, it was an afternoon of fun in that way good work with close friends can turn out to be. Company in the kitchen is an important ingredient that shouldn’t be overlooked.

As it turns out, however, this applesauce also now connects me to a new acquaintance far beyond my kitchen walls. Thanks to the RSS/Twitter feeds streaming through Wonderland, I feel as if I have “met” a small army of amazing cooks who have so generously invited me into their homes and thoughts through their online writing. Amie Watson reached out to me after connecting with Wonderland Kitchen though a friend and suggested a recipe trade. I thought this was a most excellent idea.

Apples for Maple Apple Bars

Once she told me she was going to make my cereal bars gluten free (an adaptation I’m excited to share), I thought–since I’m so into coconut oil these days–that perhaps I could completely anti-dairy and non-glutenate her Honey Almond Squares. But on reflection (and the realization that my chickpea flour cupboard was empty), I decided that was the opposite direction to take things. Considering the above-mentioned applesauce, plus the crisp weekend weather, I would add the wheat back in, swap in some deeper and darker sweet notes, and see what I got. I perhaps got completely carried away, but Amie’s recipe seemed welcoming to adaptation. Use an apple! Or use a pear! I like this approach; it’s much more in line with how I like to cook, and also where I tend to fail when baking. When the recipe offers guidelines as to where variation is possible, that’s my best chance for success right out of the gate.

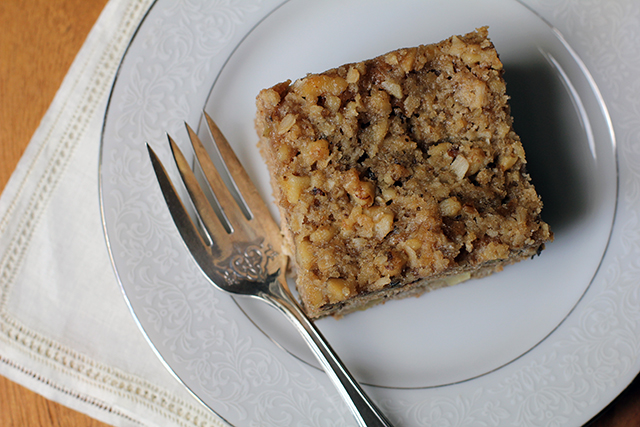
And I don’t think I’ve ruined Amie’s recipe in the process! I like to think of this version as just the opposite side of the same dessert coin. Where her bars, with their higher honey, mango, and almond notes, would make a perfect welcome to the warming temperatures of spring, here we say hello to the brisk snap in the fall air. It’s a rich, moist, spicy cake, and it practically begs you for a scoop of vanilla ice cream if you’re feeling super decadent (and not lactose intolerant–sorry Amie!).

Maple Apple Bars: Baked

Maple Apple Bars
adapted from “Honey Almond Squares” as seen on Amie Watson’s Multiculturiosity

For the cake batter

1/4 cup butter, cubed
1/3 cup maple syrup
1 egg
1 teaspoon vanilla extract
1 cup applesauce
1 cup AP flour
1/2 cup whole wheat flour
1 teaspoon cinnamon
1/2 teaspoon nutmeg
1/2 teaspoon baking powder
1/2 teaspoon baking soda
1/4 teaspoon salt
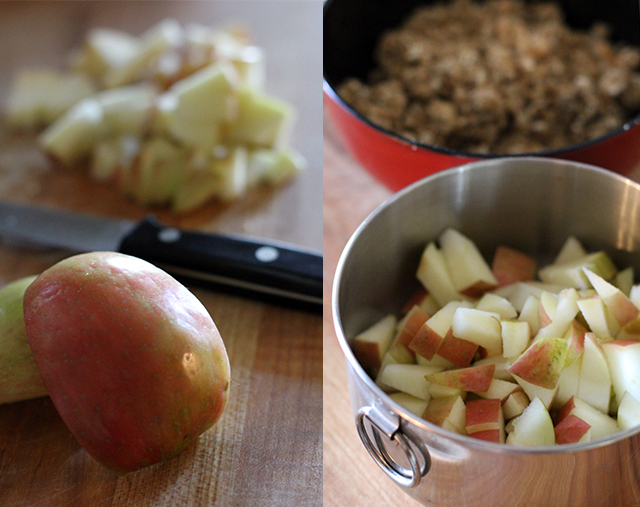
1 apple, cubed
1/3 cup walnuts, chopped

For the streusel topping

1/2 cup brown sugar
3 tbsp rolled oats, coarsely ground
1/3 cup walnuts, chopped
1/4 cup butter, cubed

1. Heat oven to 350°F. Butter an 11″x7″ glass baking dish and set aside.

2. Measure dry ingredients for streusel topping into a bowl. Using your fingers, work in butter until the mixture is roughly incorporated and crumbly.

3. Using a stand mixer or in a large bowl, cream butter and maple syrup. Beat in the egg. Next, stir in the vanilla extract and apple sauce.

4. Measure dry ingredients into a medium bowl and whisk to combine. Add to the liquids and stir just until all ingredients are incorporated. Fold in walnuts and apples, then spoon batter into prepared baking dish, smoothing it out evenly with a spatula or the back of a spoon.

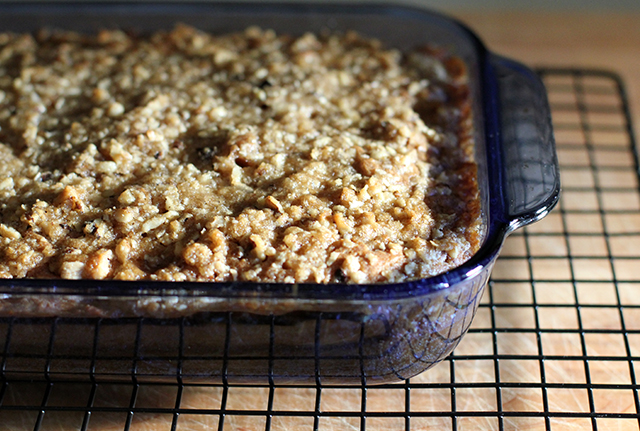
5. Sprinkle streusel topping over the top and bake for 35 minutes. Allow to cool on a wire rack before slicing and serving.

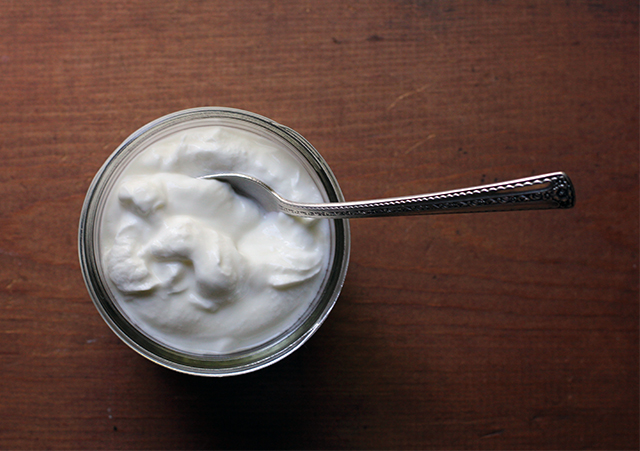
Real Deal: DIY Greek Yogurt

greek-yogurt-finished-two

I am not generally a “doing the math” kind of person. As a result, I end up economizing in weird ways. I’ll stand in a grocery store aisle agonizing over the cost/benefit of something based on price and ingredients and brand, maybe saving a dollar here with a bulk buy or spending a dollar there to get the organic option. Later that night, however, I won’t think twice about going out to dinner with my husband, making the utility of the entire exercise somewhat questionable.

When it comes to the Greek yogurt consumed in our house, however, I finally did all the math for my latest Serious Eats column, a process which left me convinced I no longer knew how to divide. I was shocked by what kind of savings I might manage in a given year if we could get off the little cups with the parchment paper tops and start making it all at home. But I was going to need a much more streamlined process than my yogurt-making appliance filled with little glass jars would allow, so the research began.

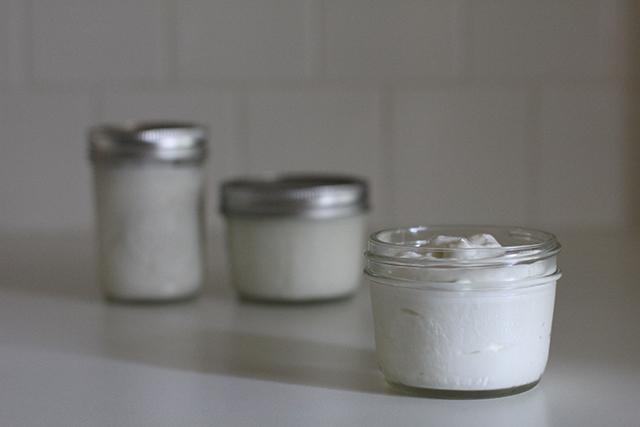
Producing yogurt at home may not be quite as simple as making ice cubes, but it’s not much more complicated than measuring liquid into containers and letting it reach or hold certain temperatures. Ultimately, if you can stir and read a thermometer, you have all the skill needed to culture your own. The process takes a lot of hands off time, however, so if you’re more accustomed to the immediate gratification of cookie baking, this may take some getting used to.

DIY Greek Yogurt: strained and portioned

A few things to consider before you begin:

  • Both the milk and the starter you select will impact the taste and consistency of the final product, and you will likely need to experiment some before you hit on your ideal ingredients. If you’re using fresh yogurt as your starter rather than freeze-dried, be sure to use a plain variety that contains live and active cultures.
  • There is more than one way to incubate at 110°F—from a simple thermos to a special appliance specific to yogurt making. I found the method below (which I first learned about here) to be both simple and consistent, but you may want to experiment and use the process you find most efficient.
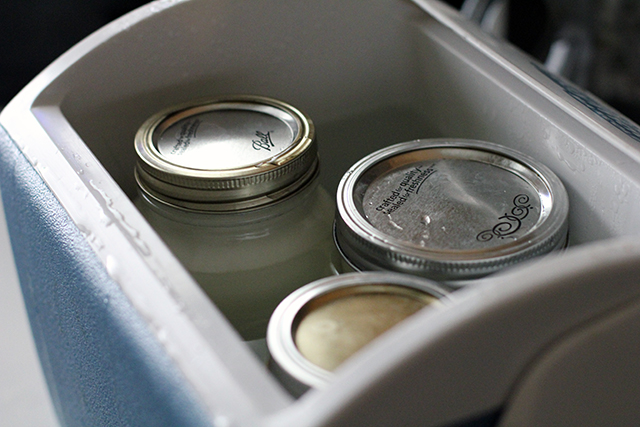
  • A useful trick I picked up from Alana Chernila’s The Homemade Pantry is to incubate a small portion of the milk and starter mixture in a 1/2-pint jar alongside the two filled quart jars. Reserve this smaller portion to culture your next batch of yogurt. If using the small cooler method outlined below, you can keep this smaller jar above the water line by setting it on top of a narrow, empty 1/2-pint jar.

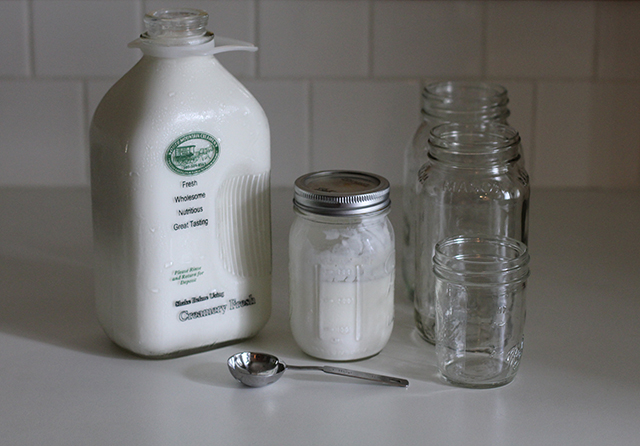
DIY Greek Yogurt: ingredients

DIY Greek Yogurt
8 cups milk
4 tablespoons plain yogurt with live and active cultures or freeze-dried yogurt starter

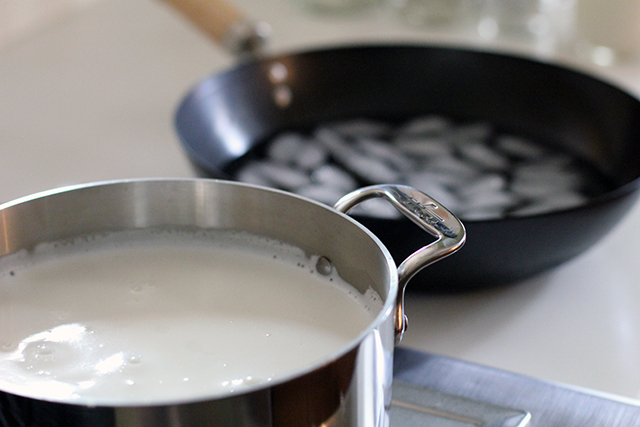
DIY Greek Yogurt: hot and cold

In a heavy-bottomed pot over medium heat, bring milk to 180°F, stirring regularly to prevent scorching.

Once milk has reached temperature, allow it to cool to 110°F (place pot in an ice bath to speed cooling, if desired). When milk has cooled, add yogurt to the pot and whisk thoroughly to combine.

DIY Greek Yogurt: incubation

Pour milk and starter mixture into two quart-sized jars (and smaller 1/2-pint, if using) and screw on lids. Place them in a small insulated cooler and fill with 120°F water until jars are submerged nearly up to their lids. Close cooler and leave in a draft-free, undisturbed place for six hours or until desired tartness is achieved.

When incubation is complete, remove jars from water bath and place in refrigerator for at least six hours to halt culturing and set yogurt.

DIY Greek Yogurt: straining

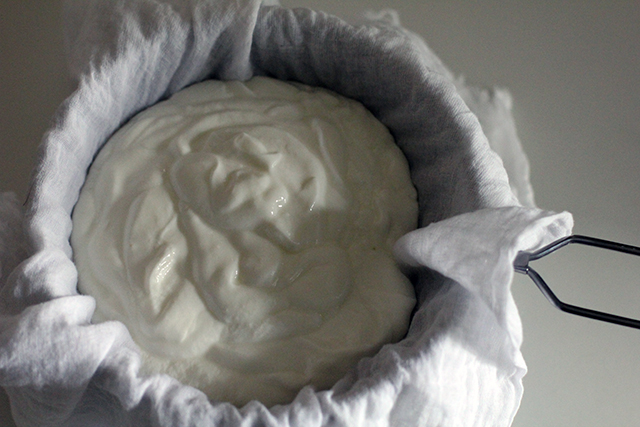
At this point, yogurt may be eaten, but to achieve a Greek-style consistency, it will need to be strained. Place a fine mesh strainer over a bowl and line it with two layers of cheese cloth. Spoon yogurt into lined strainer and allow to drain for two hours or until desired thickness is achieved.

Transfer yogurt to a storage container and refrigerate until needed. Remaining leftover whey (approximately two cups) may be reserved for another use if desired.

Child of Invention: Shake and Pour Pantry Peanut Dressing

dressing_over

There is a comforting romance to tracing your culinary roots back to grandma’s stained cookbooks or memories of mom letting you wear her apron and stir. These bits of nostalgia are stereotypically accented with the recollection of shared kitchen laughter and lessons learned at the elbows of others—food preparation that bonded the family and ended in feasts of Norman Rockwell perfection.

In my case, however, this love affair with formulas and mixtures and experiments began in the garage. My father had set up an old Formica-topped table, behind the cars and next to the lawn mower, where I could spend hours by myself just messing around in my own imaginary kitchen. I made milk by shaking together baby powder and water in a cast-off baby bottle, “reduced” dish detergent by pouring it into a plastic bowl and leaving it out in the sun until it congealed. Once, after I saw a special on PBS, I even took a handful of clay from some craft supplies we had and formed my own wine vat, mashing up grapes from our vines and sealing this mixture inside, burying the whole thing in the ground just as I had seen on TV. The next spring when I unburied the clay container and brought a glass of the reeking fermented liquid to my mother, the color drained from her face at the idea that I might have been drinking it. I was only eight, but still—perhaps they should not let me spend quite so much time alone in the garage.

Polaroids from my 1st grade science fair project. The experimental side of cooking is what attracted me.

I didn’t think much about those days once school and friends and violin lessons took over my focus and “playtime” was a thing of my past. In college I cooked to survive, and as a single working woman in New York, I cooked only on the rare occasion that I was actually in my apartment long enough to eat. Once I married, moved, and established a real home, cooking became a more seriously integrated part of living and my inner mad scientist reawoke. My fridge is now crammed with jars of housemade pickles and chutneys and various condiments. I lug home gallons of whole milk that I turn into yogurt and cheeses, fruit and honey that I ferment into mead. My freezer is packed with flours and yeasts of various sorts; I keep a jar filled with the latest sourdough starter, a life that I labored to bring into this world and yet now keep forgetting to feed.

I love to research but I’m not such a fan of measuring, so my favorite dishes tend to be more memory than recipe-based. In the process, I destroy and I discover. I’m still eight-years old really, just better outfitted this time.

*

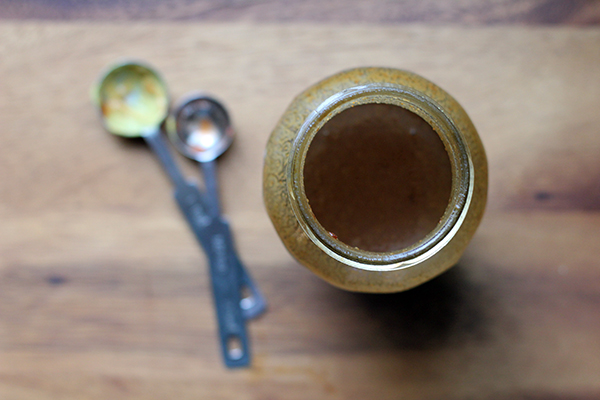
Shake and Pour Pantry Peanut Dressing

Shake and Pour Pantry Peanut Dressing

When it comes to dinner salads, there is a point between a heavy dairy laced dressing and a simple vinaigrette that I often find myself seeking in order to accent a full meal of raw vegetables. More often than not, I’ll end up turning to this spunky peanut butter-based recipe. Though honestly, I feel like the instructions which follow should read along the lines of: “Open refrigerator. Remove several complimentary condiments. Shake together and pour.” Because really that’s what I do. I promise I actually measured the recipe below, but I’m never so careful in real life. I almost always forget at least one ingredient, and sometimes I add others, such as honey or toasted sesame oil. If there’s not enough of something, I just use something else.

As if that wasn’t a slippery enough slope, I also adjust it several times throughout its shelf-life to suit different purposes. Need it thicker for cooked veggies or as a dumpling dipping sauce? Spoon in more peanut butter and shake. Need it thinner again to cover another round of salads or to kick up some quinoa? Taste and add more liquid and adjust heat–usually a bit of soy sauce and a squeeze of mustard will do it.

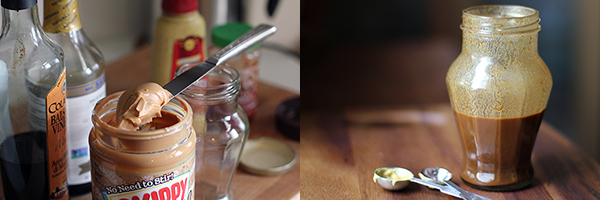
2-3 T peanut butter (processed or natural, chunky or smooth)
4 T tamari (I use reduced sodium)
2 T balsamic vinegar
1 tsp. mustard
1/2 tsp tuong ot toi (vietnamese chili garlic paste)

Measure all ingredients into a jar with a tight fitting lid. Shake until well combined. Taste and adjust balance to suit your tastes. Refrigerate until needed.

Canning and Preserving: The Season So Far

jars2

I am a “learning by doing” type of person, but I’ve never enjoyed group classes. I may not get much from reading instructions, but I do like to make my mistakes in the privacy of my own home, on my own terms and on my own schedule. It’s not the most efficient method of knowledge acquisition, I’ll grant you, but it’s what has always worked for me.

Last year a lot of my study concerned bread, particularly sourdough. I trialed, I errored, and I learned a lot. And now I really feel like I know something, something satisfying in the same way that working to play the violin well provided but that getting a good grade never did. (There are actually a lot of music/bread parallels, I’ve discovered.)

Anyway, whereas last year’s kitchen was filled with yeasts and starters and flour everywhere, this year I’ve been working my way into canning. I know, I know, I’m very late to this party and riding the trend almost at the point of cliche, but it turns out this is a good thing because everyone and their sister published a beautiful book on canning and I am now actively applying these textbook lessons. (Yes, due to the need for food safety, in this case I’m even reading and following instructions to the letter.)

Canning and Preserving

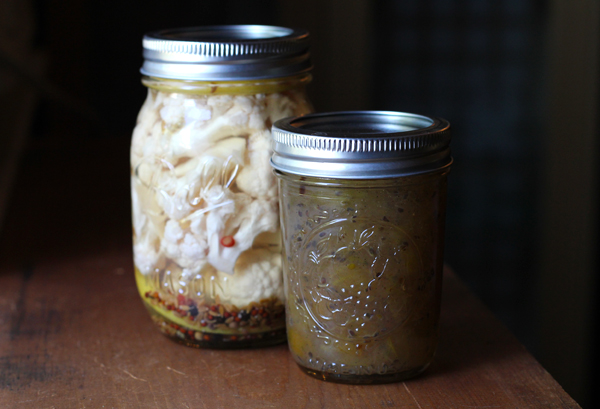
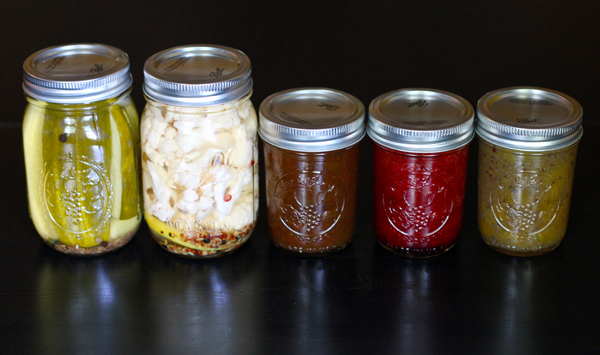
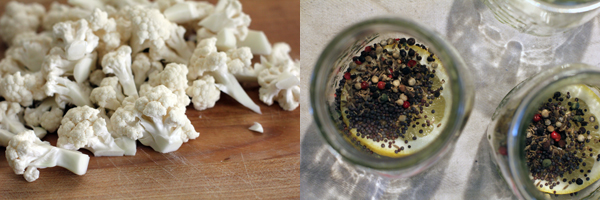
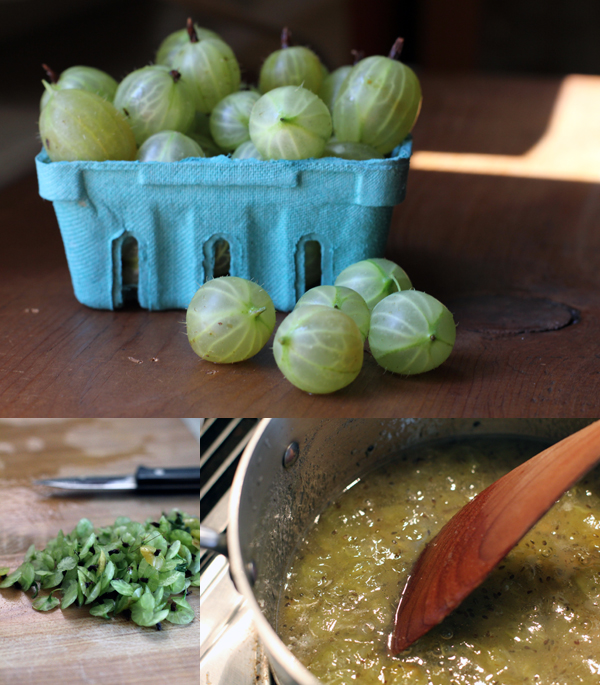
Since I am buying my produce from the market (heavily shaded urban gardening is just not high-yield), my batches so far have been just a few jars each, but this also keeps things manageable (and, if I screw something up royally, it won’t be such a waste). So far, we’ve got (as seen above): Classic Dill Pickles and Lemony Pickled Cauliflower from Marisa McClellan’s Food in Jars: Preserving in Small Batches Year-Round, plus her small batch recipes for Rhubarb Chutney and Honey Sweetened Strawberry Jam. And finally, a Gooseberry Jam from The Preservation Kitchen that I found especially attractive due to its comparatively low sugar content and the addition of vanilla.

Canning and Preserving: CauliflowerCanning and Preserving: Gooseberries

I also broke down and, even though I certainly don’t feel like eating sauerkraut at this point in the season, I sliced up that 5 lb. cabbage lurking in my fridge (a gift from a friend’s farm) to at least make some for later. I now have another bucket of it set out to ferment in the corner. It’ll be due to process in a few weeks.

The next request I’ve had is for ketchup. If you have a lead on a great recipe, please do let me know. I’m competing with the ghost memory of a grandma’s prize-winning concoction, so I’ll need something stellar.

Tangled In Garlic Scapes

garlicscape_top

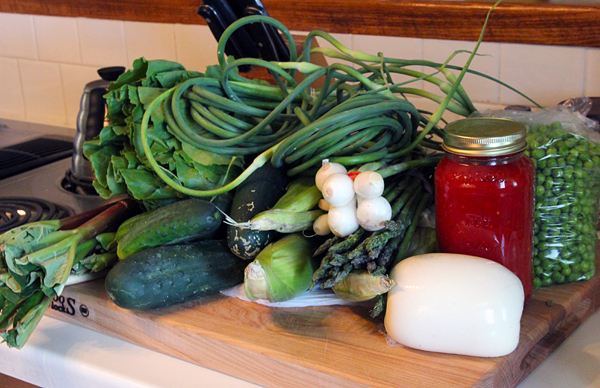
What happened was this: I had been emailed a heads-up that as part of the summer farmers’ market opening weekend, my CSA (a.k.a. One Straw Farm) would have garlic scapes on the table. As my own garden garlics seems to have mysteriously keeled over and quit where they lay (victims of wild urban animals or overly strong rain storms, I’m not sure which) I was excited to still have a chance at this seasonal treat. Paging through my pickling books, I got excited for the brined version, so I brought home two hefty bunches and prepared to stuff them in jars. I also picked up a few other things.

First market haul of the summer 2012 season.

First market haul of the summer 2012 season.

On reflection, I realized that I was already somewhat overstocked in the pickle department (especially after making a few jars of dill pickle spears and a second batch of that rhubarb chutney I’m infatuated with). Plus honestly, I really didn’t want to wait to eat them. Still, in my enthusiastic preparation for what I thought was to be a canning project, I had acquired 24 of them and I shuddered to think that they’d now turn yellow and quietly rot away at the bottom of my produce-packed crisper drawer. There was the garlic scape pesto option, but I already had a batch of kale pesto taking care of that culinary need (esp. when it came to egg sandwiches–highly recommend!).

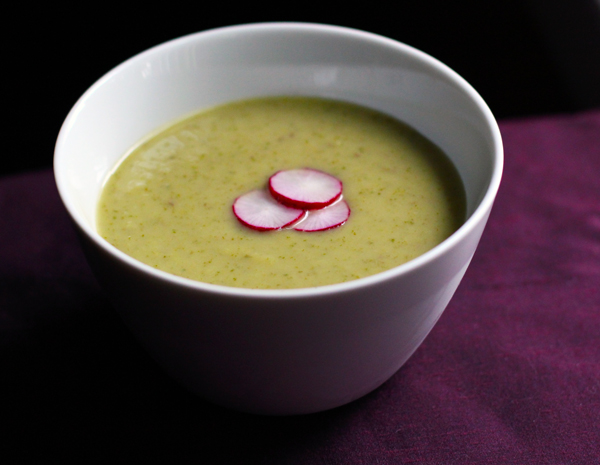
And so, as I often do, I turned to Google, and Heidi Swanson’s recipe for Garlic Scape Soup–calling for a perfectly portioned two dozen scapes–came to the rescue.

Garlic Scape Soup

Garlic Scape Soup
Only slightly proportionally adapted from Super Natural Cooking (My potatoes were quite large and I like a thinner soup.)

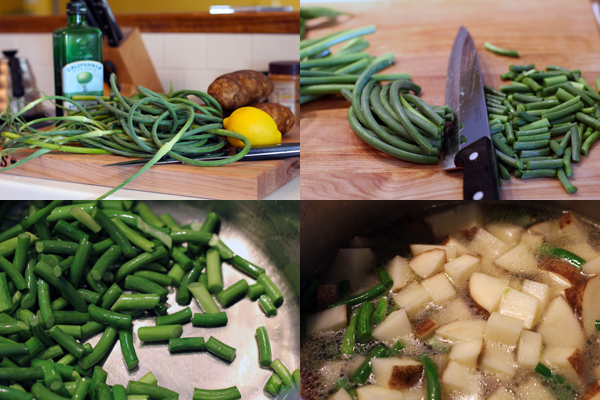
2 tablespoon extra virgin olive oil (I am loving the California Olive Ranch brand lately. It has a strong, almost grassy taste.)
24 garlic scapes, flowers removed and chopped
3 large russet potatoes, cubed (no need to peel)
5-6 cups vegetable broth
3 cups spinach
2 T fresh lemon juice
1 cup whole milk
salt and pepper to taste

In a large soup pot, heat oil and sauté scapes for a few minutes. Next, add potatoes and broth and bring to a boil. Reduce heat and simmer until potato cubes break apart easily when pierced with a fork, about 30 minutes. Remove pot from heat, add spinach, and puree the soup (an immersion blender is really the way to go here). Add lemon juice, milk, salt and pepper, and continue to blend until well combined. Adjust seasoning. You may need to add additional salt until, as Heidi puts it, “the flavors really pop.”