eat me » Wonderland Kitchen
Browsing Category

eat me

How To Bake Cookies (and Make Friends) Without Really Trying

milkcookie

I’m traveling a lot lately, which is probably how I got to reminiscing about all the globe-trotting adventures I used to have when I was younger and less gainfully employed.
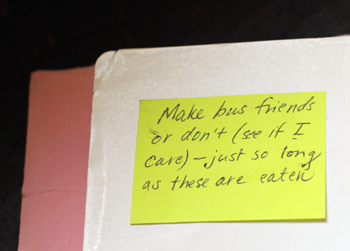
Greyhound carted me between cities scattered across the Northeast one memorable summer, and I took advantage of frequent layovers to spend time with friends who didn’t mind sharing their couches and their kitchens. I still have a little Post-It note that was attached to a sack lunch I was packed off with once. I didn’t have much of a sweet tooth, but it was suggested that on a multi-state bus ride, cookies could turn out to be a valuable commodity. Even though I was heading off down the road again, I didn’t need to go it alone (one way or the other).

Desserts are not normally my thing, it’s true, but the sweet and savory one-two punch of these Salted Peanut Butter Cookies called out to me when I spotted them just a few days ago on Orangette. So much so that this recipe shot to the top of my “To Make ASAP” list.

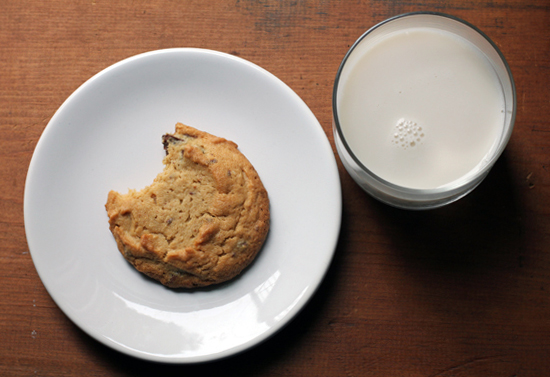
I made a half-batch the first time out, even though I strongly suspected in advance that I was going to love their sweet and salty contrast. The recipe scaled down for me very easily (especially if you are weighing all your ingredients). I still ended up with 16 good-sized cookies (3″-4″ across), and I suspect that travel buddies old and newly met will help me make them disappear quickly enough. Unless I accidentally end up eating them all myself.


Salted Peanut Butter Cookies

Adapted from Autumn Martin and Hot Cakes Confections (via Orangette)

240 grams (2 cups plus 1 tsp.) pastry flour
5 grams (1 tsp.) baking soda
12 grams (1 T. plus 1 tsp.) kosher salt
275 grams (2 sticks plus 3.5 T.) unsalted butter, at room temperature
200 grams (about 1 ¼ cup, packed) dark brown sugar
170 grams (¾ cup plus 2.5 T.) sugar
2 large eggs
400 grams (1 ½ cup) natural salted creamy peanut butter
2 tsp. vanilla extract
170 grams (2 bars of 3 oz. each) milk chocolate, chopped

Preheat the oven to 350°F.

I very rarely bake, but when I do, I try to actually lay out and pre-measure all of my ingredients before beginning to mix. While cooking on the fly without a formal mise en place doesn’t often trip me, I find that the baking experience is considerably less stressful when all the pantry rummaging and ingredient portioning is done in advance. On top of that, I use my kitchen scale for accuracy–therefore avoiding worries that my flour is packed either too loosely or too tightly, or that I’ll fumble while leveling off a measuring cup and end up wearing half of it. So, with that strategy in mind:
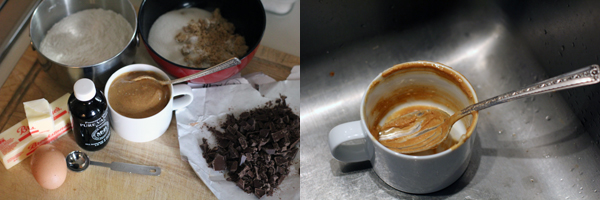

In bowl #1 measure out the brown and white sugar.

In bowl #2 measure out the peanut butter and the vanilla.

In bowl #3 measure out the flour, baking soda, and salt. Whisk to combine.

Finally, in the bowl of a stand mixer (if that’s what you’re using) or a large mixing bowl, place softened butter. Beat in sugars, and then eggs (one at a time). Scrape down the bowl, add in the peanut butter and vanilla, and beat until well combined. Add the dry ingredients in several portions, mixing gently to incorporate fully. Finally, add in the chocolate pieces and mix just long enough to evenly incorporate. Scrape down bowl and beater(s).

Using a scoop or large spoon, scoop batter onto a baking sheet lined with parchment paper. I safely used a scant 1/4 cup of dough and could fit 9 cookies per sheet, but start conservatively as they do spread out and you don’t want them all running together. Bake for 15 minutes, just until the sides begin to color and the top still looks undercooked. I over-baked my first batch, and while they were good, the soft and chewy second pan was the clear winner. Allow to cool completely on a rack before removing from the pan.

According to Orangette, this dough–scooped out and frozen in single-cookie-sized portions–stores really well. Just bake the cookies without defrosting as above, but you’ll probably need to extend the baking time to 20 minutes. Sounds like a wonderful(ly dangerous) impromptu treat, if you ask me. Good to have should friends unexpectedly pull into town.

Have to Have a Challah

challa_top

One of, um, okay, probably the only benefit to my oven being temperamental lately is that when things are baking I now must stand sentry by its side throughout the cook time just in case it should decide to start turning itself off again. From this location, my typing is especially inspired, what with all the lovely baking smells wafting my way.

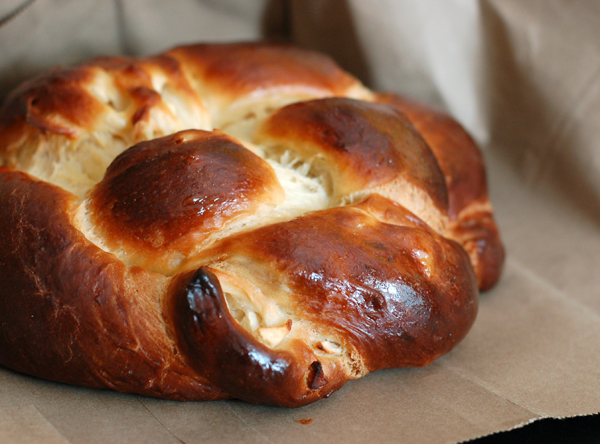
This effect was particularly potent during the baking of an Apple and Honey Challah the other morning. I had spotted the recipe on Smitten Kitchen and wanted to try it out immediately, but who wants to spend hours prepping bread dough only to be thwarted by an uncooperative appliance? Feeling braver after my pot pie success, I set out the ingredients and got to mixing. Despite the complex-looking braiding, the entire process was surprisingly simple.

Apple and Honey Challah
Pretty much as seen on Smitten Kitchen

2/3 cup warm water
2 t instant yeast
1/3 cup honey
1/3 cup vegetable oil
2 large eggs plus 1 large yolk
1 1/2 teaspoons salt
4 1/4 cups or 578 grams bread flour (Weighing flour is by the far the best, no-stress way to go when it comes to accuracy and neatness in flour measuring. If you bake often, consider investing. I have never looked back.)

2 medium baking apples, peeled, cored and in 1/2-inch chunks
Sprinkle of lemon juice, to keep them from browning

1 large additional egg, beaten, for bread wash

In a large bowl or the bowl of a stand mixer, whisk yeast and water. Add the oil, honey, and eggs, and thoroughly combine. The add the flour and salt, and stir till dough pulls together. In the mixer or by hand, knead until smooth and developed, about 6 minutes. Place the dough in an oiled bowl, cover, and allow to rise until almost doubled in sized.

(The original recipe used active yeast and suggested this would take an hour. My kitchen was chilly and my yeast was instant, so I left mine a little longer and in the end I wished I’d allowed the first rise to run even longer, but I got impatient.)

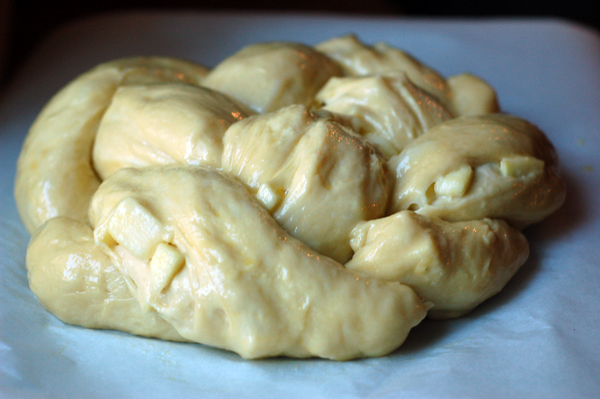
Let dough fall out of the bowl onto a clean counter and spread out into a wide disc, similar to a thick pizza crust, spread 2/3 of the apple chunks on the bottom half and fold the dough over, pressing it down and sealing in the fruit. Place the remaining fruit on to of half the dough again, and fold it over, pressing it down, sealing and tucking it into a boule shape. Invert and place the now-empty bowl over top of the dough and allow it to rest for 30 minutes.

There are many ways to braid a challah, and I really enjoyed the Smitten Kitchen’s braiding suggestions. You can get detailed photos and step-by-step instructions over her way. Basically, you cut the dough into quarters like a pie (a bench scraper works well for this, slicing cleanly through the dough), seal in the apple chunks, and stretch each into a foot-long log. If pieces of apple try and escape during this step, don’t panic. Just poke them back into the dough. I honestly expected this to be of comedy of errors, but there didn’t end up being a great deal of runaway fruit to deal with. Weaving the four strips over and under one another in front of you in the shape of a # sign, you then lift each “under” leg over top of the leg to its immediate right, doing this a total of 4 times as you move around the bread. Then you take the leg you didn’t braid yet and move it to the left. For me, this was all the braiding that was needed, so all that remained was to tuck the ends securely underneath the loaf. Move the bread to a sheet of parchment, and brush it with the egg wash. I slipped mine onto the back of a baking sheet for ease of transfer and covered it with greased plastic wrap. Let it rise again for an hour.

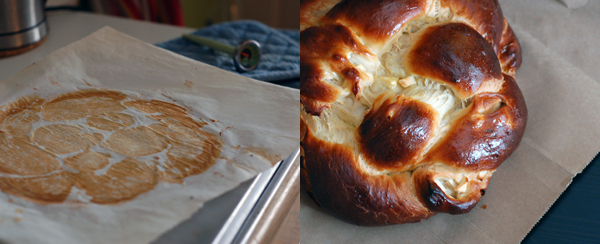
Preheat the over to 375˚F. When the final rise is complete and the oven is hot, remove the plastic, brush again with the egg wash, and bake for 45 minutes (tenting with foil if bread darkens quickly–mine always seems to.) When done, the inside of the bread should register at least 190˚F. My loaf ended up needing additional time, the middle still undercooked due to the fruit, so best to check.

Cauliflower: That Is the Question

caul_above

I have a particular peeve regarding cooks who regularly lament, “I love X but my husband hates it, so we never get to eat it anymore…”

I mean, I get it: you love to cook, and you love to cook for the one you love. I’m right there with you. But if you love to cook (and eat!) something the rest of the family has no interest in, well then, all the more for you from time to time. Unless they’re too short to reach the counter yet, they can get by on something they can fix for themselves if they’d rather abstain.

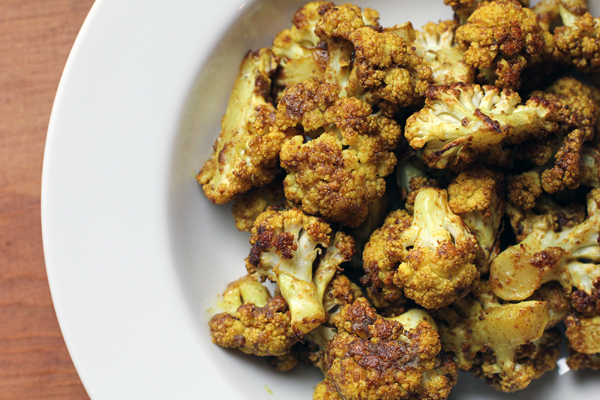
In my house, this kind of discussion leads directly to the cauliflower. I can’t say I’d dream about it at night if it were suddenly wiped out, but I like it. Well enough to snatch one up at my CSA this past weekend, even knowing that my husband would not touch a bite of the dastardly vegetable.

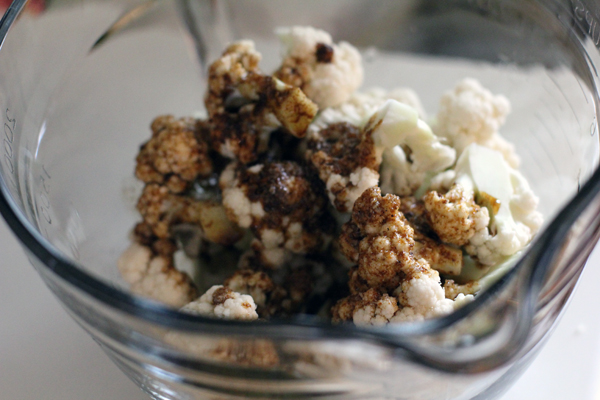
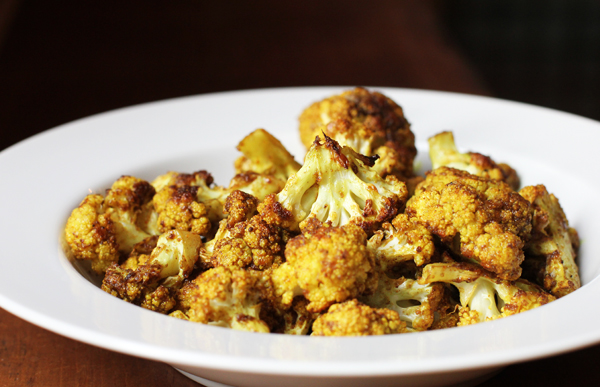
With a recipe that’s pretty much “Mix 3T olive oil and 1 T sweet curry in a bowl. Toss with one head cauliflower, and bake at 325˚F for 30 minutes, stirring half-way through,” no one needs to get very emotional over it. In the end, it’s just another bowl of fabulous looking vegetables: To be or not to be enjoyed.

Cozy Up (Vegetable Pot Pie Edition)

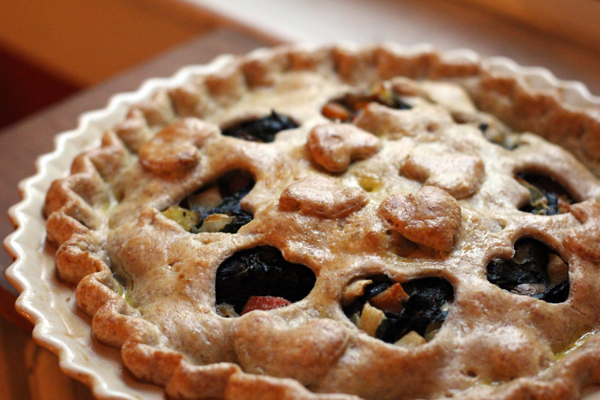
pie_top

My oven and I are at war.

Last week, I thought I was losing my mind. I would check on some item baking in my oven, and discover that I had somehow shut the appliance off entirely only half way through the cooking time. This is actually not that difficult to do if you’re using the timer and you punch “cancel” instead of “off” to silence it when it rings. Just as my frustration with myself was about to boil over, however, I saw it happen–a click, a blank screen, and the oven turned itself off. I wasn’t exactly pleased by this but, reassured that my sanity hadn’t walked out on me, I called a repair service> and waited for my house call.

As these things go, four days later when the super-amiable repair duo showed up, the oven worked perfectly–bake, broil, not a single glitch. Nice to avoid the pricey circuit board replacement, but still. Really? I was advised to bake some brownies and call them on Monday if the oven went berserk again.

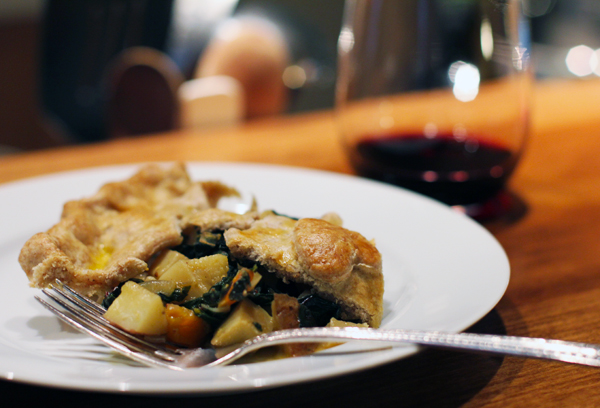
The suddenly crisp temperatures did make me want to bake something warm and comforting for dinner, so I decided to test the oven and my luck with a roasted root vegetable pot pie I like a lot (adapted from the Poor Girl Gourmet). And so I spent an uneventful afternoon in the kitchen. An hour of roasting and 40 minutes of baking and not a single oven malfunction. I got a beautiful pie out of the deal, so not a bad day, I suppose. But I wish I could have figured it all out for myself before I paid $65 just to have two strangers poke around under my oven and retrieve a pile of lost cat toys.

Roasted Root Vegetable Pot Pie
Adapted from the Poor Girl Gourmet

For the roasting tray:

3 T olive oil
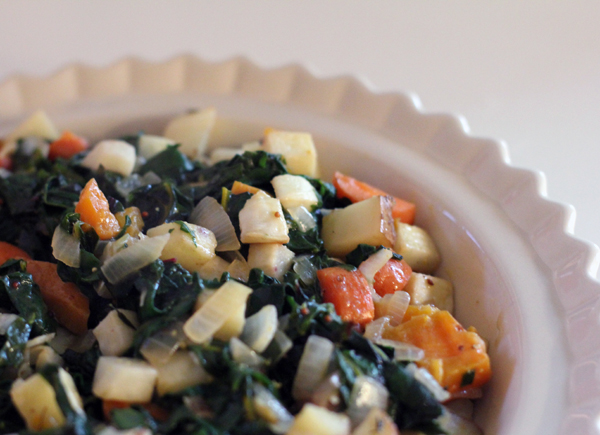
2 lbs peeled and cubed root vegetables of your choice (I used turnips, carrots, potatoes and a sweet potato)
1 head of garlic, exterior layers of skin peeled away and top of head removed to expose cloves
salt
pepper
thyme

Heat the over to 375˚F.

Place the prepared garlic bulb on a sheet of foil and pour a teaspoon or so of olive oil over top. Add a pinch of salt and pepper, and wrap up into a packet.
Place the prepared root vegetables in a bowl and toss with olive oil, salt, pepper, and thyme to coat. Pour them out onto a foil-lined baking sheet and spread out in a single layer.
Add garlic packet to the baking sheet and roast all vegetables for 45 minutes, stirring once or twice for even browning.

For the top crust:

1 cup all-purpose flour
1/2 cup whole wheat flour
1/2 teaspoons salt
1/2 teaspoon baking powder
1/4 cup cold vegetable shortening
1/2 stick cold unsalted butter
1/4 cup ice water, plus more as needed

While the vegetables are roasting, prepare the pie crust. You’re welcome to use your favorite crust, of course, but I love the poof you get out of this version. Mix flours, salt, and baking powder in a bowl. Cut in butter and shortening, and then mix in just enough water to pull dry ingredients together. Flatten dough into a disc and wrap in plastic wrap. Refrigerate for at least 30 minutes before rolling out.

On the stove top:

1 T olive oil
1 T unsalted butter
1 medium onion, peeled and diced
1 T wholegrain mustard
1.5 T all-purpose flour
1 cup vegetable broth
1 bunch Swiss chard or dark leafy green of choice

Heat oil and butter in a skillet and sauté onion until softened and translucent. Add mustard and flour and cook for a minute or two, stirring often. Then add vegetable broth and mix well, scraping the bottom of the pan thoroughly. Once the sauce has thickened (about 10 minutes), pile the greens on top of the cooking gravy, cover, and allow them to wilt for a few minutes. Stir occasionally until greens have cooked down. Stir in the roasted root vegetables, then pour the entire mixture into a pie plate. Remove the garlic cloves from the roasted bulb and distribute them evenly around the filling.

For the crust glaze:

1 egg yolk
1 T milk

Don’t worry, you’re almost done! Roll out the pastry crust and lay it over the filling, adding whatever decorative touches you like, and then brush the top with the egg yolk/milk mixture. Place pie plate on the baking sheet and slide it back into the 375˚F oven. Bake for 40 minutes, until pie is golden. Remove from the oven and allow to rest for 15 minutes before slicing.

Light a fire, pick out a movie, open a nice Sangiovese, and enjoy!

Kohlrabi, or the German Turnip

kol_top

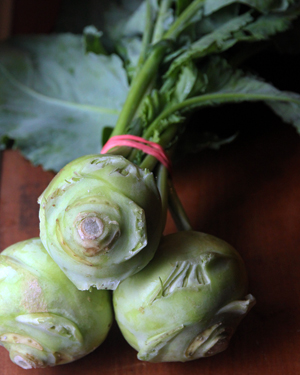
I took a chance on the mysterious celeriac a couple weeks ago and, after preparing it, was quite pleased to have made such a delicious new vegetable discovery. Perhaps that’s why I was feeling a bit braver when the very next week my CSA presented me with another such opportunity: a bunch of apple-green kohlrabi.

When I got home, I realized that I knew so little about the vegetable that I had a tough time getting all the consonants in its name in a close-enough-to-correct order for Google to recognize it and point me in the direction of a few good recipes. Mostly, I turned up subtle variations on soups or slaws–both of which felt like a cop-out, somehow. It was as if, when in doubt, the answer was to shred or blend it into oblivion.

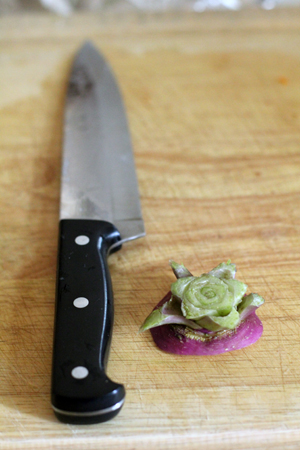
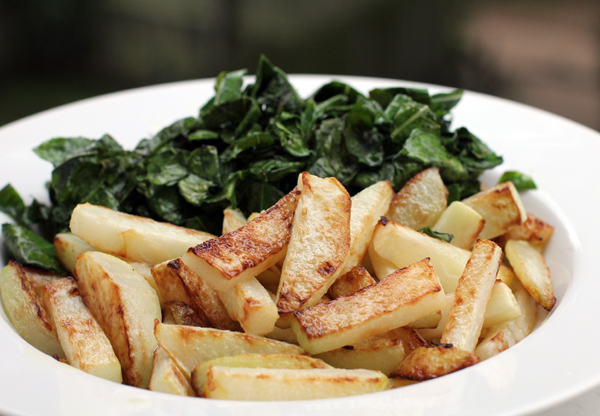
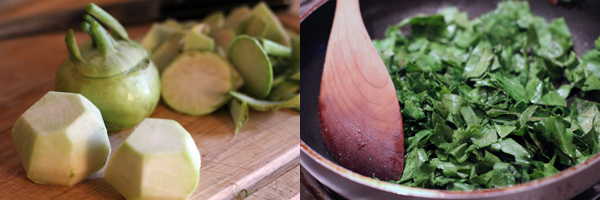
The night I actually got around to preparing it, however, I ended up going an even simpler route: peeling and cutting the bulbs into bite-sized chunks, de-ribbing and chopping up the leaves, and then sautéing them in separate batches with a little olive oil, salt, and pepper (plus a dusting of my favorite spice blend for such situations on the greens). It ended up being a great way to experience this new vegetable–a little bit cabbage, a little bit turnip, maybe a hint if broccoli stalk?–on its own. Mixed into a roasted vegetable and lentil salad later in the week, it also demonstrated that it plays quite well with others.

Along Came a Spider (Curds and Whey Edition)

yogurtcheese_top

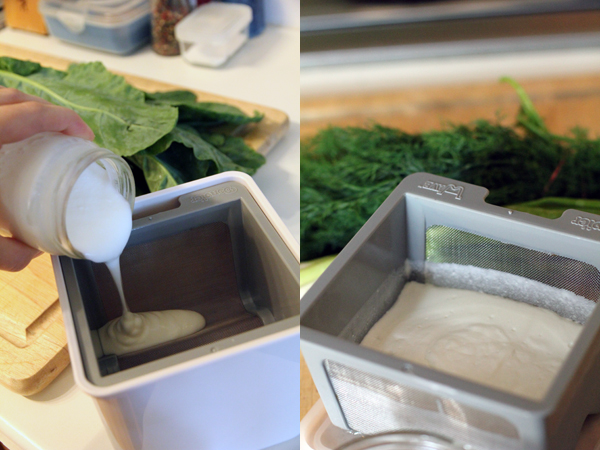
Sometimes, a girl comes home from the market, decides what to do with her purchased produce and dairy, and discovers she doesn’t need a large quantity of yogurt, but rather a solid dollop of sour cream. No problem. Just grab a strainer (I have a semi-fancy one that sits in a container with a lid over top) and make yogurt cheese. You can accomplish the same straining with a few layers of cheese cloth over a bowl, but I’ve never attempted that method.

Okay, back to making the cheese.

Nothing irks me like coming home from the market and discovering I have almost the right ingredients, but not quite. Draining enough whey out of my homemade yogurt to make an acceptable sour cream or cream cheese substitute (or even just to get a nice Greek yogurt consistency when a batch comes out a little runny) offers that satisfying “Ha! Take that, life!” self-sufficiency that I so enjoy in the kitchen. Not to mention that it saves me from making an additional trip to the grocery.

So, when there are enough of those little glass jars of yogurt taking up shelf space, I pull out two while I’m still putting things away, pour the yogurt into the strainer, pop on the lid, and leave it to drain in the fridge–anywhere from a few hours to a day or two, depending on the consistency I’m going for and how soon it’s needed. The whey collects in the bottom container and you can just pour that off or conserve for some other use.

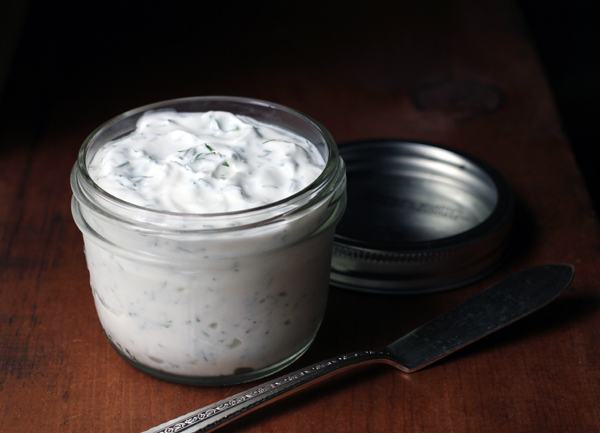
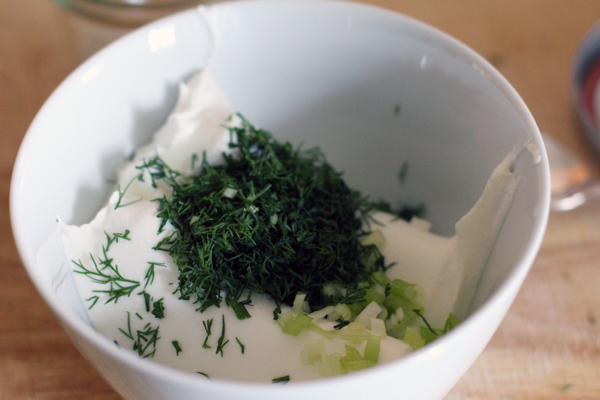
Some weeks it seems that my commitment to making my own yogurt is much stronger than my desire to actually eat it, but a fresh dish of yogurt cheese usually turns that around. This week I left a batch for a full 48 hours (okay, yes, I forgot all about it) and had a nice, thick base to work with. I added a pinch of salt, a chopped scallion, and a good dose of dill, and stirred it up into a spread that makes for a perfect savory toast topping. What would you add?

I think our porch spider got a whiff of my curds and whey…