diy » Wonderland Kitchen
Browsing Category

diy

Grilled Fresh Caught Trout (Gone Fishin’ Edition)

fish_top

I’ve recently been dipping my toes here and there into seafood eating. Having been a lacto-ovo vegetarian since I turned 15, however, I’m confronting a few issues as I break this streak. First, psychologically, I can get hung up on the idea of meat eating when a plate of otherwise well-prepared food is set down in front of me, all made worse by the fact that my stomach sometimes balks in parallel sympathy. Secondly, however, like that one girl freshman year who had never done her own laundry, I have zero meat cooking knowledge and experience. When B asks me how long to roast a chicken or how to make a meatball, I panic, my eyes reflecting that “deer in headlights” look that’s apparently attractive but makes me question my self-worth as a homemaker.

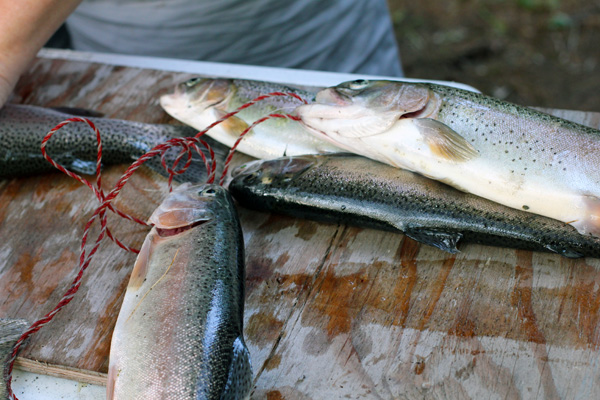
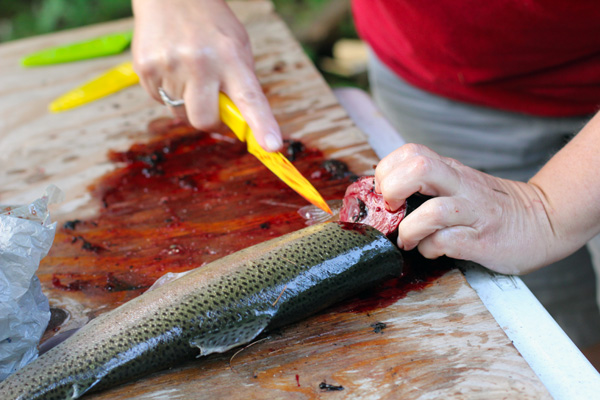
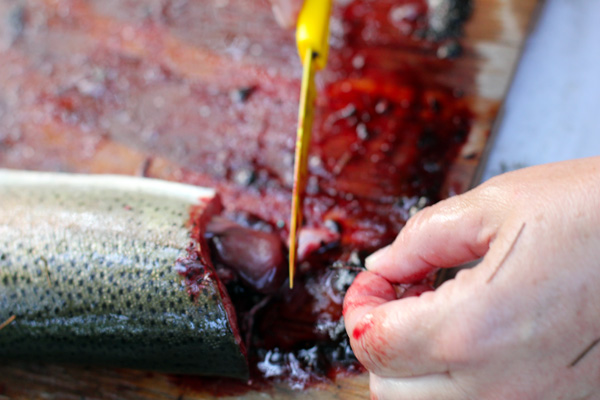
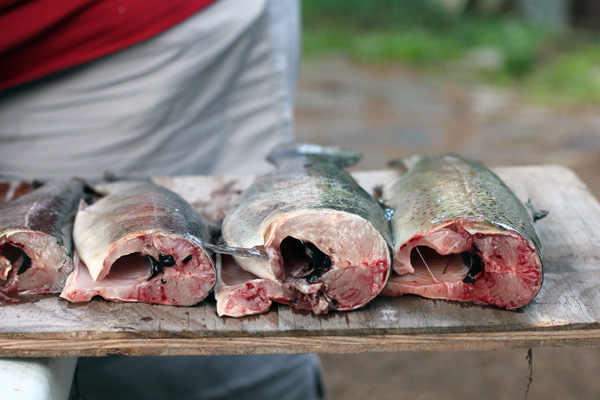
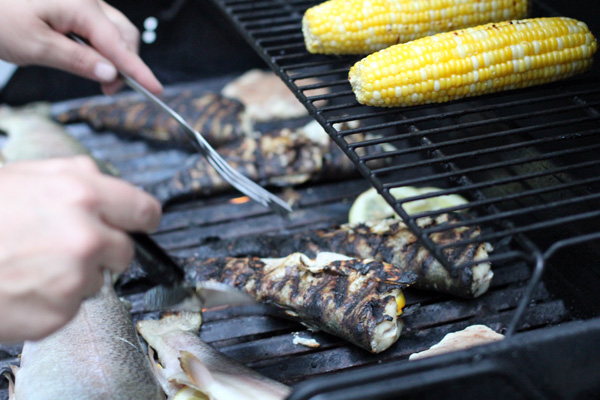
It also makes me a highly motivated student, however, so when last weekend’s activities in Vermont took a turn to include some fresh caught trout, I poked my nose and my camera lens in to see if I might learn a thing or two. The key seemed to be to keep the fish alive for as long as possible before cooking (I never caught a “fishy” whiff) and to use a very sharp knife when the time came. Kaylon, the woman whose skilled hands you will see at work in these photos, decided to remove the heads of the fish, slicing as close to the gills as possible to keep as much meat on the body. Then, with a quick slit down the belly, the entrails were removed generally in a single go. I know I would not have been so smooth, but at least I feel like if I find myself stranded on an island and I actually manage to catch a fish, I’ll have some clue as to how to prepare it. After that, it was just a very hot, very clean grill, a little lemon, oil, salt and pepper, and dinner was ready. Paired with a few cobs of grilled corn drizzled with lime juice, this was a meal not soon to be forgotten.

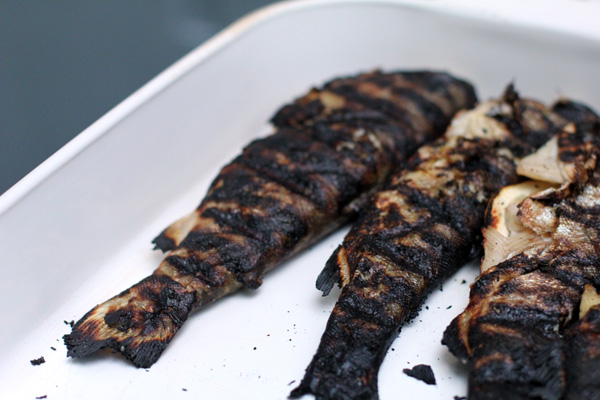
Grilled Fresh Caught Trout

Grilled Fresh Caught Trout

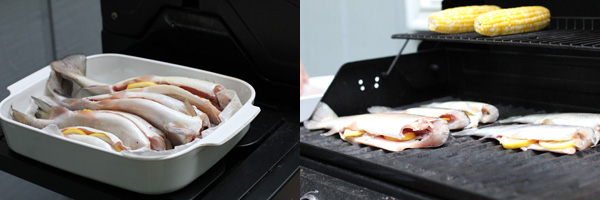
Catch enough trout to feed your party. Clean the fish, rinse well, and pat dry. Brush with olive oil inside and out, and fill cavity with lemon slices, salt and pepper (plus whatever herbs suit your tastes, if desired).

On a hot grill, cook each fish for about 5 minutes per side–taking care when turning–until fish is cooked through and flaky. Serve immediately with melted butter and additional lemon wedges.

Grilled Fresh Caught Trout: Cleaning the fish

Grilled Fresh Caught Trout: Cleaning the fish

Grilled Fresh Caught Trout: Cleaning the fish

Grilled Fresh Caught Trout: Cleaning the fish

Grilled Fresh Caught Trout: Cooking the fish

Grilled Fresh Caught Trout: Cooking the fish

Can’t Wait, Won’t Wait: Quick Spring Pickles

pickle_top

The Preservation Kitchen. Canning for a New Generation. If reading material is any indication, this is going to be the summer of packing things into jars. And if not jars, then bottles.
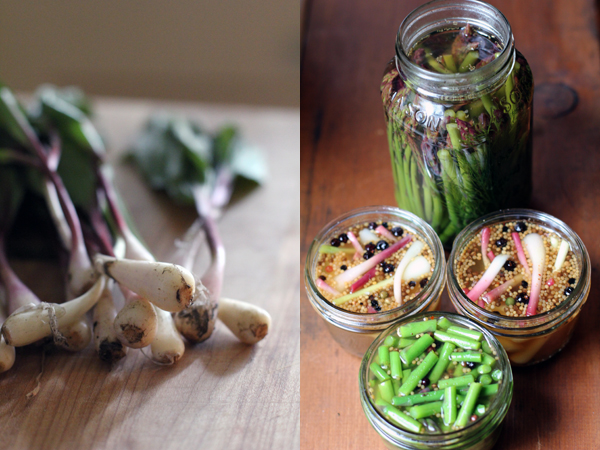
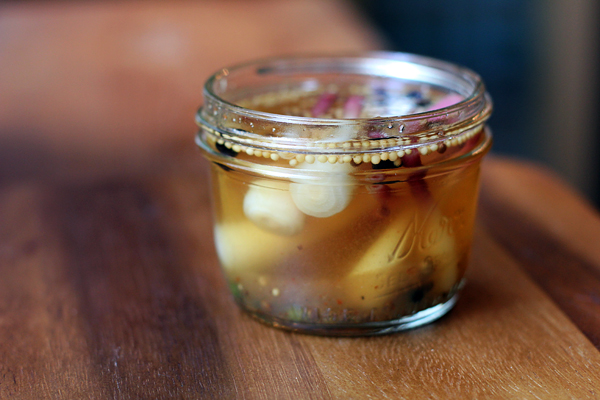
Still, though I am perhaps past the desperate early-April rush to consume the first fresh greens of spring right now, this minute, I have neither the budget nor yet the patience to actually commit any of my market finds to long term caning storage–no matter how lovely the little spears would look lined up on my pantry shelf. Still, I was anxious to do something with all these recipes and glassware I’ve been gathering, so this weekend, I split the difference and did a bit of quick pickling with ramps and asparagus. I know I can’t wait 6 mos., but 24 hours I should be able to manage. More or less.

More than anything, I was out to try this quick pickled ramps recipe once I spied the inclusion of juniper berries, an ingredient I just happen to have on hand due to my adventures in mead making. I’ve already snuck an early sample with breakfast, and better find some restraint or they will all be gone by nightfall.

(Do check out Andrea’s entire “Where the Wild Things Are” series if foraging and herbs and such get your imagination fired. I get ridiculously excited when I see there’s a new post.)

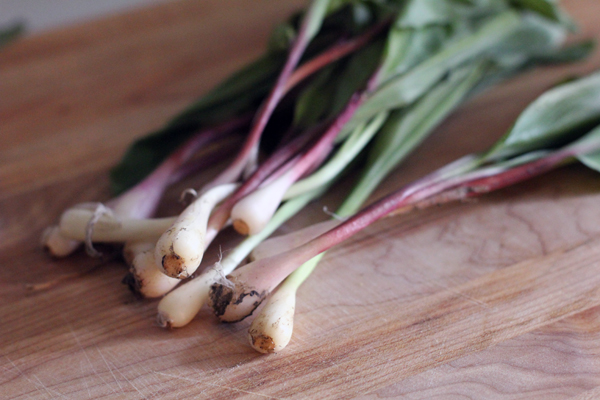
ramps

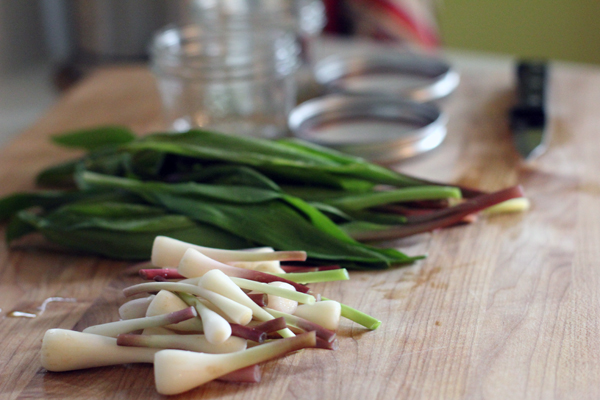
ramps: pickle prep

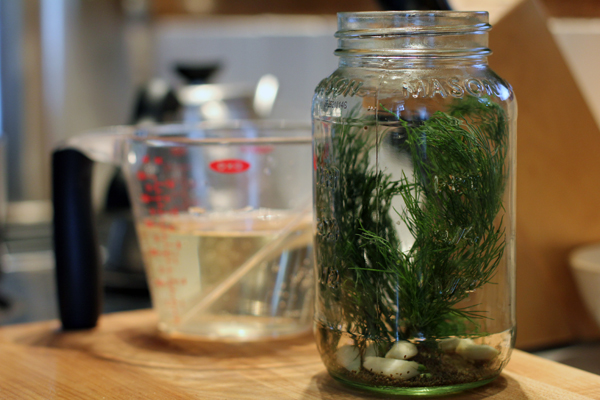
pickling the asparagus

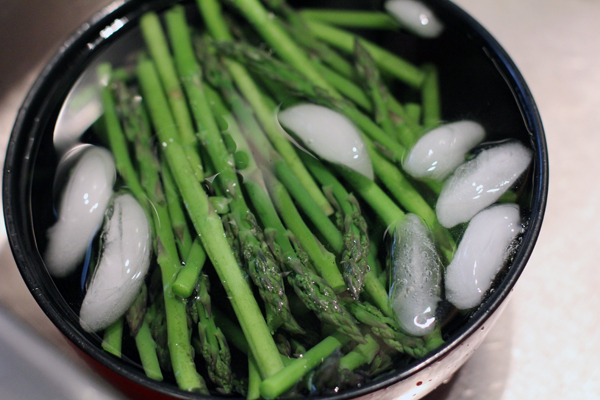
asparagus on ice

Pickled Ramps

Pickled Ramps: Bet you can't eat just one.

DIY Condiments: Leave the Hellman’s in the ‘Fridge

chutney_full

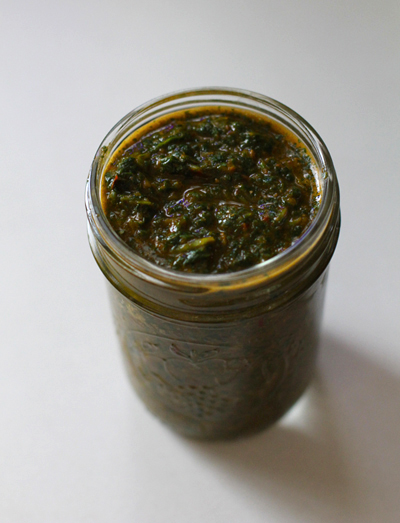
What’s better than a jar of freshly made cilantro chutney? How about the same recipe, but swapping out the chilies for a generous scoop of Harissa?

I’m scraping the bottom of that jar you see above just a few days later, so I think we can call that culinary experiment a five star success. But it’s got me thinking about other condiments I might try my hand at making at home. Dressings and spreads leave so much room for play, and making them in my own kitchen means all those ingredients I can’t pronounce–the stabilizers and the color correctors and the preservatives–are left out of the equation.

Here are a few others that I’ve tried and loved in the past year:

What else should I add to the list? What are you making at your house that you love? What do you wish you knew how to whip up? I want to learn more about mustard to start, I think.

Hot Topic: Harissa and Berbere Paste

berbere

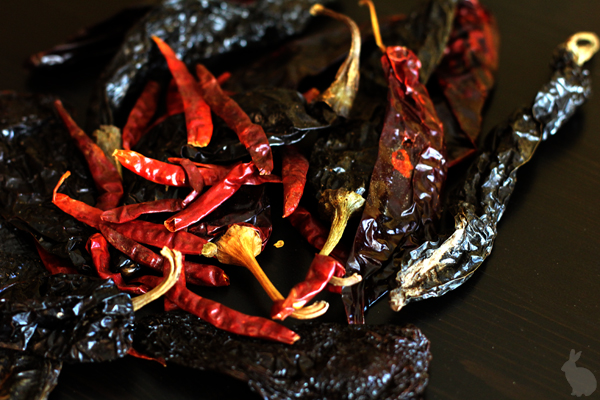
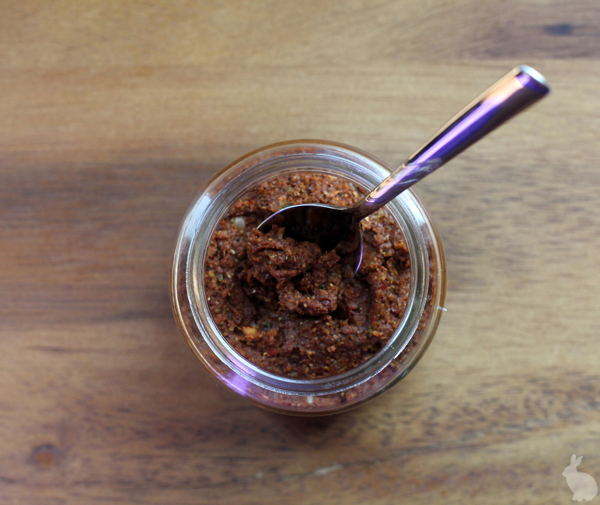
I think it was the mix of vibrant sun and biting wind this past weekend that inspired me to finally do something constructive with the bag of dried hot peppers sitting in my pantry. A friend had shared her beautiful stash with me, along with a family recipe for a fantastic-sounding chili; hopefully she won’t mind the project detour I ultimately took with her ingredients.

In truth, I had been contemplating making berbere paste for years–ever since discovering a recipe for it in the pages of the World Food Cafe cookbook in 2002. It seemed so exotic! But then I’d read the long list of ingredients and find myself getting sleepy before even making it into the kitchen. So, as with overly complicated knitting projects and 1,000 piece picture puzzles, it got pushed to the back of the closet, an idea for some rainy day down the line.

Spices

A crisp, sunny day offers the perfect opportunity to visit my favorite Punjab Market in Waverly and stock up on spices.

Then a funny thing happened. I bought a small container of a spicy lentil stew from the Ethiopian stall at the Waverly Market and found my motivation: I was going to make a big pot of Yemisir Kik Wot (more on that later).

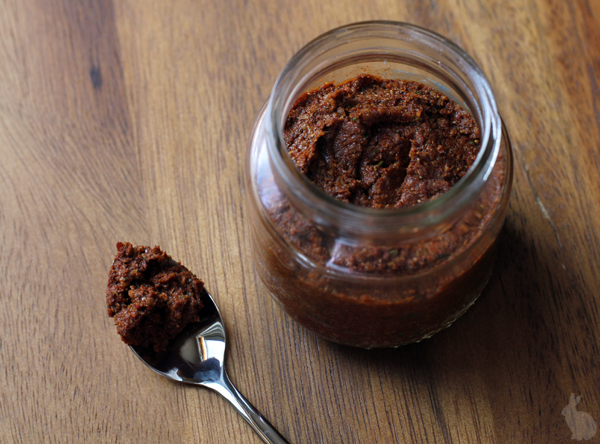
In truth, making the berbere paste is not actually difficult. It’s just a long list of spices that must be measured and toasted and ground, mixed with a paste of vinegar, onion, ginger, and garlic. After all that, you net a baby food jar’s worth of product–one that you may find yourself opening for no reason other than to breathe in its amazing aromas and dreaming of as you sleep at night.

Berbere Paste
from the World Food Cafe cookbook

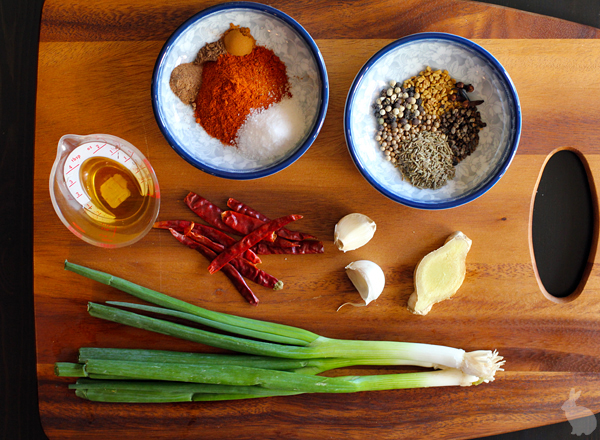
2 garlic cloves, peeled and sliced
1/2 inch piece of ginger, minced
3 green onions, sliced
1 T cider vinegar
1/2 tsp. peppercorns
1/2 tsp. cardamom seeds
1/2 tsp. coriander seeds
1/2 tsp. fenugreek seeds
1 tsp. cumin seeds
4 cloves
8 dried red chili peppers
4 tsp. ground sweet paprika
1 tsp. salt
1/4 tsp. ground allspice
1/4 tsp. ground cinnamon
1/4 tsp. ground nutmeg

Measure whole spices into a bowl. Heat a dry skillet and toast them until lightly browned and fragrant. Toss frequently and take care not to burn them. Next, grind the whole spices and dried peppers finely (I use a cheap electric coffee grinder that I reserve just for this purpose). Measure the powdered spices into the mixture as well. Set aside.

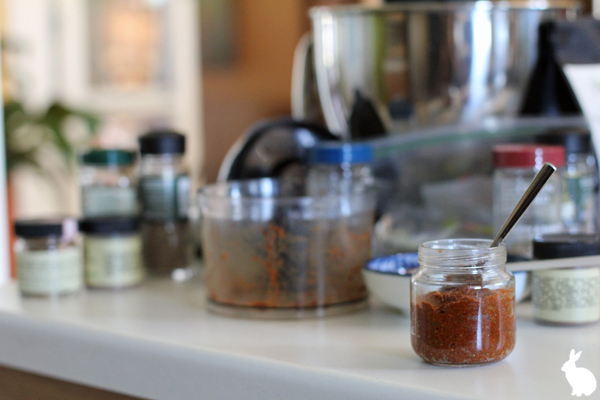
Place the garlic, ginger, onions, and vinegar in the bowl of a food processor (since there is so little to mix, after some trial and error, I had much better luck using the small processor that came with my immersion blender as opposed to my powerhouse Cuisinart). Process into a paste, then add all the ground spices and continue mixing till well combined. Pack into a small glass jar with a tight-fitting lid and refrigerate until needed.

one pot

Since I had barely dented my Ziploc bag full of dried peppers and I already had every spice I own out on the counter, I decided to just keep going and try my hand at making a batch of Harissa while I was at it (plus, there was a soup using it that I’d just read about and wanted to try…convenient!). After all that berbere paste activity, this one seemed sinfully low-effort.

Harissa
also from the World Food Cafe cookbook

2 oz. dried hot red chilies
2 T cumin seeds
3 T coriander seeds
4 garlic cloves
1 tsp. salt
5 T olive oil

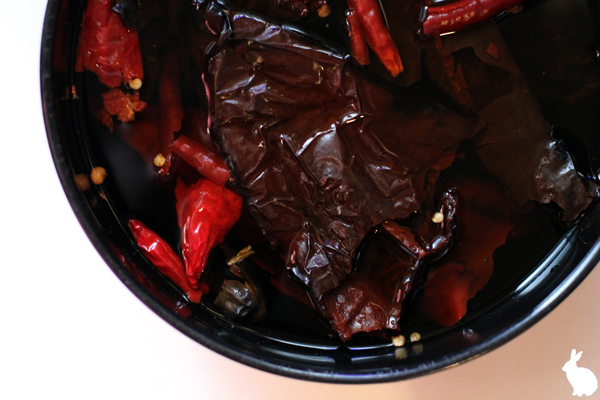
Remove any stems or seeds from dried chilies and soak the peppers in warm water for about an hour.

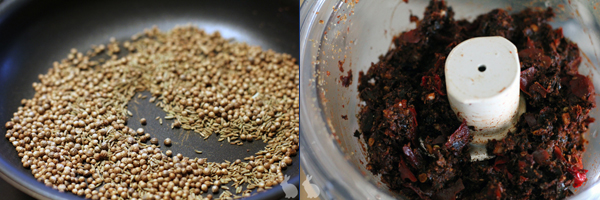
Meanwhile, measure whole spices into a bowl. Heat a dry skillet and toast them until lightly browned and fragrant. Toss frequently and take care not to burn them. Grind the whole spices finely and set aside.

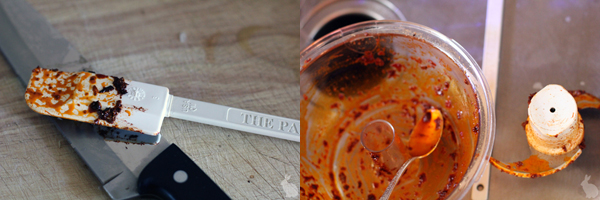
Once the peppers have softened, drain and place in the bowl of a food processor. Add ground spices, garlic, and salt, and run processor until peppers break down and a paste begins to form (I had to stop and scrape down the bowl repeatedly, and even then only got half way there).

spice row

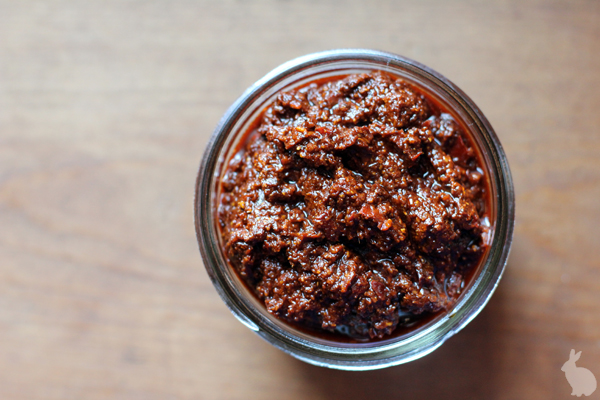
Next, with the processor running, slowly drizzle in the oil. This is where my harissa finally came together, much like a pesto. Keep processing until smooth. Pack into a glass jar with a tight-fitting lid and refrigerate until needed. Works as a condiment and in soups and stews (more on that later, as well).

hot clean

Butter Me Up

butter_over

Homemade bread is pretty spectacular; homemade bread topped with homemade butter is…actually maybe taking the DIY homemaking a little too far?

Nonsense, I say! Particularly if you, with all your baking prowess, own a stand mixer, simply affix the whisk attachment and toss a pint of heavy cream (leave it out on the counter for a bit to take the chill off) into that mixing bowl. Using the plastic bowl cover plus plastic wrap to completely cover any openings, run that baby until you break your whipped cream and the butter and buttermilk separate. Keep an eye on it so you can slow down the speed as soon as it comes apart.

homemade butter drain and flavor

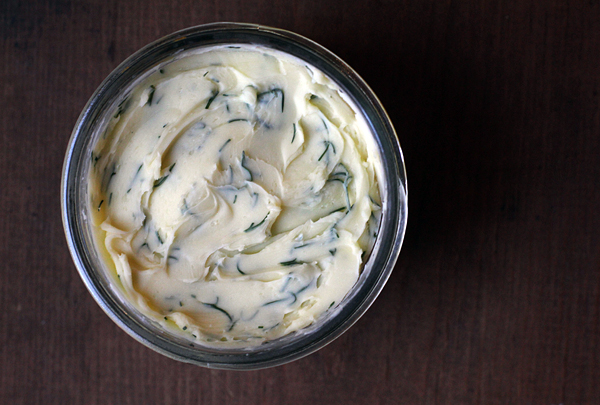
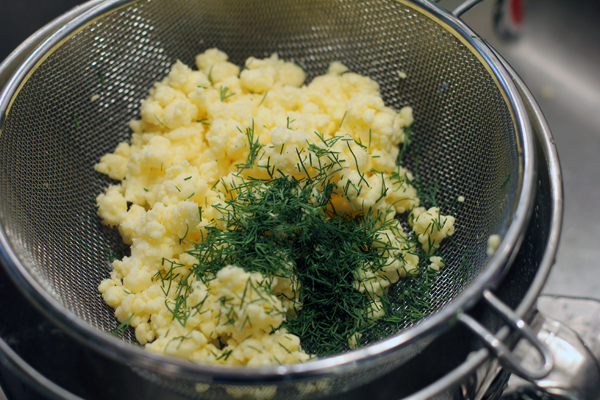
At this point, you should strain off the “buttermilk” (more on this piece of the recipe puzzle in my next post) and rinse the butter in very cold water. You will then want to knead it well between your hands to wring out as much water as possible (I also blot it a bit with a paper towel–any leftover moisture will shorten its shelf-life) and flavor it with a sprinkle of salt (for taste and as a preservative) and whatever herbs you might want to incorporate (clearly, I went a little dill happy). That’s it! Pack it down into a jar and store it in the fridge. Then take that buttermilk and bake something delicious to put it on…

PS: I hear that, if you have access to child labor, you can nix the mixer and just pour the cream into a jar with a tight fitting lid and have the kids shake the cream until it separates. Food science is cool!

Stores of Good Luck: Sauerkraut and the Birth of a Preservationist

kraut_newtop

The Saturday before Thanksgiving was our last CSA pickup, and since I was traveling for the holiday rather than cooking for an army of gathered family members, I wasn’t quite sure what kind of produce investment to make. It seemed regrettable to waste this last hurrah, but also a shame to let perfectly lovely vegetables rot in my crisper drawer while I was out of town. That’s where the cabbages come in.

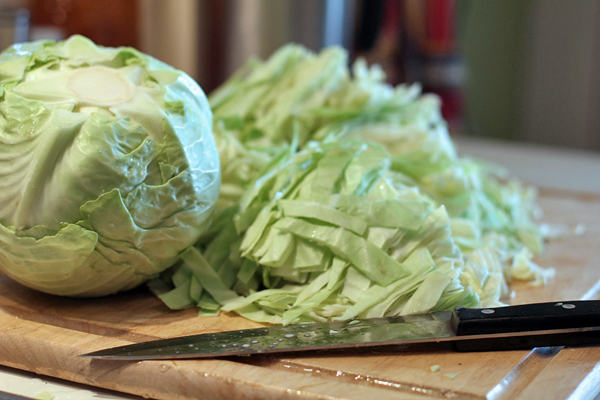
A few weeks ago, I got a copy of Canning for a New Generation and got really excited about, well, canning. Since it was already November, I figured I’d pretty much missed the boat this round but could spend the winter months making plans for storing next year’s bounty. However, towards the back of the book was a recipe for sauerkraut that was more or less “chop this cabbage and shove it (into a food-safe container for three weeks while it ferments).” I think somehow I also found the labor description of squeezing and massaging the salt into the vegetable (characterized as a “difficult immigrant experience”) somehow personally compelling. Anyway, I didn’t have a fancy crock, but I did have my gallon wine bucket and the two beautiful heads of green cabbage I’d finally settled on as my CSA pick. If it wasn’t fate, it was at least a good use of resources.

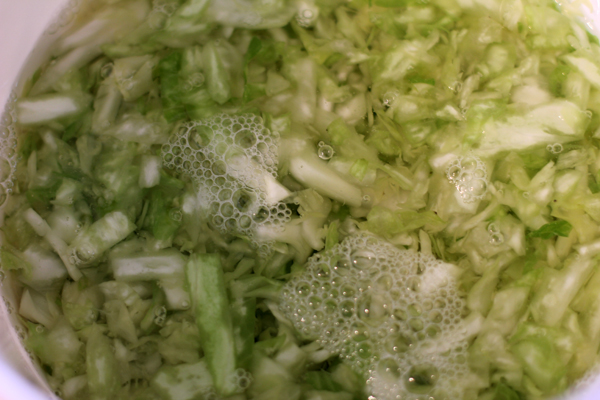
So there I was chopping and massaging this massive pile of shredded vegetable (a couple of tablespoons of kosher salt per head). I found a kind of scrubbing motion–as if I had an imaginary wash board down in the bucket that I was running the cabbage along–especially effective. Though I put my back into it, I never did get the cabbage to release enough water to cover the mixture well, so I boiled and cooled an additional 4 cups of brine to top things off.

Now my bucket sits patiently in the dining room, and if all goes as hoped, I’ll stuff fresh kraut into glass jars, water bath them, and have “put up” my first pantry treat, all ready for luck in the new year.

UPDATE: Kraut is canned!

So, I tasted a bite of the sauerkraut on Friday, and I’m honestly surprised to be able to report that it’s really, really good! This project somehow had a lot more of the “science experiment” vibe to it to me than even the cheesemaking did, but it worked and now that I’ve stored it so neatly I can hardly wait for the consumption to begin. I think some pierogies must be made, STAT, to accompany the ethnic feast I’m plotting in my mind.

can_process

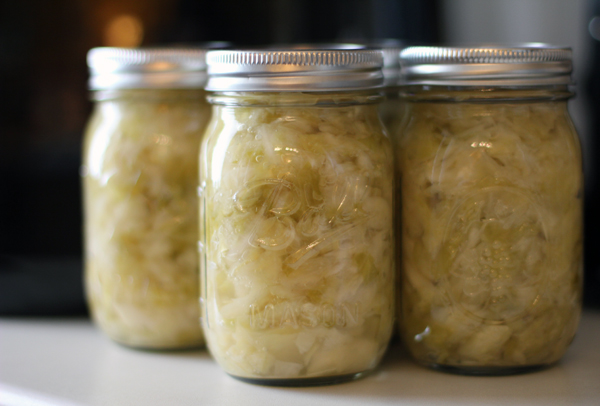
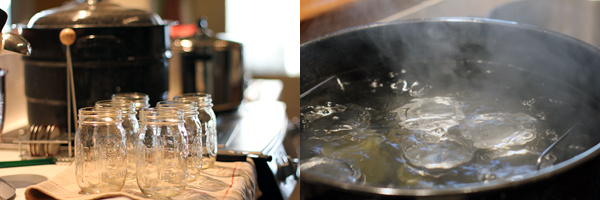
The canning piece of this process was simple, the biggest investment simply waiting for all that water to boil in the huge canning pot. Meanwhile, into my large stock pot, the sauerkraut went and I brought it up to a boil for ten minutes. (This kills off the good bacteria of the ferment, so in future I may opt for smaller batches for eating fresh.) Once the jars were washed and sterilized and the lids took a dip in the boiling bath as well, the kraut was stuffed into the jars, the lids added, and then it was back into the tub for 10 minutes processing. Afterward, they rested on a towel, setting off satisfying “pops” as they cooled and the lids sealed. One didn’t quite seem to seal (ahem) and will need to be eaten immediately. Oh, darn…