condiments & pickles » Wonderland Kitchen
Browsing Category

condiments & pickles

There Can’t Be Only One: Spring Asparagus

asp_top

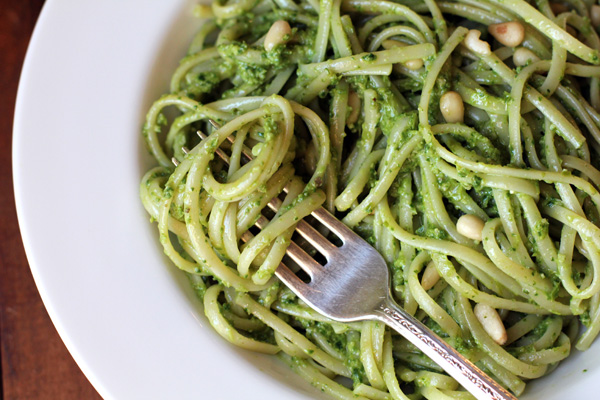
Spring asparagus. Not the dry and woody and confusingly available in the grocery store in January kind, but pencil thin and freshly picked. Who could limit themselves to just one bunch (@ $2 each!) per week? Not I, said the little cook. And so, after asparagus tart, there was asparagus…well, pesto, in a sense. Puree in another. Sauce? Condiment? Dip? Yes, yes, and yes. Pass the crackers. Hell, pass a spoon.

After my “first of spring” produce splurge this weekend, I had stretched the grocery budget too tightly to handle a whole cup of pine nuts, and so I swapped in the walnuts I already had in the pantry and saved the few pine nuts available for garnish; it was still fantastic. This is an awesome dish from Super Natural Cooking, no matter what you smear it on.

(P.S. It was Heidi Swanson who taught me to make pesto-type toppings out of many green things, including broccoli. So check her out, be brave, and get creative; it’s awesome on the green side.)

Spring Asparagus Pesto
from Super Natural Cooking

1 bunch asparagus spears trimmed (I also cut mine in half to better fit in my pot)
a few generous handfuls of baby spinach
2 garlic cloves, smashed and roughly chopped
1 cup Parmesan cheese, grated
3/4 cup toasted pine nuts (1/2 cup walnuts work as well, if that better suits your budget as it did mine)
1/4 cup olive oil
1 T lemon juice
salt

In a pot large enough to accommodate your asparagus, bring salted water to a boil. Boil asparagus for two to three minutes, until just tender. Drain and transfer to a food processor, along with the spinach, garlic, Parmesan, and nuts of your choice (toast them first, if you can spare the time). Turn processor on and puree, drizzling in the olive oil while it runs. Add lemon juice and salt. Taste and adjust seasonings as needed.

Pesto can be tossed immediately with pasta or kept in a sealed jar in the refrigerator. Cover the exposed puree with olive oil to prevent discoloration.

DIY Condiments: Leave the Hellman’s in the ‘Fridge

chutney_full

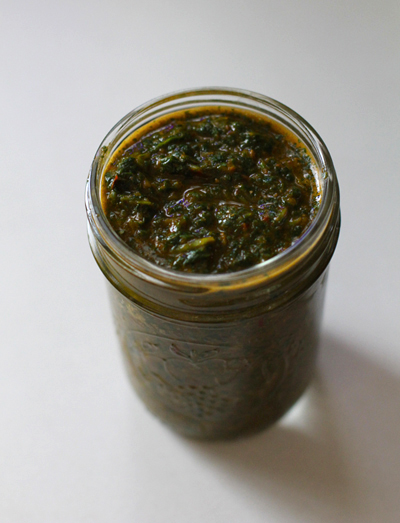
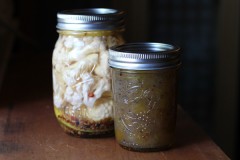
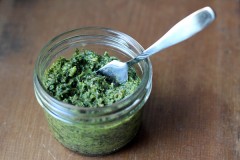
What’s better than a jar of freshly made cilantro chutney? How about the same recipe, but swapping out the chilies for a generous scoop of Harissa?

I’m scraping the bottom of that jar you see above just a few days later, so I think we can call that culinary experiment a five star success. But it’s got me thinking about other condiments I might try my hand at making at home. Dressings and spreads leave so much room for play, and making them in my own kitchen means all those ingredients I can’t pronounce–the stabilizers and the color correctors and the preservatives–are left out of the equation.

Here are a few others that I’ve tried and loved in the past year:

What else should I add to the list? What are you making at your house that you love? What do you wish you knew how to whip up? I want to learn more about mustard to start, I think.

Hot Topic: Harissa and Berbere Paste

berbere

I think it was the mix of vibrant sun and biting wind this past weekend that inspired me to finally do something constructive with the bag of dried hot peppers sitting in my pantry. A friend had shared her beautiful stash with me, along with a family recipe for a fantastic-sounding chili; hopefully she won’t mind the project detour I ultimately took with her ingredients.
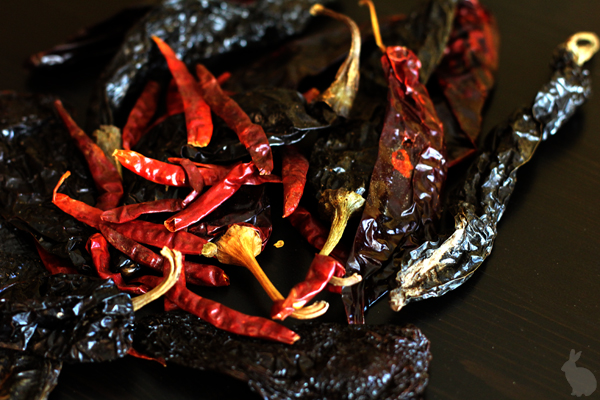
In truth, I had been contemplating making berbere paste for years–ever since discovering a recipe for it in the pages of the World Food Cafe cookbook in 2002. It seemed so exotic! But then I’d read the long list of ingredients and find myself getting sleepy before even making it into the kitchen. So, as with overly complicated knitting projects and 1,000 piece picture puzzles, it got pushed to the back of the closet, an idea for some rainy day down the line.

Spices

A crisp, sunny day offers the perfect opportunity to visit my favorite Punjab Market in Waverly and stock up on spices.

Then a funny thing happened. I bought a small container of a spicy lentil stew from the Ethiopian stall at the Waverly Market and found my motivation: I was going to make a big pot of Yemisir Kik Wot (more on that later).

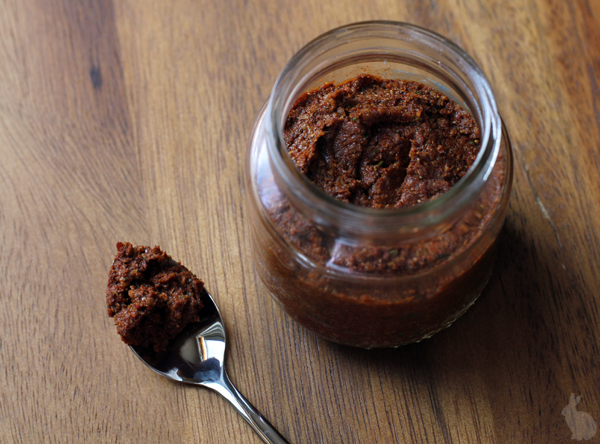
In truth, making the berbere paste is not actually difficult. It’s just a long list of spices that must be measured and toasted and ground, mixed with a paste of vinegar, onion, ginger, and garlic. After all that, you net a baby food jar’s worth of product–one that you may find yourself opening for no reason other than to breathe in its amazing aromas and dreaming of as you sleep at night.
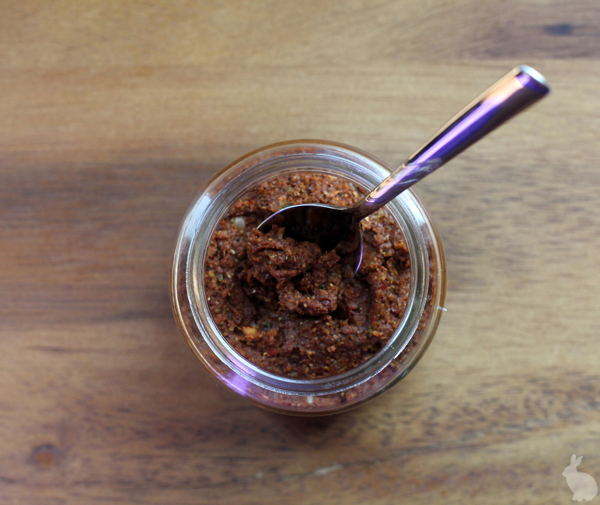
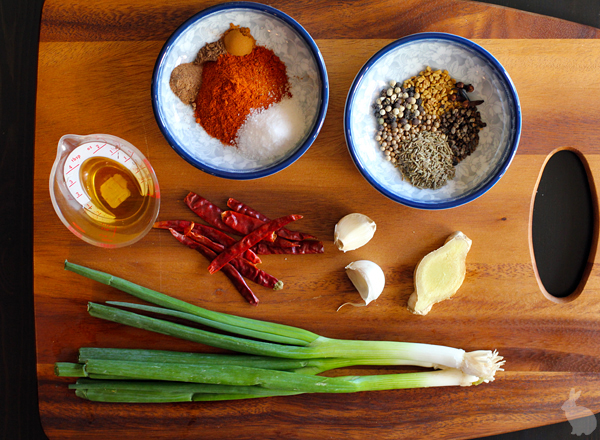
Berbere Paste
from the World Food Cafe cookbook

2 garlic cloves, peeled and sliced
1/2 inch piece of ginger, minced
3 green onions, sliced
1 T cider vinegar
1/2 tsp. peppercorns
1/2 tsp. cardamom seeds
1/2 tsp. coriander seeds
1/2 tsp. fenugreek seeds
1 tsp. cumin seeds
4 cloves
8 dried red chili peppers
4 tsp. ground sweet paprika
1 tsp. salt
1/4 tsp. ground allspice
1/4 tsp. ground cinnamon
1/4 tsp. ground nutmeg

Measure whole spices into a bowl. Heat a dry skillet and toast them until lightly browned and fragrant. Toss frequently and take care not to burn them. Next, grind the whole spices and dried peppers finely (I use a cheap electric coffee grinder that I reserve just for this purpose). Measure the powdered spices into the mixture as well. Set aside.

Place the garlic, ginger, onions, and vinegar in the bowl of a food processor (since there is so little to mix, after some trial and error, I had much better luck using the small processor that came with my immersion blender as opposed to my powerhouse Cuisinart). Process into a paste, then add all the ground spices and continue mixing till well combined. Pack into a small glass jar with a tight-fitting lid and refrigerate until needed.
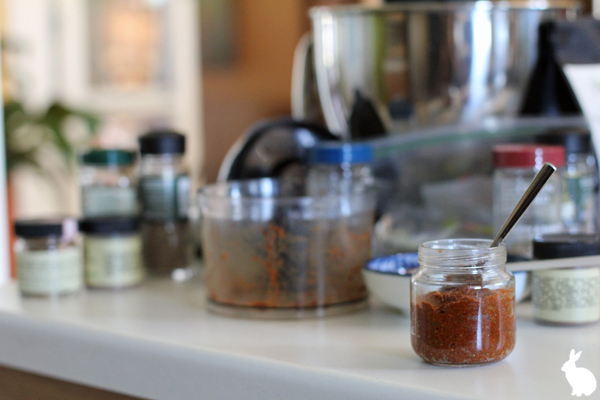
one pot

Since I had barely dented my Ziploc bag full of dried peppers and I already had every spice I own out on the counter, I decided to just keep going and try my hand at making a batch of Harissa while I was at it (plus, there was a soup using it that I’d just read about and wanted to try…convenient!). After all that berbere paste activity, this one seemed sinfully low-effort.
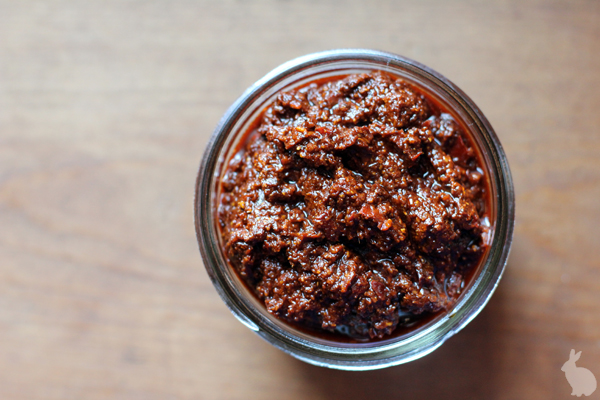
Harissa
also from the World Food Cafe cookbook

2 oz. dried hot red chilies
2 T cumin seeds
3 T coriander seeds
4 garlic cloves
1 tsp. salt
5 T olive oil

Remove any stems or seeds from dried chilies and soak the peppers in warm water for about an hour.
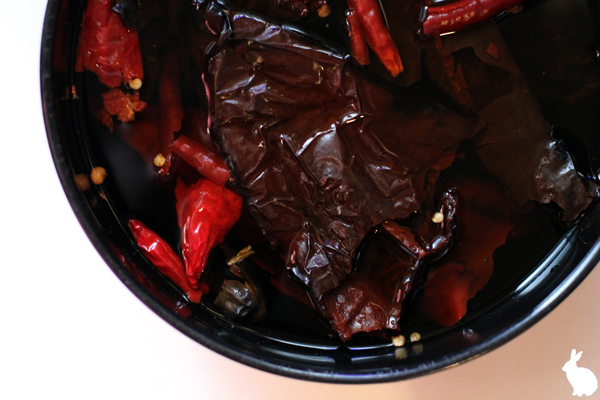
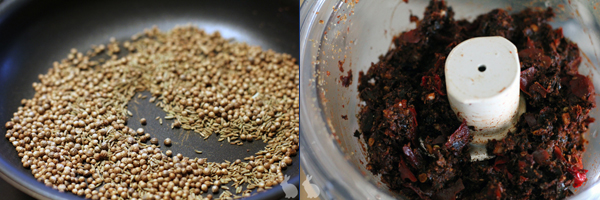
Meanwhile, measure whole spices into a bowl. Heat a dry skillet and toast them until lightly browned and fragrant. Toss frequently and take care not to burn them. Grind the whole spices finely and set aside.

Once the peppers have softened, drain and place in the bowl of a food processor. Add ground spices, garlic, and salt, and run processor until peppers break down and a paste begins to form (I had to stop and scrape down the bowl repeatedly, and even then only got half way there).
spice row

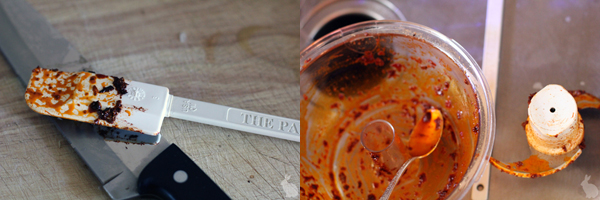
Next, with the processor running, slowly drizzle in the oil. This is where my harissa finally came together, much like a pesto. Keep processing until smooth. Pack into a glass jar with a tight-fitting lid and refrigerate until needed. Works as a condiment and in soups and stews (more on that later, as well).
hot clean

The Beet of My Heart

beettower_top-copy

It started with the beets.

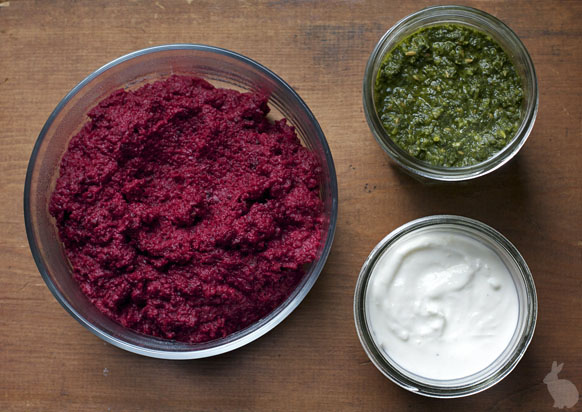
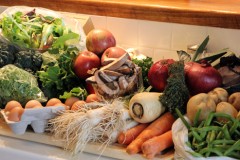
This weekend I went on a bit of a tear cooking with my eyes more than anything else, and it all began when I spotted a lovely box filled with deep purple beets from Gardener’s Gourmet at the farmers’ market. Since I’d also managed to stuff some cilantro, limes, buttermilk, and broccoli into my basket while shopping, when I got back home, I worked out a plan of attack that looked like this:

First, I got the oven going and made another one of these for the husband.

Then, while the oven was hot, I cleaned, cubed, and roasted the beets like this, though the yogurt dressing I made was pressed garlic, grated ginger, and a whole lime worth of juice. I also made a batch of my favorite chutney.

Beet Hummus and Chutney

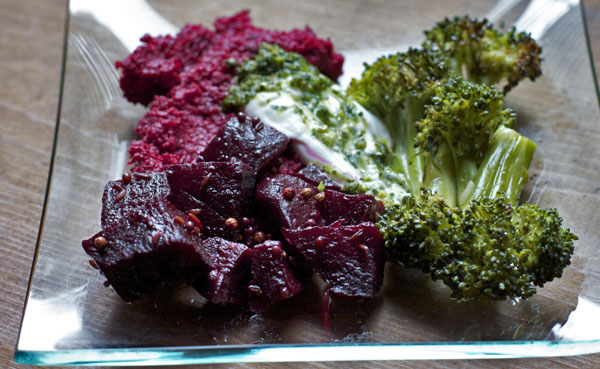
Hands stained and taste buds pleased, I knew that I had more roasted beets than even a girl like me could want to eat straight, so I took about half of them and, once they were cool, mixed them with a cup of chick peas and more or less made this version of beet hummus. Meanwhile, I roasted the broccoli pretty much like this (though not for quite as long, as it was getting quite dry).

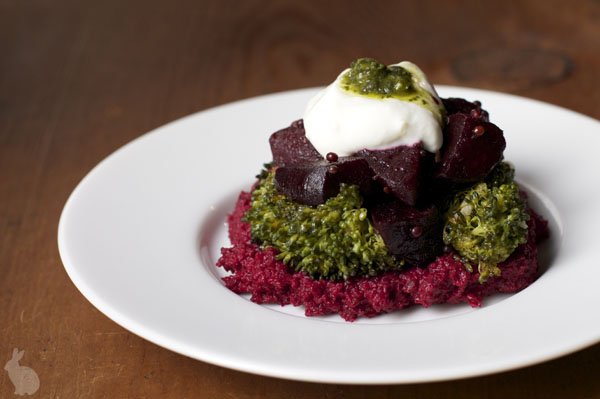
In the end, lunch looked like this:

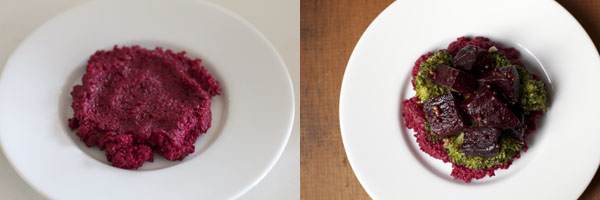
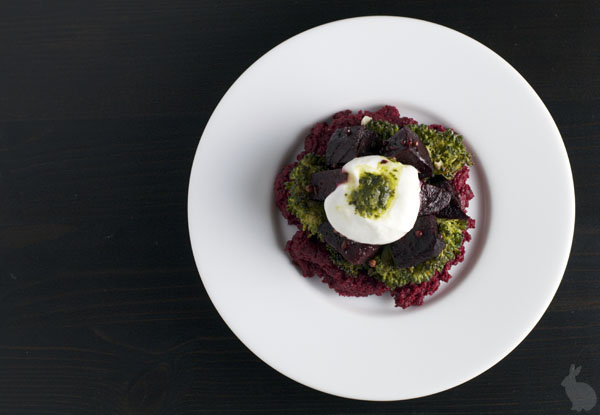
Which was pretty in its way, but later I realized I was imagining something a little more dramatic, like this:


Beet Tower Appetizer

I’ve got a couple avocados and some Mexican limes still hanging out in the crisper drawer, so I’m not sure I’m done building yet.

Take the G Train: Masala Knishes

knish_top

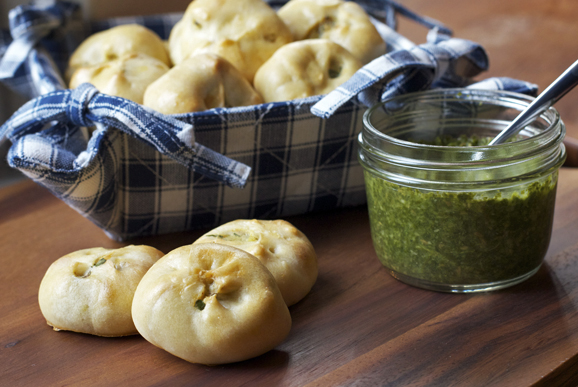
The winter chill that’s finally spiking the air has shifted kitchen activities to the production of warming comfort foods. By genetics, in this Slavic household that usually translates into dishes heavy (in all senses of the word) on noodles, cabbage, butter, and potatoes–pierogies if I’m feeling especially motivated. By instinct, however, I’m also given to nomadism, so wide swaths of culinary traditions tend to make regular border crossings.

It was that combination of weather and wanderlust that left me looking at my potatoes and feeling torn between knishes and samosas. The spice profile on the typical knish wasn’t packing the heat I was looking for, but even if the temperatures outside allowed for the addition of some body fat, a batch of deep-fried samosas was not how I was looking to apply the extra calories (to myself or my stove top). With years of multicultural fusion under my taste buds, a quick Brooklyn-Queens handshake seemed the obvious way to go.

Making Masala Knishes

Masala Knishes

To make the dough

1/2 cup water
1/4 cup vegetable oil
1 large egg
1/2 tsp. salt
2 1/2 cups flour

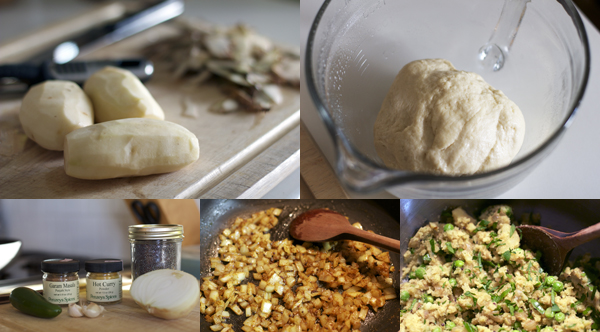
In a large bowl or stand mixer, combine water, oil, egg, and salt. Add flour and knead by hook or by hand until dough is soft yet smooth. Place dough in lightly oiled bowl, cover, and refrigerate while you make the filling.

To make the filling

3 Idaho baking potatoes, peeled and cubed
2 T vegetable oil
1/2 tsp. mustard seeds
2 tsp. hot curry powder
1 tsp. garam masala
2 garlic cloves, minced
1 cup onion, chopped
2 jalapeno peppers, finely chopped (adjust type and amount to your taste)
1/2 cup peas
Cayenne and/or black pepper and salt to taste
1 large egg
4 T chopped flat-leaf parsley

Additional egg for wash

Boil potatoes until fork-tender. Drain and set aside.

Heat oil in large skillet. When hot, add mustard seeds and allow to sputter and pop for a few seconds. Then add curry powder, garam masala, garlic, and onion and stir to coat. Continue to cook, stirring frequently, until onion has softened (about 10 minutes).

Pass cooked potatoes through a ricer (or mash with a fork) and add them to the skillet, as well as the jalapeno peppers, peas, and salt and pepper. Mix well and continue to cook until peas and peppers have softened. Remove from heat and set aside. When cool, adjust seasonings as needed and stir in egg and parsley.

Making Masala Knishes

To assemble and bake the masala knishes

When ready to assemble, line a baking sheet with parchment and preheat the oven to 350°F.

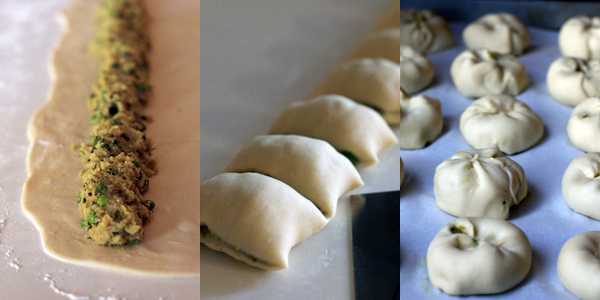
Remove dough from the refrigerator and turn it out onto a lightly floured surface. Divide into two portions. Roll the first piece into a 20″ by 10″ rectangle. Spread half the potato mixture along the bottom edge of the dough and roll it up to the top, ending seam-side down. Using a sharp knife or bench scraper, cut the log into 10 2-inch pieces and lay them out cut-side down on the baking sheet. Using your fingers, pull the other side of the cut dough up and over the top of each knish and pinch together, pushing down slightly in the middle of each and shaping gently into a round as needed. Don’t worry if some potato filling escapes through the top or is exposed on the underside. Repeat with remaining dough and filling.

Beat egg with a little water and brush over top of each knish.

Bake for 40 minutes, or until golden. Serve with tasty chutneys, such as this much-recommended cilantro version.

Disclaimer: This recipe was created for the Idaho Potato Commission’s February “Potato Lovers Month” promotion. I was financially compensated for my participation.

Butter Me Up

butter_over

Homemade bread is pretty spectacular; homemade bread topped with homemade butter is…actually maybe taking the DIY homemaking a little too far?

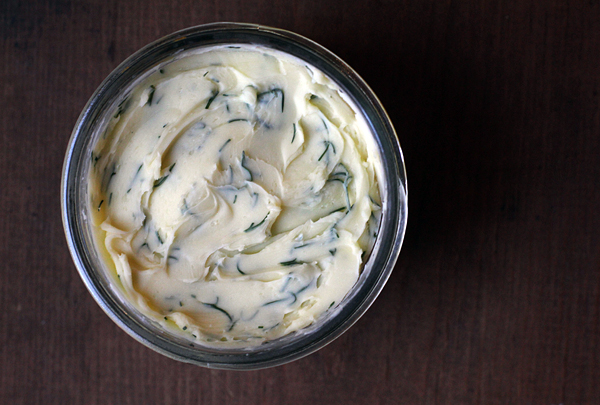
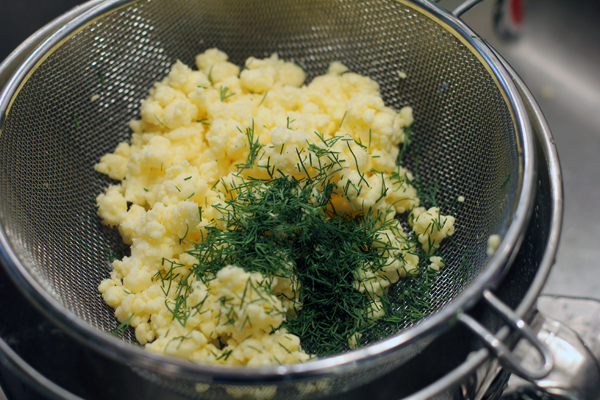
Nonsense, I say! Particularly if you, with all your baking prowess, own a stand mixer, simply affix the whisk attachment and toss a pint of heavy cream (leave it out on the counter for a bit to take the chill off) into that mixing bowl. Using the plastic bowl cover plus plastic wrap to completely cover any openings, run that baby until you break your whipped cream and the butter and buttermilk separate. Keep an eye on it so you can slow down the speed as soon as it comes apart.

homemade butter drain and flavor

At this point, you should strain off the “buttermilk” (more on this piece of the recipe puzzle in my next post) and rinse the butter in very cold water. You will then want to knead it well between your hands to wring out as much water as possible (I also blot it a bit with a paper towel–any leftover moisture will shorten its shelf-life) and flavor it with a sprinkle of salt (for taste and as a preservative) and whatever herbs you might want to incorporate (clearly, I went a little dill happy). That’s it! Pack it down into a jar and store it in the fridge. Then take that buttermilk and bake something delicious to put it on…

PS: I hear that, if you have access to child labor, you can nix the mixer and just pour the cream into a jar with a tight fitting lid and have the kids shake the cream until it separates. Food science is cool!