Homemade bread is pretty spectacular; homemade bread topped with homemade butter is…actually maybe taking the DIY homemaking a little too far?
Nonsense, I say! Particularly if you, with all your baking prowess, own a stand mixer, simply affix the whisk attachment and toss a pint of heavy cream (leave it out on the counter for a bit to take the chill off) into that mixing bowl. Using the plastic bowl cover plus plastic wrap to completely cover any openings, run that baby until you break your whipped cream and the butter and buttermilk separate. Keep an eye on it so you can slow down the speed as soon as it comes apart.
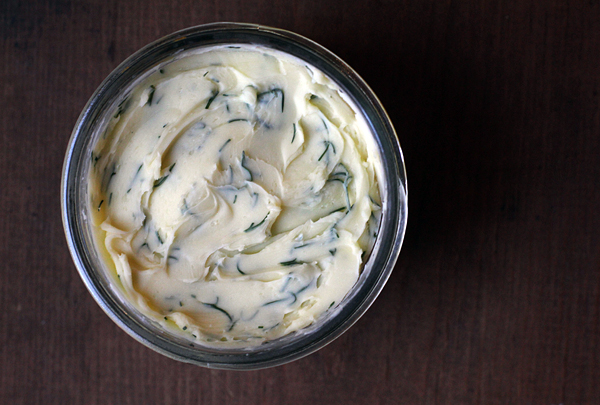
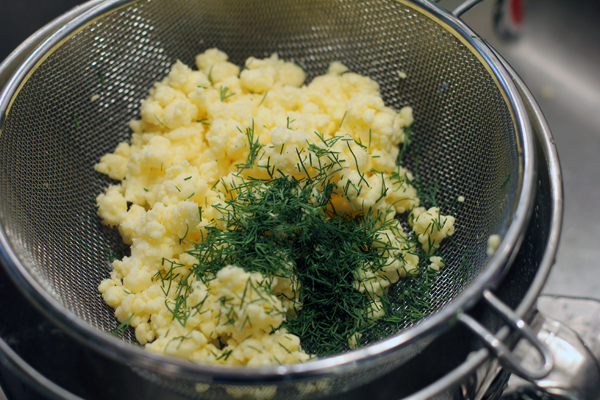
At this point, you should strain off the “buttermilk” (more on this piece of the recipe puzzle in my next post) and rinse the butter in very cold water. You will then want to knead it well between your hands to wring out as much water as possible (I also blot it a bit with a paper towel–any leftover moisture will shorten its shelf-life) and flavor it with a sprinkle of salt (for taste and as a preservative) and whatever herbs you might want to incorporate (clearly, I went a little dill happy). That’s it! Pack it down into a jar and store it in the fridge. Then take that buttermilk and bake something delicious to put it on…
PS: I hear that, if you have access to child labor, you can nix the mixer and just pour the cream into a jar with a tight fitting lid and have the kids shake the cream until it separates. Food science is cool!

