granola » Wonderland Kitchen
Browsing Tag

granola

Bon Attempt*: Dishes to Try (and Try Again)

Pickled Turnips

So, things have been going in Wonderland Kitchen, they just haven’t been going “OMG, I totally have to tell you about this ah-maze-ing cookie recipe I just invented” great. That, or they’ve been going “this other person’s recipe is awesome and I posted about it last year” (so repeat as needed).

I’ve also been doing a good bit of cooking for real people beyond my husband (or unintentionally for my cat, when my back is turned, the little sneak!). It seemed rude to stick a lens in a guest’s face during an 8 a.m. breakfast, but in hindsight I’m feeling less shy, so beware future visitors!

Anyway, this being Sunday, I thought perhaps a little confession time was in order–air the laundry and wipe off the counters for the week ahead–and so in no particular order, some recipe takeaways for when the CSA first slams back into the rotation and houseguests make last minute visits. What have you been cooking as we slide into summer?

A Reminder that You Can Pickle For Tomorrow What You Can’t Consume Today

Turnips with Beet

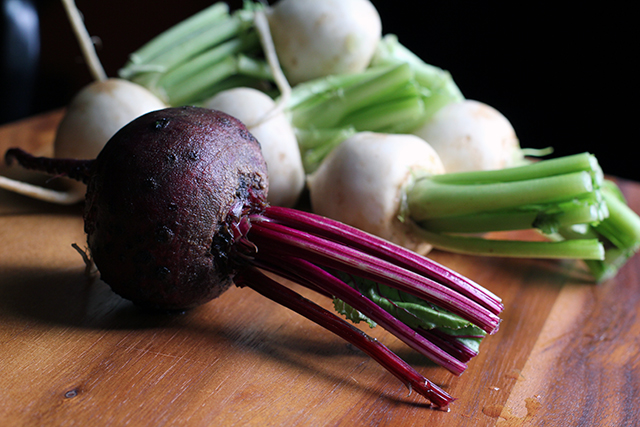
Since the crisper drawer was already bursting with greens, I picked up a couple bunches of these white turnips and pickled them according to David Lebovitz’s recipe. Here I thought I was innovating, but hardly! I did however get distracted and ended up with an overly salted and garlic-y finished product. Will have to try this one again, because the beet slices resulted in an amazing brine. And I do have a soft spot for pink food.

A Reminder to Prep Guest Breakfasts Ahead of Time

Granola and Refrigerator Oats

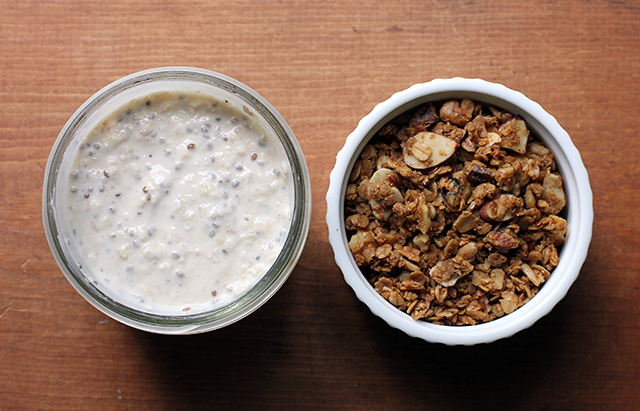
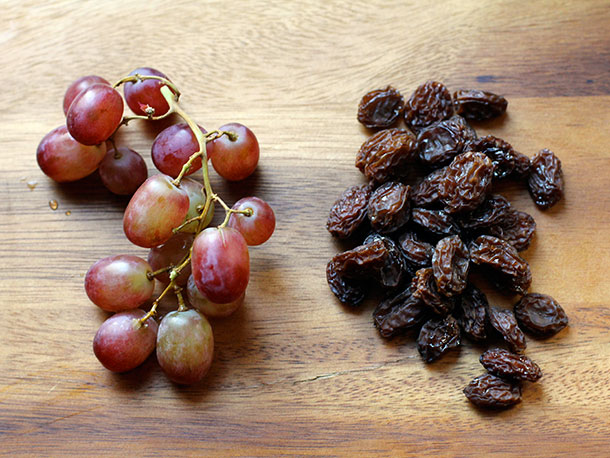
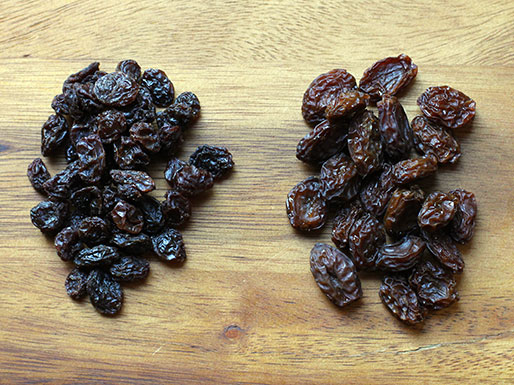
I’ve posted about this Little Blue Hen granola before, which I like especially because it includes an abundance of nuts and seeds with nary a spec of dried fruit in sight (though I’ll cop to offering the guests a handful of DIY raisins at their discretion, because come on). I also like to make little cups of refrigerator oats before heading to bed (I substitute kefir for the milk and yogurt) and then just pass out the jars and spoons in the a.m. Haven’t had an unfinished portion yet.

A Reminder to be Brave with Your Summer Soups

Spring Asparagus and Broccoli Soup

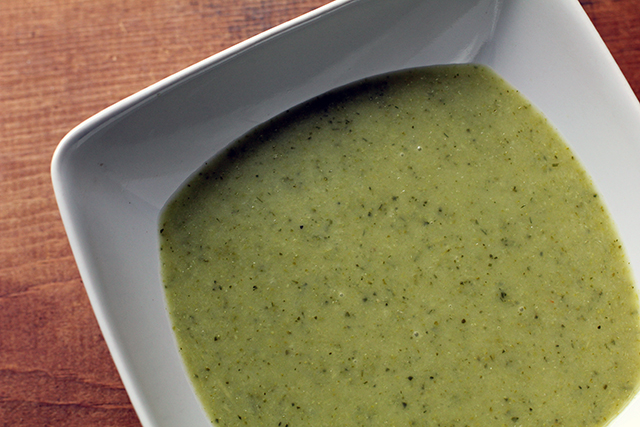
I have been having a lot of luck lately with those “use up five things from the in-house stock” on the fly dinners, and this has been especially helpful now that there’s a lot more produce around. As we crawl towards the end of the week and another pick-up looms, sometimes the stuff just needs to be used up. That’s how I ended up with asparagus, broccoli, and spring onions in a soup pot, simmered with just enough veggie broth to cover, and then pureed with the last of the dill and the remaining 1/4 cup of cream in the bottle. A light spring soup, tasty both hot and cold.

A Reminder to Double the Doctor Kracker Knock-Offs

DIY Seeded Crispbread

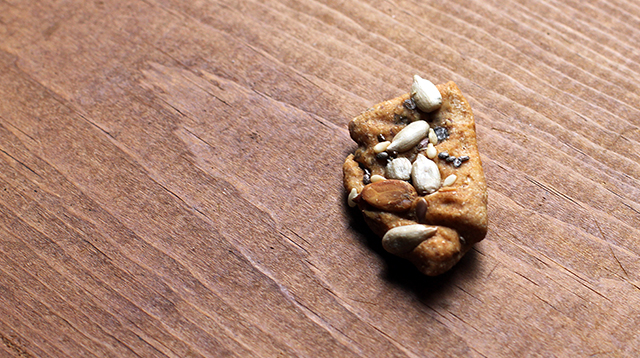
Fair warning that these are very crisp crackers, but they are just like the ones that come eight to a box in the grocery. If your family is as addicted to them as mine, you have come to the right place for the knock-off recipe. But be sure to hide a few for your own eating: this was the lone piece of cracker left in the bag when I went back to take a picture and have a snack.

A Reminder to Not Burn Your Hand When Baking Life-Changing Bread

My New Roots: Life Changing Bread

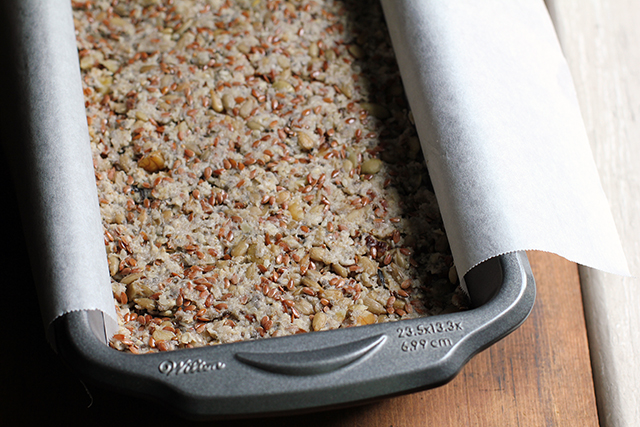
This is the pre-baked look of My New Roots’ much-discussed Life-Changing Bread. The first loaf I made with really beautiful Bob’s Red Mill oats and specially purchased hazelnuts and thought it was a neat breakfast item but not necessarily life changing. The second time I was way more chill about it, just used the walnuts and the somewhat crappier instant oats I dug out of the pantry, and also tossed in all the seeds left behind in the bag of the above-mentioned seeded crackers. Aside from the accidental seering of the back of my hand on the oven while flipping the bread over, I’m enjoying the second batch even more. I keep it sliced and frozen and simply defrost a piece each morning in the toaster.

A Reminder That Not All Baking Need Exhaust Your Patience

Joy the Baker: Sweet Berry Lime Cake

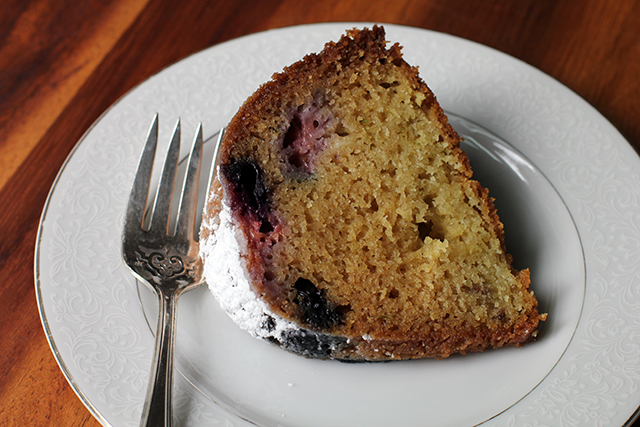
Short version: I needed a cake for company, and I had about an hour to make it happen. Joy the Baker to the rescue!

A Reminder That Sometimes the “Failures” Are Still Pretty Tasty

Tomato Basil Popovers

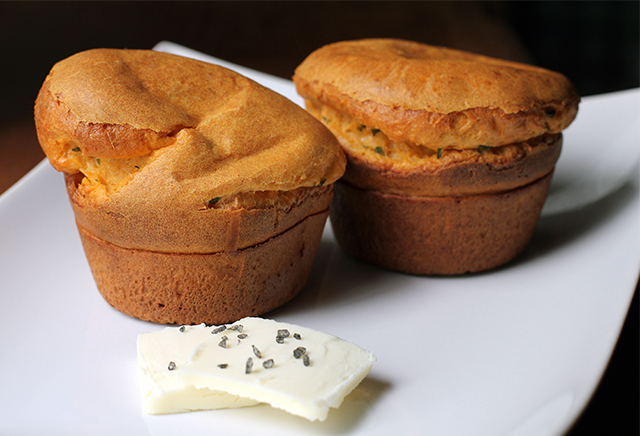
I always have excellent results with this King Arthur popover recipe, so I used that as the base when–for some reason–I started dreaming of breakfast treats flavored with tomato. My first effort included 1 tablespoon tomato powder, 1 teaspoon onion powder, a handful of chopped basil, and about 1/4 cup Parmesan cheese. They were good, but not quite what I’m looking for just yet and I lost most of my usual pop (I’m guessing the weight of the cheese didn’t help). A work in progress.

A Reminder That Not All Failures are Failures If You Adjust the Frame

Cottage Cheese Fail

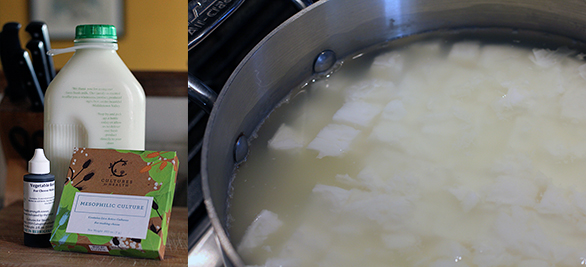
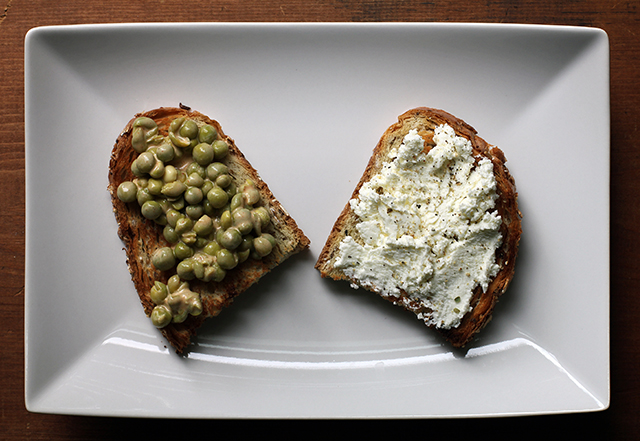
I got it into my head after the cream cheese making that DIY cottage cheese would be no. big. deal. I researched a few available recipes and thought things were going pretty well, but my curds didn’t survive the straining process. I’m guessing I didn’t cook my curds long enough. Proper looking curds or no, the cheese still tasted fantastic and I used it like a rich ricotta on toast and pizzas with much success. The curd skills will come another day. There were also fresh peas at the market, which meant it was time again for smoky tahini peas!

Peas and Cheese Crostini

*With apologies to Bon Appétempt, whose kitchen antics are funny and whose dishes look awesome. However, as I have never eaten at her house, it’s her blog name that I’m particularly enamored with–so much so that I felt only minor guilt in kinda stealing it for the title of this post! That acknowledged and confessed, onward into the kitchen…

Sugar Rush: DIY Raisins

DIY Raisins

I’ve never been much of a dried fruit fan, and I think I can trace the root of this back to those little red boxes of raisins so frequently tossed onto my elementary school lunch bag. In my memory, the raisins always ended up packed tightly into the bottom of the box, requiring precision coaxing to remove them from their cardboard shell. They may very well have been nature’s candy, but I would just as well have skipped dessert altogether.

Considering the marketing tag line that raisins are just “grapes and sunshine,” DIYing your own might not seem all that necessary or cost effective, and I would give you that. Still, I had read some things about how lovely homemade could be and wanted to try it out before those really amazing grapes I can never stop myself from purchasing in large quantities hit the farmers market this year.

I ended up being very glad I did, because even though the process is rather obvious, the taste was something of a surprise. I have always found commercial raisins to be small and papery bits of sugar that practically dissolve on the tongue after one or two bites. However, the Red Magic seedless I dehydrated last week, for example, offered a subtler though richer sweetness and more complex flavor overall. I don’t mean to get all wine snob on you–though, admittedly, I just used writing that description as an excuse to eat a few more handfuls–but as you might expect, different varieties will net different flavor profiles.

DIY Raisins

Grape Types

Most commercial raisins are made from sultana, a.k.a. Thompson Seedless, grapes. Dehydrating your own opens up your options and is perhaps the biggest reason to do so. For those who have their own vines, another big motivator may be managing a sudden yet bountiful harvest. Either way, you will likely want to select a seedless variety, unless you’re game to de-seed them yourself (I’ve done this for other projects and will never, ever do it again) or chew through seeds in your dried fruit.

One thing I noticed when purchasing fresh grapes to dehydrate is that some are treated with sulphur dioxide as a food preservative, while the raisins in my pantry specifically say “sulfite free” (not the same thing, but related). Point being, if additives are of concern, be sure to read your labels/chat with your farmers.

DIY Raisins: Dehydrator Trays

Before You Dehydrate

The dehydration of fruits and berries with a waxy skin is more efficient if they are blanched or “checked” for about a minute in hot water so that the skin develops cracks through which moisture can better escape. I have also read that following that up by freezing the fruit for a few hours before dehydrating aids the process, but I’ve never taken it that far.

Dehydrator vs Oven (vs Sunshine)

I find that using a dehydrator is the most efficient way to make raisins at home with less chance of over drying. However, realizing that not all readers have that option, I also tried a batch in the oven at 165°F with the fan on (if you have a convection option) and the door cracked a couple of inches (I use a old wine cork wedged in over top of the oven light switch on the door). The higher temperature resulted in faster drying, but required diligent tossing and more careful babysitting.

Sun drying is also an option once the weather is offering high heat and low humidity. Even if the steamy summers here in Maryland would cooperate, I doubt the pests in my urban lot would let me get very far with this method, however, unless I also developed a screened-in drying cage that could fight off attacks by land and air. But by all means, make use of the free sunshine if you can. This method will likely require at least a few days.

DIY Raisins vs Commercial

Commercial (left) vs. DIY Raisins

The Verdict

This is a DIY project I would say is all about unique taste and quality rather than cost–at least until the season hits locally. What began as two pounds of grapes (@ $5.98) reduced to approximately six ounces after drying. To put that in perspective, I can buy 20 ounces of standard commercial raisins for $3.19. Still, as a former raisin-despiser, I have now found a dried grape product so attractive to me that it seems quite worth the occasional time and expense.

DIY Raisins

DIY Raisins

Obviously, amounts are not crucial to this process. However, two pound batches are easily managed when blanching and, at least in my case, that amount neatly fills one dehydrator tray, so it makes for a useful base volume. Simply scale up as needed.

 grapes (variety of your choice)

Wash grapes and remove their stems. Discard any spoiled fruit.

Blanch grapes for one minute (30 seconds if the skin is thin) in a pot of simmering water and then immediately transfer them to an ice bath to halt cooking. Drain grapes and transfer them to drying trays.

If using a dehydrator: Follow your machine’s suggested temperature guidelines (likely around 135°F). Unless the grapes are very small, the process will likely take at least 24 hours. Once the fruit has dried, allow it to cool completely before storing in an airtight container or plastic bag.

If using an oven: Adjust oven racks to upper and lower middle positions and set temperature to lowest possible setting (between 140 and 170°F if possible) and crack the door open with a wooden spoon or old wine cork. Use convection setting if available. Transfer grapes to two rimmed baking sheets lined with parchment paper and place in oven. Monitor the grapes throughout the drying process, tossing them every few hours for even drying. Once the fruit has dried, allow it to cool completely before storing in an airtight container or plastic bag.

https://wonderlandkitchen.com/2013/04/diy-raisins/

Note: Obviously, amounts are not crucial to this process. However, two pound batches are easily managed when blanching and, at least in my case, that amount neatly fills one dehydrator tray, so it makes for a useful base volume. Simply scale up as needed.

Wash grapes and remove their stems. Discard any spoiled fruit.

Blanch grapes for one minute (30 seconds if the skin is thin) in a pot of simmering water and then immediately transfer them to an ice bath to halt cooking. Drain grapes and transfer them to drying trays.

If using a dehydrator: Follow your machine’s suggested temperature guidelines (likely around 135°F). Unless the grapes are very small, the process will likely take at least 24 hours. Once the fruit has dried, allow it to cool completely before storing in an airtight container or plastic bag.

If using an oven: Adjust oven racks to upper and lower middle positions and set temperature to lowest possible setting (between 140 and 170°F if possible) and crack the door open with a wooden spoon or old wine cork. Use convection setting if available. Transfer grapes to two rimmed baking sheets lined with parchment paper and place in oven. Monitor the grapes throughout the drying process, tossing them every few hours for even drying. Once the fruit has dried, allow it to cool completely before storing in an airtight container or plastic bag.