
The deeper I dig into DIYing basic household foods such as rice milk or nut butters, the weirder I sometimes feel about sharing those processes here. Sure, a recipe for homemade cereal bars might come in handy, but a lot of these typical grocery store items–from tahini to garlic powder–end up being pretty simple to produce from scratch in the average kitchen when all is said and done. So perhaps you might think of these posts as more of a Pinterest board of reminders or inspirations when it starts to feel like everything you buy has soy lecithin and whey derivatives added. Sure, you can toss readymade items into your shopping basket as needed, but if you have a few minutes and don’t like the ingredient list on a given product, you can probably whip up your own with a few pantry staples.
For as easy as culturing buttermilk or kefir turned out to be, cream cheese was not a project I was expecting to be so simple. I couldn’t have been more wrong. Yogurt making is almost challenging in comparison.
Pasteurized vs. Ultra Pasteurized
Almost all the articles I’ve read on cheese making have stressed that you cannot use ultra pasteurized milk or cream (the structure of the milk proteins have been damaged). However, I find it increasingly difficult to acquire dairy that is not ultra pasteurized when shopping at a standard grocery store. The organic milk is especially bad in this regard. Apparently people paying big money for these products do not want them to spoil quickly, a concern that supersedes other considerations. And while I love using the rich fresh-from-the-cow, non-homogenized, lightly pasteurized milk I can get from the local dairy at the farmers market, that’s not always practical logistically (only obtainable on Saturday) or financially ($4 per half gallon). Many people will violently advocate for raw milk, whatever it takes to get your hands on it. I haven’t tried it, but I have made other substitutions–the cheap (probably just?) pasteurized whole milk and ultra pasteurized cream available–and still produced a tasty cream cheese.
This Is Not Your KRAFT Philadelphia Cream Cheese
Philly cream cheese is surely the standard most people (Americans, at least) will be judging any cream cheese against, and in my experience this is not that–and that’s a good thing. No matter how long I let my cheese drain, there is a shiny, spackle-like consistency to commercial cream cheese that I have not produced here. This cheese is richer and more buttery, slightly softer but not in any way runny. When adding in flavorings such as maple syrup or dill and salt and whipping briskly with a fork to incorporate, I am able to produce a lovely spread that contains no Xanthan Gum, and/or Carob Bean Gum, and/or Guar Gum, no preservatives, and no “natural flavor”. Seven days later, it still tastes fantastic.
The Verdict
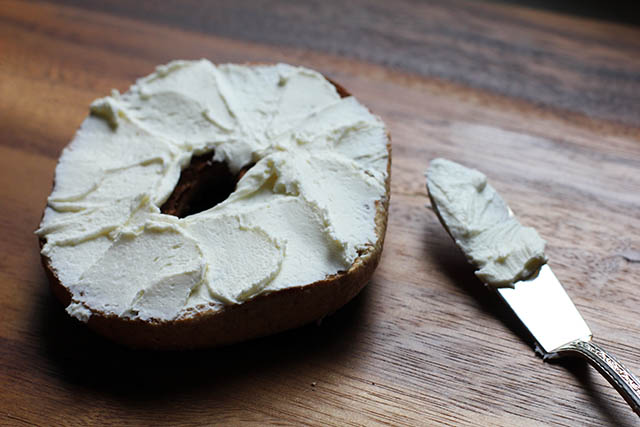
I seriously doubt I will ever buy commercial cream cheese again. There is definitely a cost consideration here in terms of both the dairy and the special ingredients, but I think the taste and quality make it worth the investment (and might even encourage me to eat less and savor more). This cream cheese made me want to bake a dozen everything bagels and invite the neighbors over for brunch….At least until I remembered that my bagel baking, unlike my cream cheese making, is still a work in progress.

for tips and supplies, see Cultures for Health
Cream cheese starter cultures containing both the starter culture and rennet are available.
While culturing the cheese with buttermilk rather than a mesophilic starter is riskier due to variations in the active cultures present, I found that the taste of the resulting cream cheese was just slightly more tangy and very attractive.
In a pot (with a fitted lid for later steps), heat milk and cream to 75°F, stirring regularly.
Remove pot from stove and add the buttermilk OR sprinkle the mesophilic starter culture over the surface of the milk and allow to dissolve for two minutes. Stir gently. Add diluted rennet mixture and combine using an up and down motion with your spoon under the surface of the milk just until evenly incorporated. Cover pot with lid, wrap in a few kitchen towels, and place in a warm location (70°F-75°F) to incubate, about 14 hours.
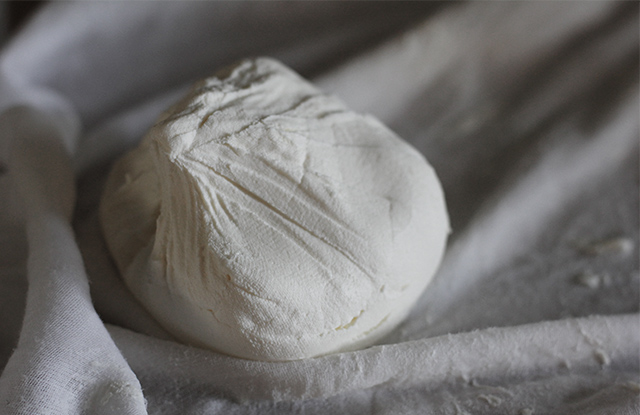
When cheese is ready to be drained, it will resemble yogurt. Spoon into a strainer lined with a piece of butter muslin. Clip the corners of the muslin together and allow to drain over a bowl (cupboard handles and safety pins can come in handy here) until desired firmness is reached, 7-10 hours.
Mix in a 1/4 teaspoon salt or other flavorings as desired. Transfer to a container with a tight-fitting lid and refrigerate.
https://wonderlandkitchen.com/2013/04/better-than-a-silver-packet-diy-cream-cheese/
NOTE: Produces 13 ounces of cream cheese and two cups of whey.
Cream cheese starter cultures containing both the starter culture and rennet are available.
While culturing the cheese with buttermilk rather than a mesophilic starter is riskier due to variations in the active cultures present, I found that the taste of the resulting cream cheese was just slightly more tangy and very attractive.
2 cups heavy cream
2 cups whole milk
1 drop liquid vegetable rennet dissolved in 2 tablespoons water
1/8 tsp. (one packet) mesophilic starter culture OR 1 ounce buttermilk
1/4 teaspoon salt or other flavorings (optional)
In a pot (with a fitted lid for later steps), heat milk to 75°F, stirring regularly.
Remove pot from stove and add the buttermilk OR sprinkle the mesophilic starter culture over the surface of the milk and allow to dissolve for two minutes. Stir gently. Add diluted rennet mixture and combine using an up and down motion with your spoon under the surface of the milk just until evenly incorporated. Cover pot with lid, wrap in a few kitchen towels, and place in a warm location (70°F-75°F) to incubate, about 14 hours.
When cheese is ready to be drained, it will resemble yogurt. Spoon into a strainer lined with a piece of butter muslin. Clip the corners of the muslin together and allow to drain over a bowl (cupboard handles and safety pins can come in handy here) until desired firmness is reached, 7-10 hours.
Mix in a 1/4 teaspoon salt or other flavorings as desired. Transfer to a container with a tight-fitting lid and refrigerate.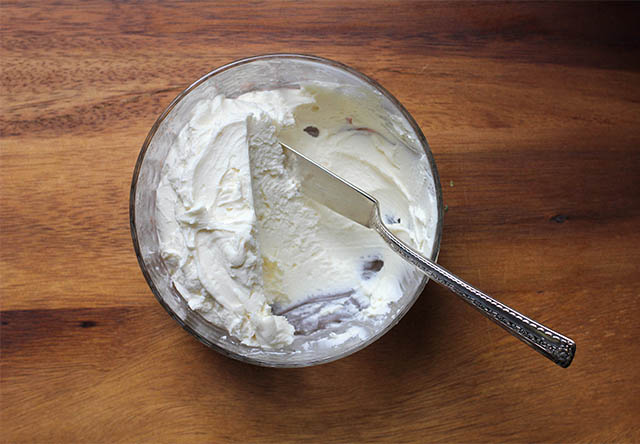
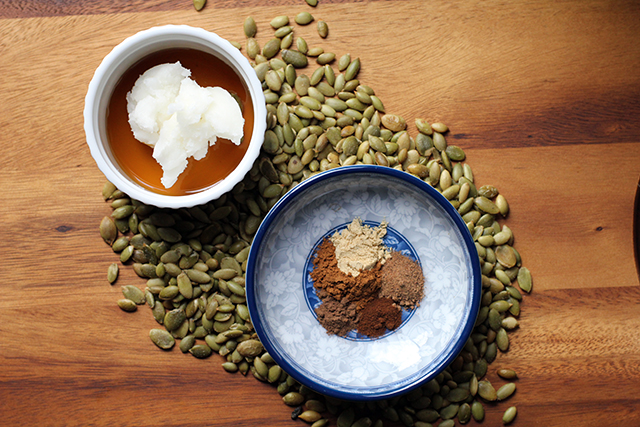
 Seed Butter")


")


")


